Chocolate Mousse (Passover)

IMG_1406.jpg

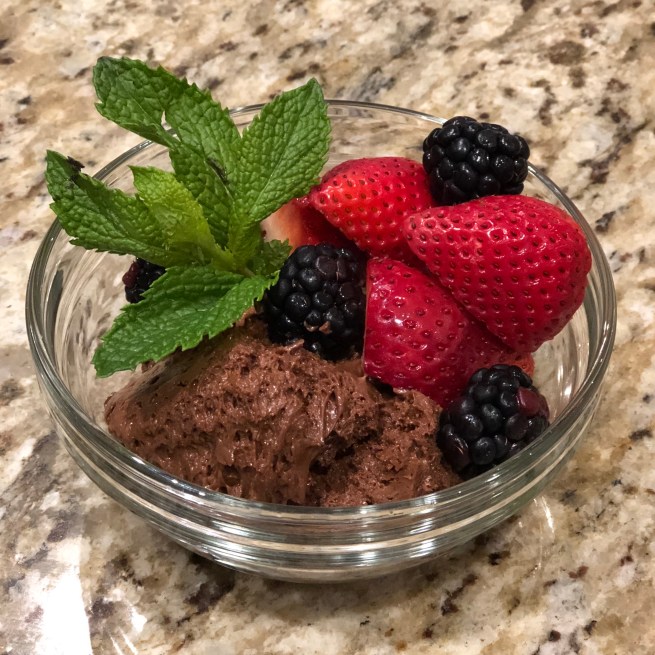
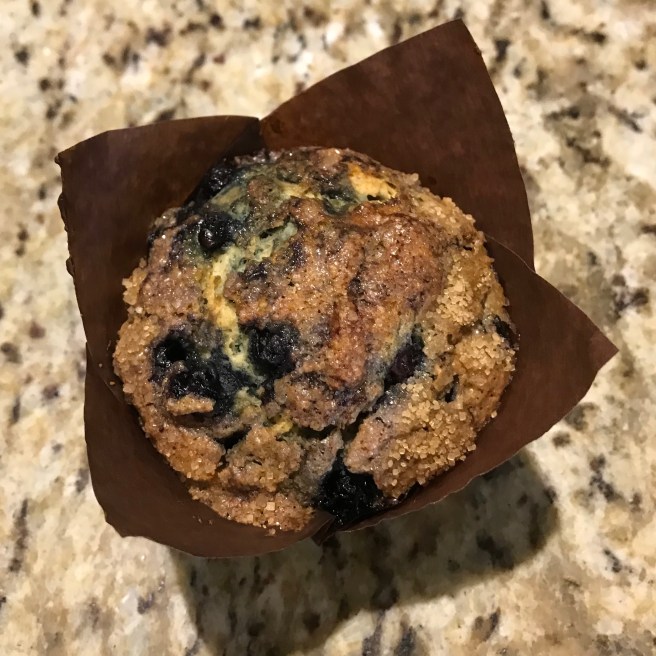
This recipe is a family favourite, and can be made year round. When people try it they won’t even know its for passover!
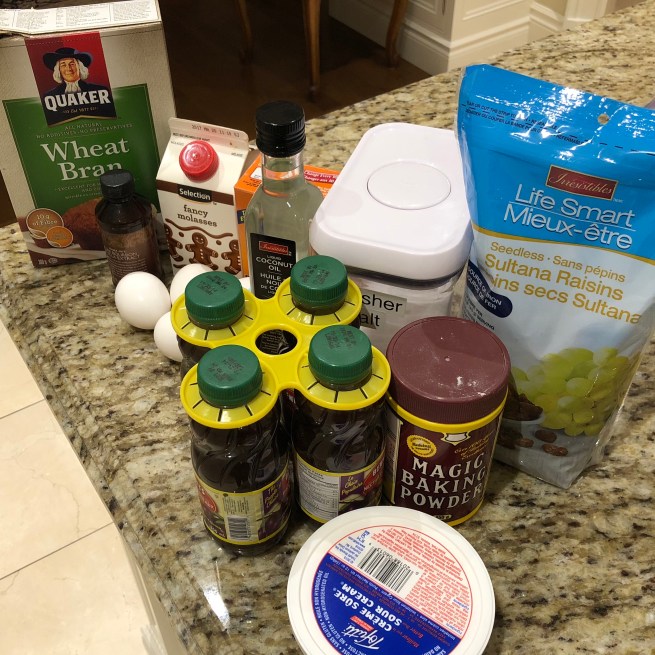
IMG_1396.jpg

Ingredients:

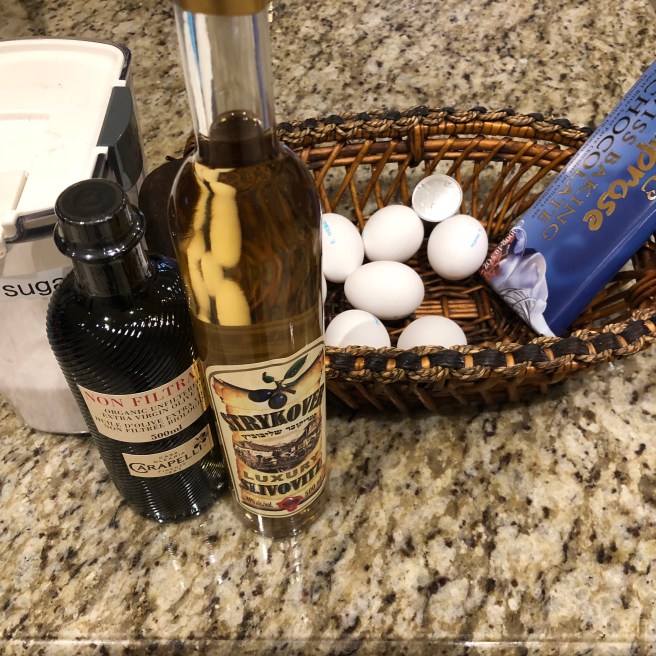
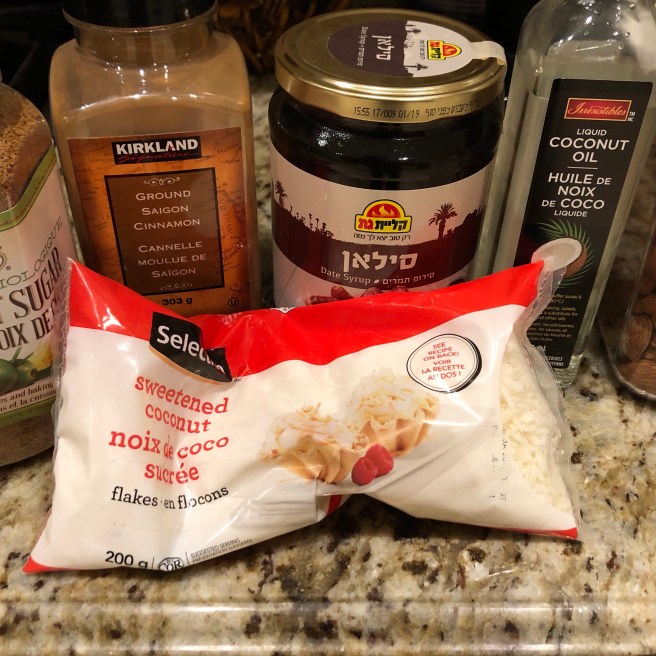
10.5 oz. bittersweet chocolate, coarsely chopped
8 large eggs, room temperature, separated
¾ cup granulated sugar, divided
½ cup extra-virgin olive oil
2 tbsp. kosher for passover brandy or Sabra liqueur
1/3 cup brewed espresso, room temperature

Directions:

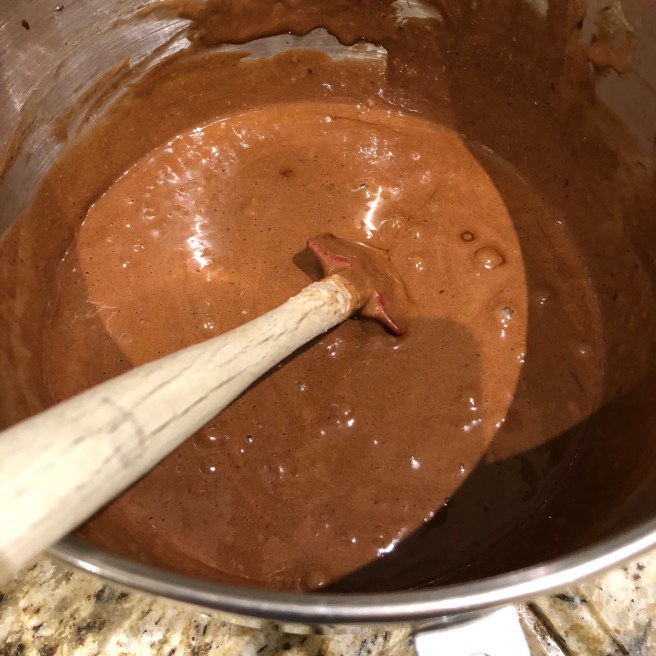
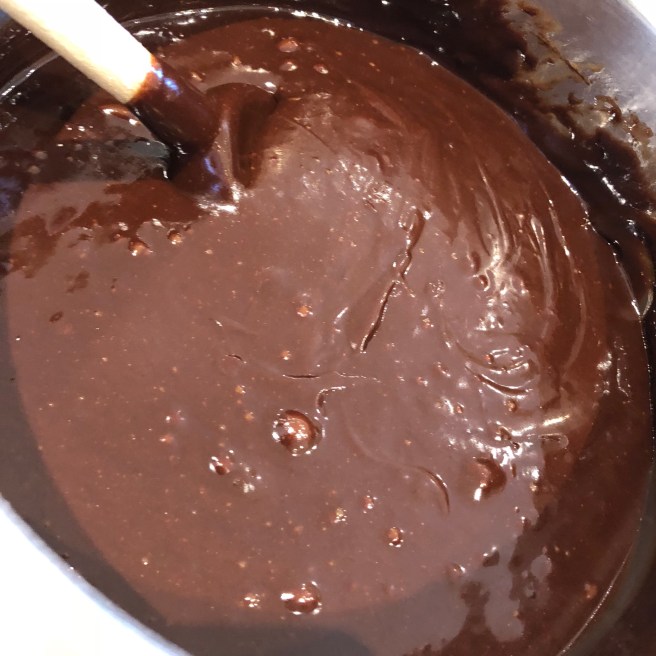
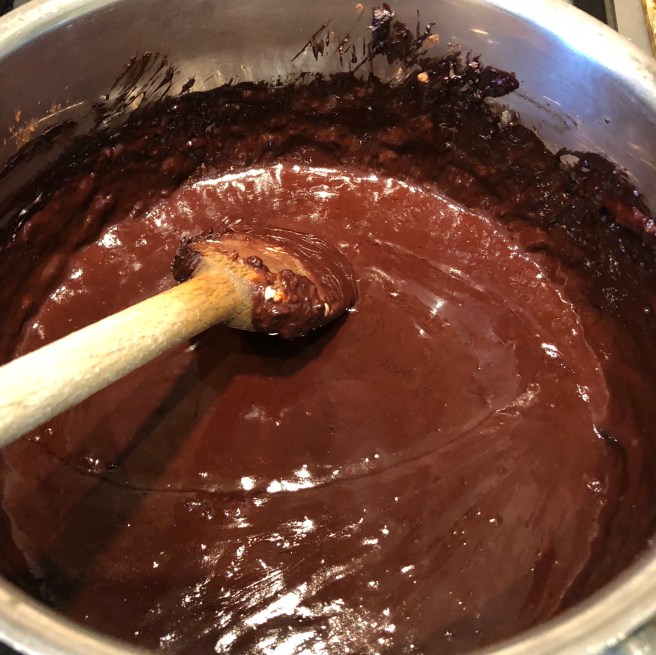
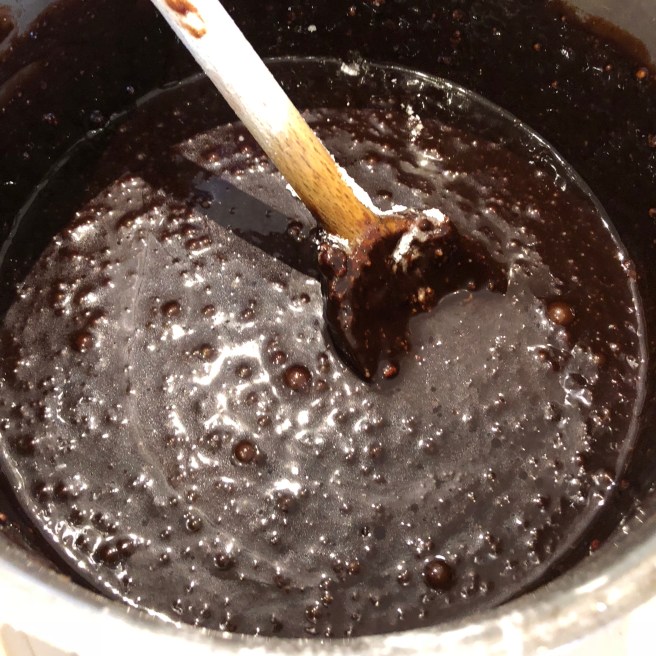
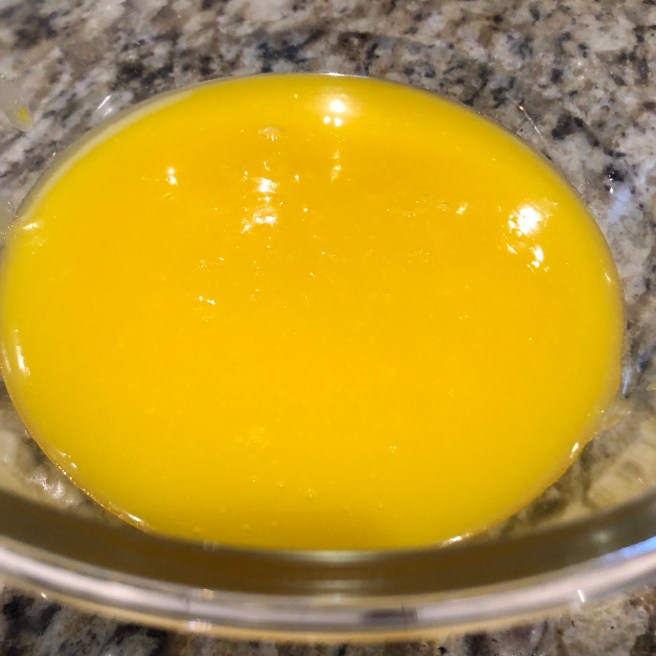
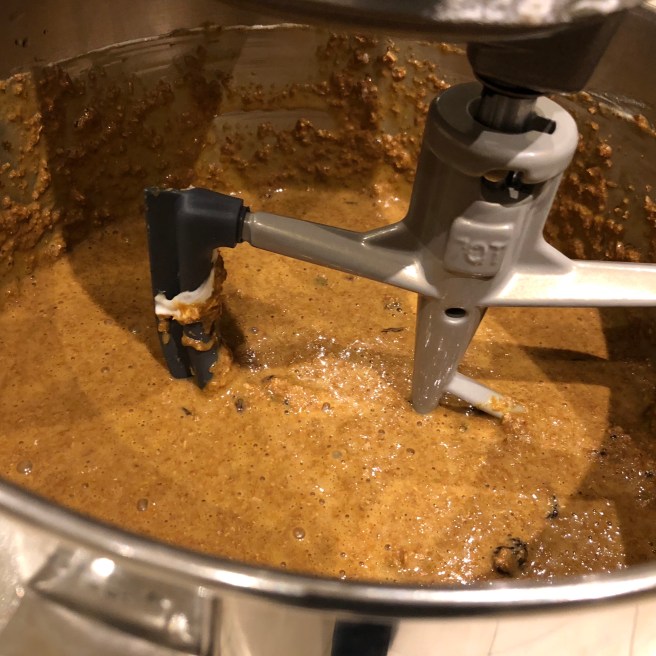
In a double boiler, melt chocolate over low heat, then cool slightly.

IMG_1400.jpg

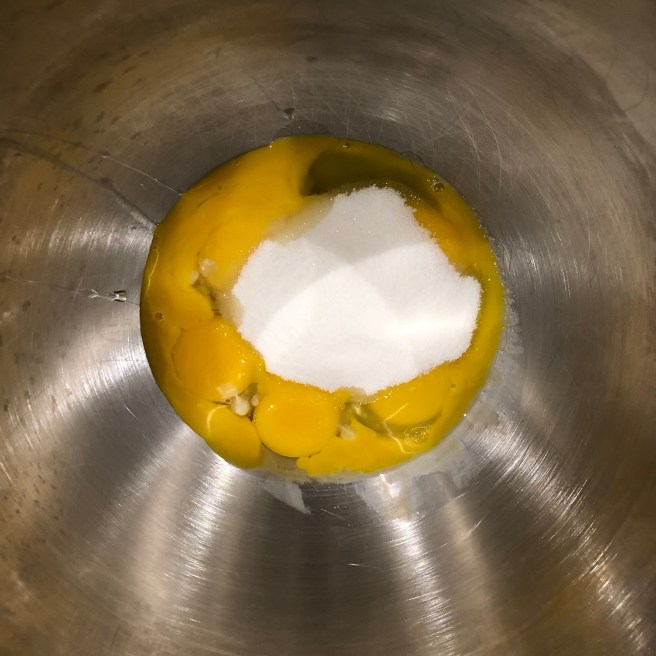
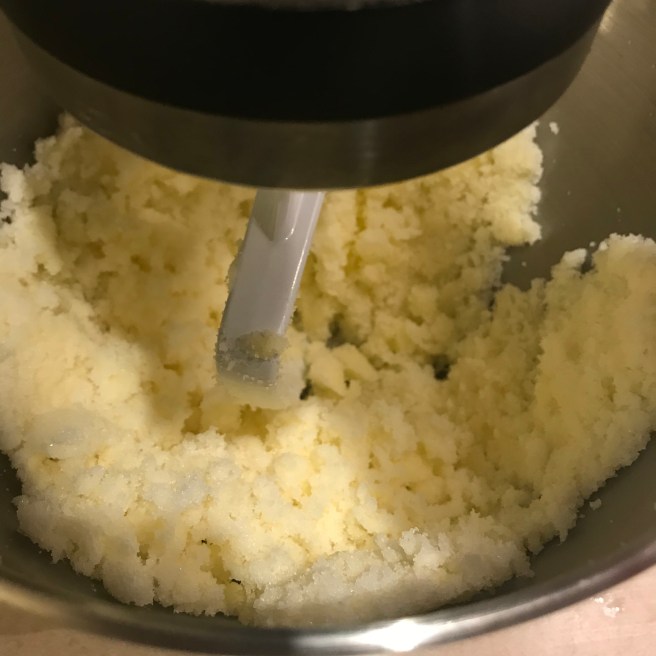
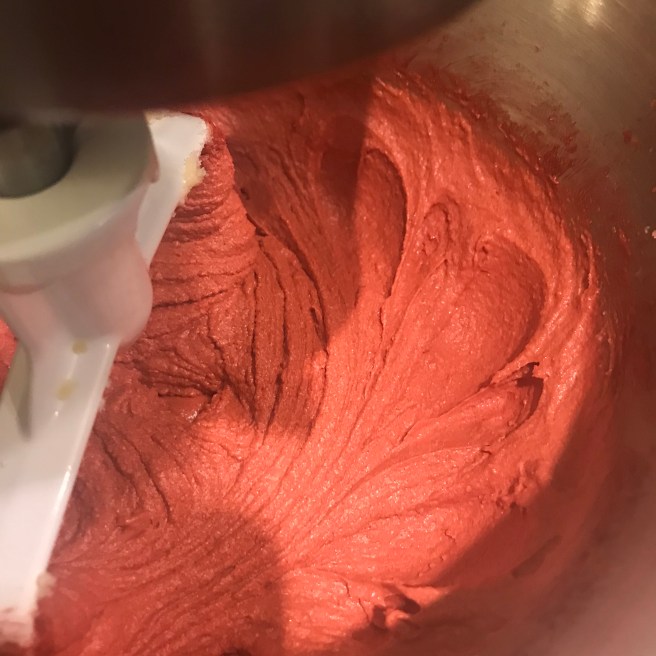
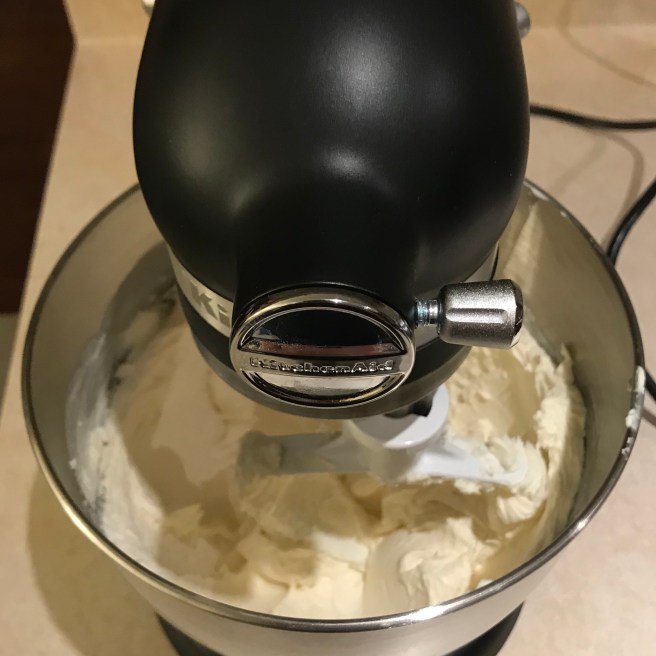
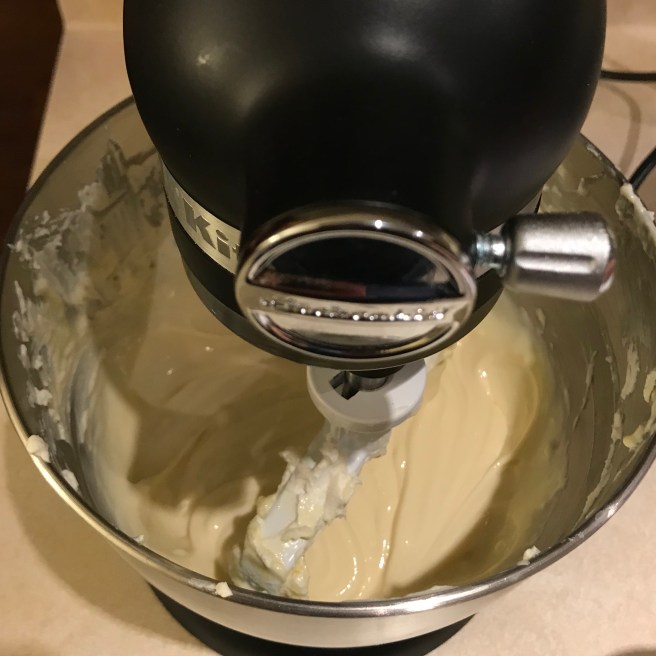
In the bowl of an electric mixer fitted with the whisk attachment, beat the egg yolks with ½ cup sugar until light, about 3 minutes.

IMG_1398.jpg

IMG_1399.jpg

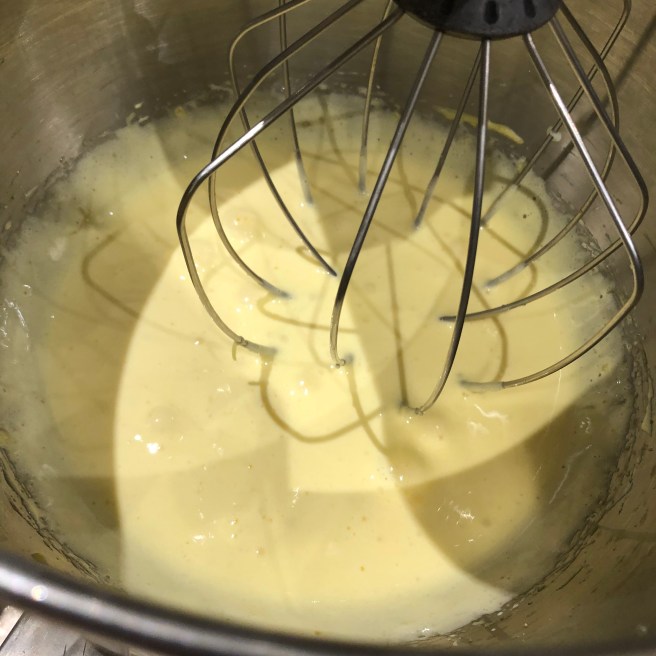
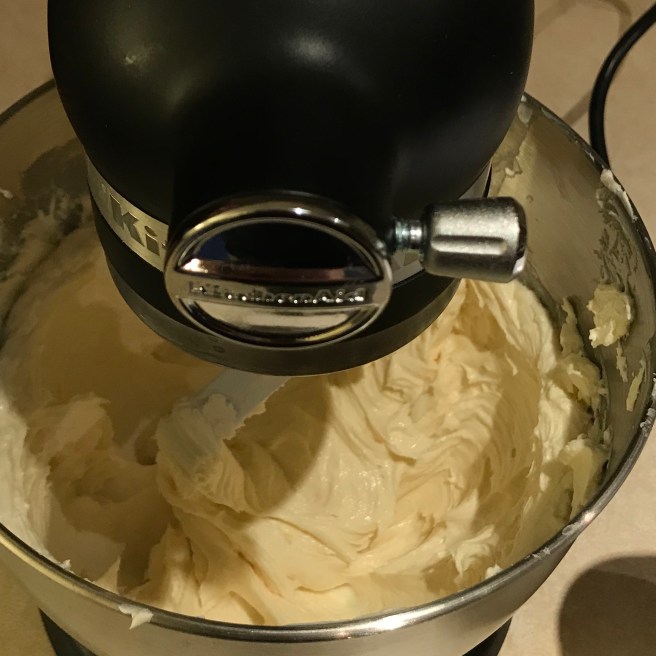
Whisk in olive oil, brandy, espresso and melted chocolate.

IMG_1401.jpg

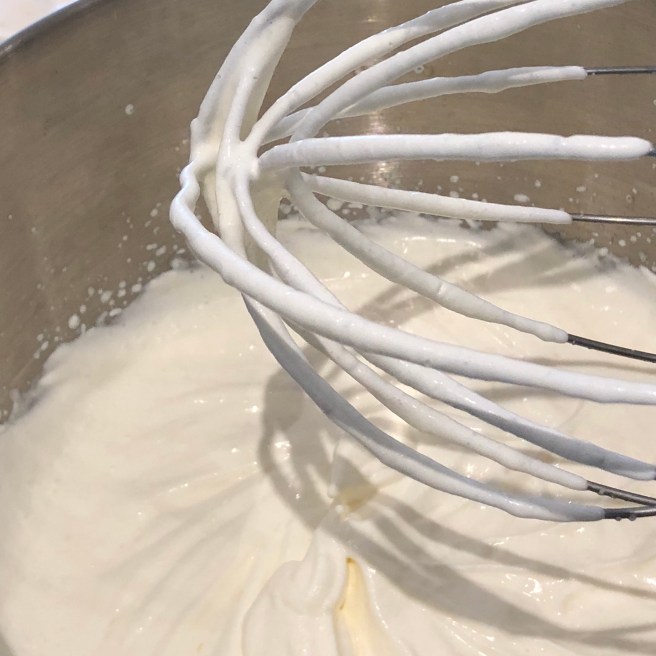
In a clean bowl of an electric mixer fitted with the whisk attachment, beat the egg whites until soft peaks form. Add remaining ¼ cup sugar, whisking until stiff but not dry.

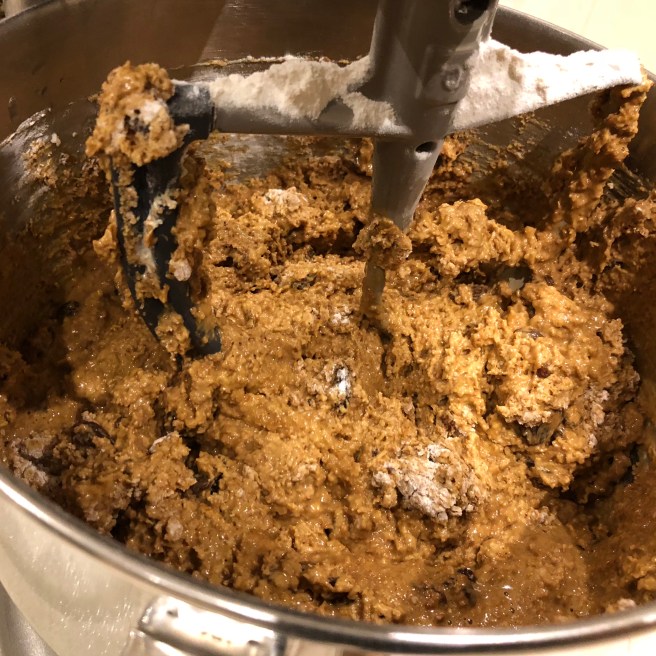
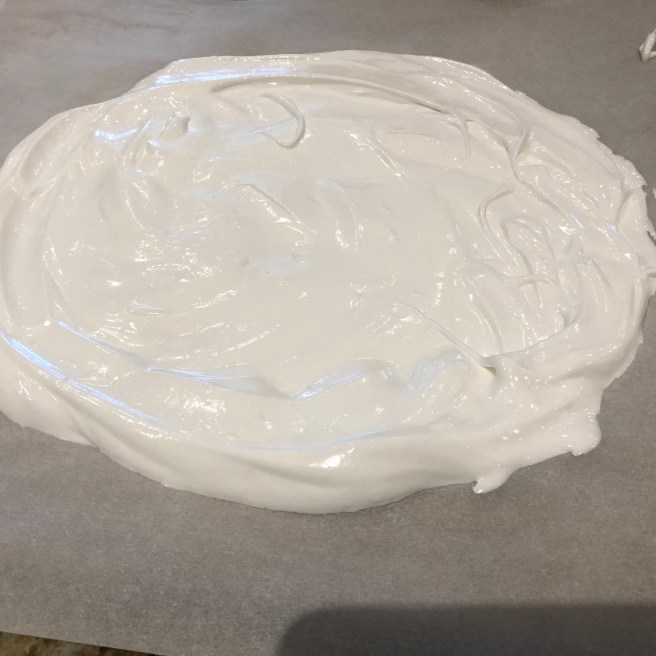
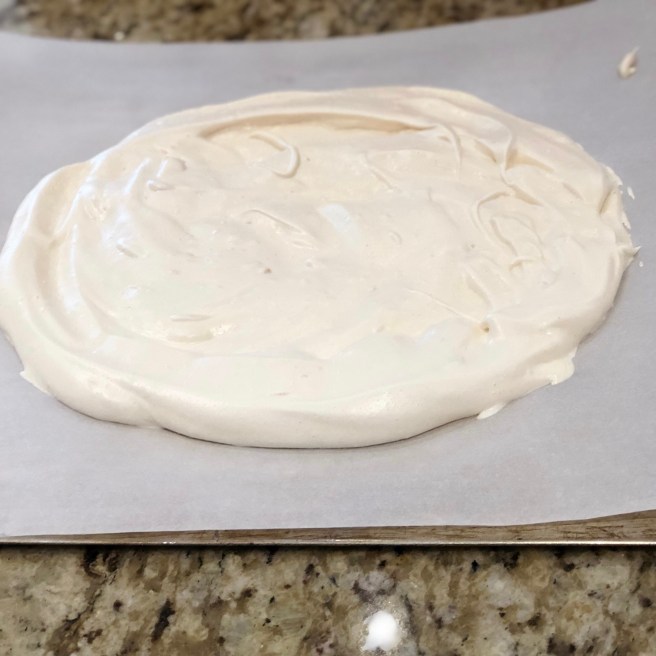
Fold whites into chocolate mixture in stages until no white streaks remain.

IMG_1404.jpg

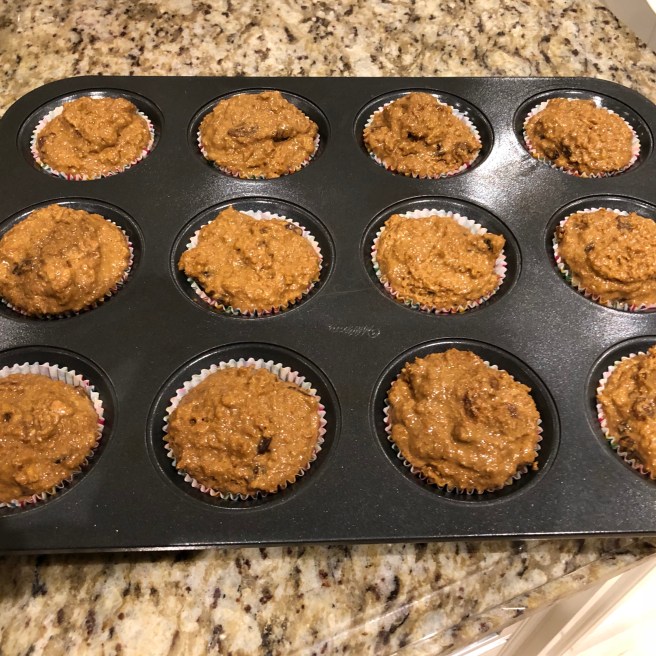
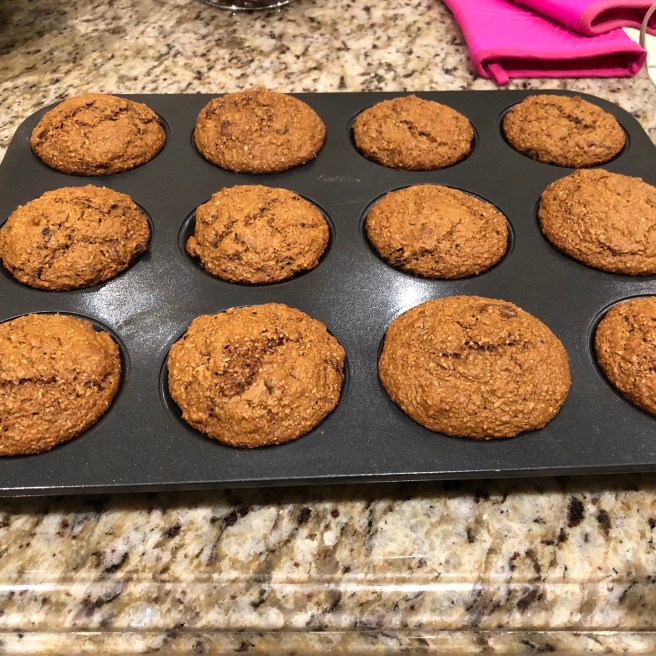
Spoon in a tub/container covered with a lid or plastic wrap and refrigerate for 24 hours before serving.  Makes about 8-10 one cup servings.

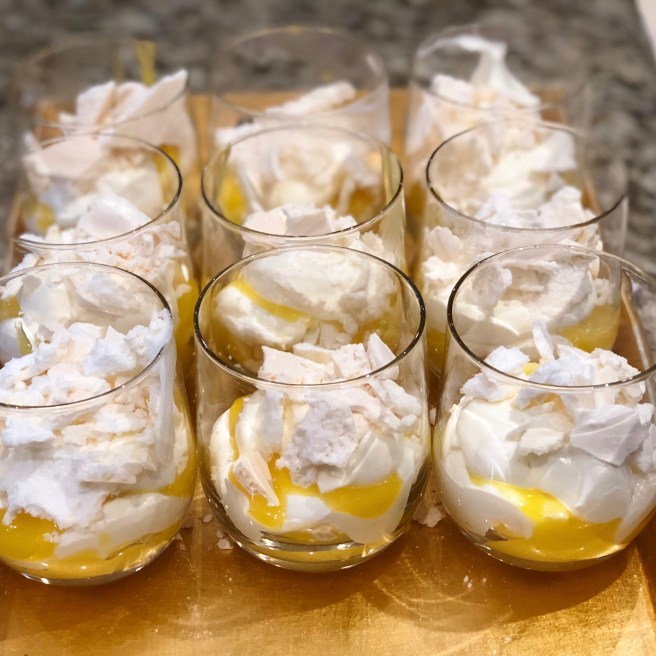
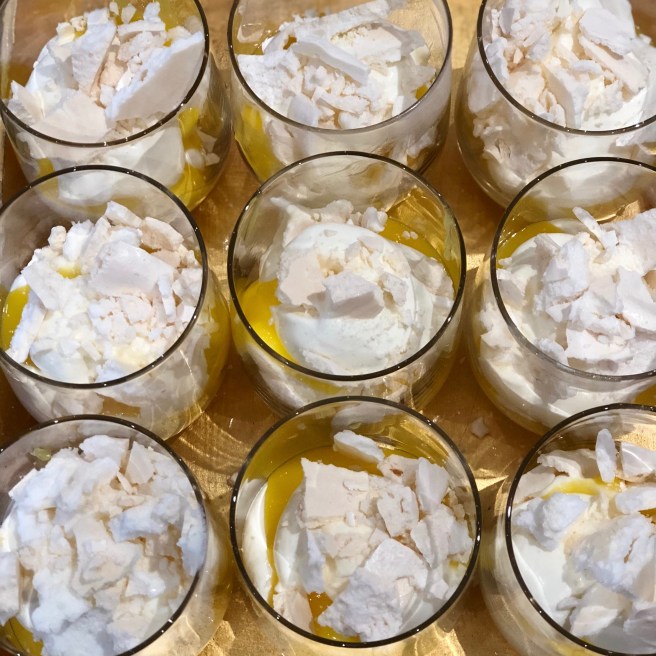
I have been making this olive oil chocolate mousse for passover for many years.  Aside from being a delicious tasting dessert, there are no traditional passover ingredients in this dish.  It is dairy free and gluten free.  It keeps in the refrigerator for several days….if it lasts that long.  Feel free to pipe or spoon some nondairy whipping cream on top of each dish.

A couple of years ago I left The Domestic Goddess in charge of putting the brandy in the mousse. She accidentally used a 2 tbsp measuring spoon thinking that it was 1 tbsp. This led to a strong, but still delicious chocolate mousse.

Science Fact of the Week:

Eggs are high in protein and many nutrients! Some choose not to prepare dishes made with raw eggs because of the risk of salmonellosis, but the risk is quite low.

The Best Blueberry Muffins

IMG_1161.jpg

These muffins are the best blueberry muffins I’ve ever had. I know this is a serious statement, but I’m not one to say it lightly.

This recipe is originally from Smitten Kitchen, however I swapped a few ingredients to make the recipe non-dairy and doubled it (to make 12 XL muffins). You might think it’s insane to add a teaspoon of sugar to the top of each muffin, but I swear its worth it. Don’t worry about the dough being too thick, it is supposed to be (similar to cookie dough) and feel free to use frozen blueberries.

I used bakery style (fluted) muffin liners which allowed me to overfill these muffins.

Ingredients:

1 stick and 2 tbsp (10 tbsp) margarine, melted
1 cup sugar
zest of 1 lemon
1 and 1/2 cup tofutti sour cream
2 eggs
3 tsp baking powder
1/2 tsp baking soda
1/2 tsp salt
3 cups all-purpose flour
3 cups blueberries (I used frozen)
12 tsp turbinado sugar (sugar in the raw)

Directions:

Heat oven to 375˚F and line a muffin tin with 12 liners.

IMG_1144.jpg

Put melted margarine, sugar, zest, tofutti sour cream and eggs in a bowl and mix well.

IMG_1146.jpg

Add baking powder, baking soda, salt and flour, mix well.

IMG_1148.jpg

Fold in blueberries.

IMG_1149.jpg

Divide batter between muffin cups (let it be a lot) and add 1 tsp turbinado sugar to the top of each muffin.

IMG_1150.jpg

Bake for 30-35 minutes until the tops are perfect, crunchy and golden brown.

IMG_1151.jpg

These freeze very well and are a great go to muffin recipe. Serve to a crowd or throw them in your lunch to brighten up your day.

IMG_1156.jpg

Science Fact of the Week:

Tofutti sour cream is made with a mixture of different types of soy including tofu and don’t any contain dairy. However, it still contains a very similar texture to dairy sour cream because of its products such as carrageenan gum, inulin and rice starch.

Israeli Style Granola

IMG_1290.jpg
This granola is based on a recipe from Macheneh Yehuda in Jerusalem.  Once you have tasted this granola, you probably won’t make it any other way.  Tastes great on its own as a snack, and of course, goes well with yogurt.  This recipe can be gluten-free by using gluten-free oats.

Ingredients:

½ cup coconut oil
1 cup coconut sugar
1 cup date honey
1 tsp. ground cinnamon
Pinch of kosher salt
6 cups rolled oats
2 cups each of whole raw almonds and hazelnuts
1 cup large flake coconut
1 cup raw cashews
1 cup each of pumpkin seeds, sesame seeds and sunflower seeds
1 cup dried cranberries
1 cup dried currants

Directions:

Preheat oven to 325F.  Line 2 large rimmed baking sheets with parchment paper.  Combine oil, sugar, honey, cinnamon and salt in a saucepan over medium heat and stir until sugar dissolves.

IMG_1292.jpg

In a large bowl, combined oats, almonds, hazelnuts, coconut, cashews, and pumpkin, sesame and sunflower seeds.

IMG_1291.jpg

Pour sugar mixture on top and stir well. Spread on the two baking sheets and bake for 30 minutes.  Flip mixture, add cranberries and currants and bake for another 20 minutes or longer until golden brown.

IMG_1293.jpg

IMG_1294.jpg

Science Fact of the Week:

This granola uses tons of natural ingredients to make a delicious granola with many flavours. The almonds in this granola have healthy fats, fibre, and protein, leading this to be a nutritious snack. Throw this on top of some yogurt for a delicious and nutritious breakfast.

Green Tea Cupcakes with Cream Cheese Frosting

IMG_0996.jpg

Time for another cupcake! This time green tea with cream cheese frosting. The pairing is unique

Ingredients:

For the cupcake

1.5 cups cake flour
1 1/4 cup sugar
1 1/4 tsp baking powder
1 tbsp matcha powder (I use vanilla matcha from David’s Tea)
1 tsp kosher salt
1 stick butter, room temperature, cut into 1/2 inch cubes
2 eggs
1/2 cup milk
1 tsp vanilla

For the icing

8 oz brick of cream cheese, room temp
1 stick butter, left out for 30 minutes
3 cups powdered sugar
1 tsp vanilla extract

Directions:

For the Cupcakes:

Preheat oven to 350˚F and line a muffin tin with paper liners.

Directions:

For the Cupcake:

Preheat the oven to 350˚F and line a muffin tin with cupcake liners.

Mix first 5 dry ingredients in a mixmaster.

IMG_0926.jpg

Add in butter, one cube at a time, until combined and mixture looks like coarse sand.

IMG_0927.jpg

Add eggs, one at a time at low speed.

IMG_0928.jpg

Add milk and vanilla slowly and beat for 2 minutes.

IMG_0929.jpg

Fill liners.

IMG_0931.jpg

Bake for 15-20 minutes.

IMG_0932.jpg

For the Icing:

With a paddle attachment, cream butter and cream cheese. Add the powdered sugar 1 cup at a time.

Add the tsp of vanilla and mix slowly. If it is too thick at 1/2 tsp of milk at a time until you have the right consistency.

Science Fact of the Week:

I often asked what makes cake flour so special? Why do we use it? Now I’ve found the answer! It actually relates to protein! Cake flour has less protein in it, giving it a softer texture.

Texas Sheet Cake

IMG_0973.jpg

This large rich and delicious chocolate cake is a nut-free version of the pecan covered Texas sheet cake which has been made in the U.S. for years. One unique feature of this recipe is that the frosting is warm when spread over the hot cake immediately after it comes out of the oven. The frosting and cake blend together into one layer as the cake cools.

For the cake:

2 cups unbleached all-purpose flour
2 cups granulated sugar
½ tsp. baking soda
½ tsp. salt
2 large eggs, room temperature
2 large egg yolks, room temperature
2 tsp. pure vanilla extract
¼ cup nondairy sour cream (Tofutti)
8 oz. bittersweet chocolate, chopped
4 tbsp. unsalted pareve margarine (1/2 stick)
¾ cup grapeseed/olive/canola oil
¾ cup water
½ cup cocoa powder

For the Icing:

1 stick unsalted pareve margarine (8 tbsp)
½ cup Nutriwhip
½ cup cocoa powder
1 tbsp. corn syrup
3 cups icing sugar
1 tbsp. pure vanilla extract
sprinkles

Directions:

For the Cake:

Preheat the oven to 350F. Spray an 18×13 –inch rimmed baking sheet with cooking spray.  Combine the first 4 dry ingredients in a large bowl.

IMG_0964.jpg

Whisk the eggs, yolks, vanilla, and sour cream in another bowl until smooth.

IMG_0963.jpg

Heat the chocolate, margarine, oil, water and cocoa in a large saucepan over medium heat, stirring occasionally, until smooth, 3-5 minutes.

IMG_0965.jpg

Whisk the flour mixture into the chocolate mixture.

IMG_0966.jpg

Whisk the egg mixture into the batter.

 .jpg

Pour into the prepared baking sheet.

IMG_0968.jpg

Bake for 18 minutes.

IMG_0971.jpg

For the Icing:

About 5 minutes before the cake is done, heat the margarine, Nutriwhip, cocoa, and corn syrup in a large saucepan over medium heat, stirring occasionally, until smooth.

IMG_0969.jpg

Off the heat, whisk in the icing sugar and vanilla.

IMG_0970.jpg

Spread the warm icing evenly over the hot cake. Cover the cake with any type of sprinkles.

IMG_0972.jpg

Let the cake cool to room temperature, about 1 hour, then refrigerate until the icing is set, about 1 hour longer.

Science Fact of the Week:


Sour cream is considered an odd ingredient to put in baked goods, however is is considered a standard ingredient for Texas sheet cake. It provides extra moisture and creaminess to the cake.

Red Velvet Cupcakes with Cream Cheese Frosting

IMG_0991.jpg

I have made this recipe a few times, originally from Ina Garten. There are a lot of steps, but you end up with a delicious soft red velvet cupcake thats worth it.

Ingredients:

For the Cupcakes

1 stick butter, softened
1 1/2 cup sugar
2 eggs
1 tsp gel food colouring (+1 tsp water) or 2 tbsp liquid food colouring
2 1/2 tbsp cocoa powder
1 cup buttermilk
2 1/4 cup cake and pastry flour
1 tsp salt
1 tsp baking powder
1 tsp vanilla
1 tsp baking soda
1 tsp white vinegar

For the icing

8 oz brick of cream cheese, room temp
1 stick butter, left out for 30 minutes
3 cups powdered sugar
1 tsp vanilla extract

Directions:

For the Cupcakes:

Preheat oven to 350˚F and line a muffin tin with paper liners.

Cream butter and sugar until light and fluffy

IMG_0937.jpg

In a small bowl, mix gel food colouring with 1 tbsp of water and cocoa powder. Mix with a fork until it becomes a paste.

IMG_0935.jpg

Add cocoa food colouring mixture to the butter mixture and beat until combined.

IMG_0939.jpg

Add eggs and mix well after each addition.

IMG_0941.jpg

Mix dry ingredients in a separate bowl.

IMG_0936.jpg

Add vanilla to buttermilk. I didn’t have any buttermilk on hand so I made a substitute at home. I put 1 tbsp lemon juice in a 1 cup measuring cup and filled to the top with 1% milk.

IMG_0934.jpg

Add dry and wet ingredients, alternating between the two until well incorporated.

IMG_0941.jpg

In a separate bowl mix baking soda and vinegar. The two will bubble (similar to your grade 7 science experiment). Mix until it stops bubbling and add to the batter. Mix well.

IMG_6275.JPG

Transfer to muffin liners.

IMG_3152.JPG

Bake for 15-20 minutes.

IMG_6005.JPG

For the Icing:

With a paddle attachment, cream butter and cream cheese. Add the powdered sugar 1 cup at a time.

Add the tsp of vanilla and mix slowly. If it is too thick at 1/2 tsp of milk at a time until you have the right consistency.

Science Fact of the Week:

As you can probably guess, seeing as this recipe relates to a classic middle school science experiment, it seemed important to explain the science of mixing baking soda and vinegar. The mixing the reaction generates carbon dioxide gas. This is an example of an acid base reaction. It helps the red velvet rise well to make a light and airy cupcake.

Deconstructed Lemon Meringue Pies

IMG_0960.jpg

A much easier way to make lemon meringue pie…adapted from Smitten Kitchen, there are 3 easy steps and the final product is quite impressive.  This gluten-free dessert can also be made for Passover by substituting the Nutriwhip with a Kosher for Passover whipping cream, and by omitting the cream of tartar.

Ingredients:

3 large egg whites, at room temperature
¼ tsp. cream of tartar
¾ cup granulated sugar
Pinch of kosher salt
2 lemons zested
1 ¼ cups granulated sugar
1 cup freshly squeezed lemon juice
6 large egg yolks
5 tbsp. unsalted pareve margarine
2 cups Nutriwhip

Directions:

Preheat oven to 250F. Line a large baking sheet with parchment paper.  Beat the egg whites with an electric mixer fitted with the whisk attachment until frothy, then add the cream of tartar and continue to beat until they hold soft peaks.

Very gradually add the sugar, then the salt, beating the whole time, and continue whipping the whites until they hold thick, glossy peaks.

IMG_0953.jpg

Spread the meringue to about a ¼-to-1/2-inch thickness on the prepared sheet.

IMG_0955.jpg

Bake for 90 minutes, until the meringue slab is dry and firm but not browned on top.  Let the slab cool completely at room temperature.

IMG_0958.jpg

To make the lemon curd, combine the sugar and zest in a bowl of a double boiler and use your fingertips to rub them together to release the flavour from the peel.

IMG_0956.jpg

Add the lemon juice, egg yolks and margarine, and set the bowl over an inch of boiling water.  Cook, stirring constantly, until the mixture begins to gel or thicken slightly.  Remove from the heat, and strain through a fine-mesh sieve.  Place plastic wrap directly over the lemon mixture and refrigerate until ready to use (up to one week in advance).

IMG_0957.jpg

Whip the “cream” until it holds soft peaks in the bowl of the electric mixer fitted with the whisk attachment.

IMG_0959.jpg

To assemble, crumble a little of the meringue into each of 9 glasses, dollop with whipped “cream,” and top with a spoonful of the lemon curd. Repeat the layers and then top off with a little crumbled meringue.  Refrigerate until ready to serve.

IMG_0961.jpg

Science Fact of the Week

When you beat egg whites, you are mixing air into them. Meringues are light and airy desserts, and it is important not to over whip the egg whites. It is commonly said to whip the egg whites until they have stiff glossy peaks. Beyond this point the eggs can be over whipped, creating a grainy and dull texture.

Cookies and Cream Mini Cheesecakes

IMG_0868.jpg

These little cheesecakes are a favourite for any event. Easy to eat without a plate or cutlery, these cheesecakes leave behind very little mess.

Making these, I intended to add a fudge swirl to modify the recipe from Martha Stewart’s Original. Upon realizing I forgot muffin liners (AFTER already forgetting Oreos) I rushed out to the grocery store with my friend to pick some up. I came home to find my house filled with smoke because I left the fudge melting on the stove. Luckily there was no fire and I baked some challah to cover the smell of smoke. Thanks DN for the support and help throughout this adventure.

Taking this as a sign that I shouldn’t change the recipe, the only changes I made were using light cream cheese and sour cream.

Ingredients:

18 Oreos (any type, try a fun flavour to change it up)
2 8-ounce packages light cream cheese, room temperature
1/2 cup granulated sugar
1 tsp vanilla extract
2 large eggs
1/2 cup light sour cream
a pinch of salt

Directions:

Preheat the oven to 275˚F and line a muffin tin with liners (that you purchased in advance). Place 1 whole Oreo in the bottom of each liner.

In an electric mixer beat the cream cheese.

IMG_0861.jpg

Add sugar and beat again.

IMG_0863.jpg
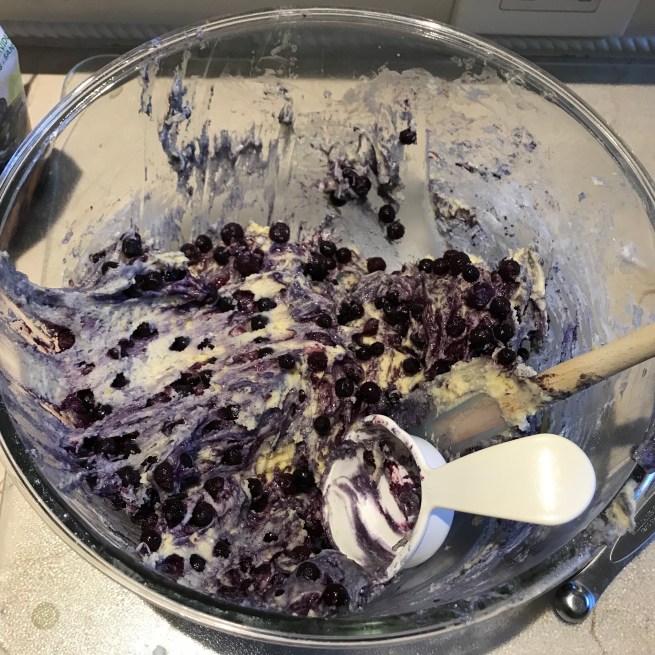
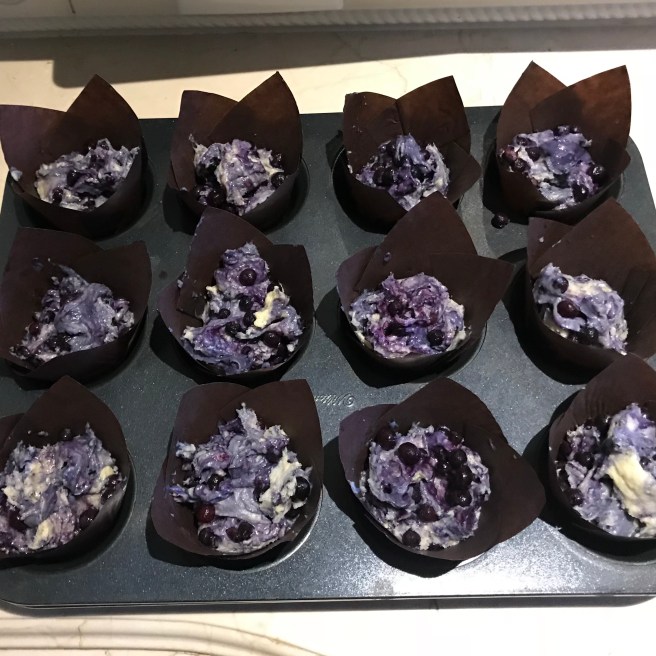
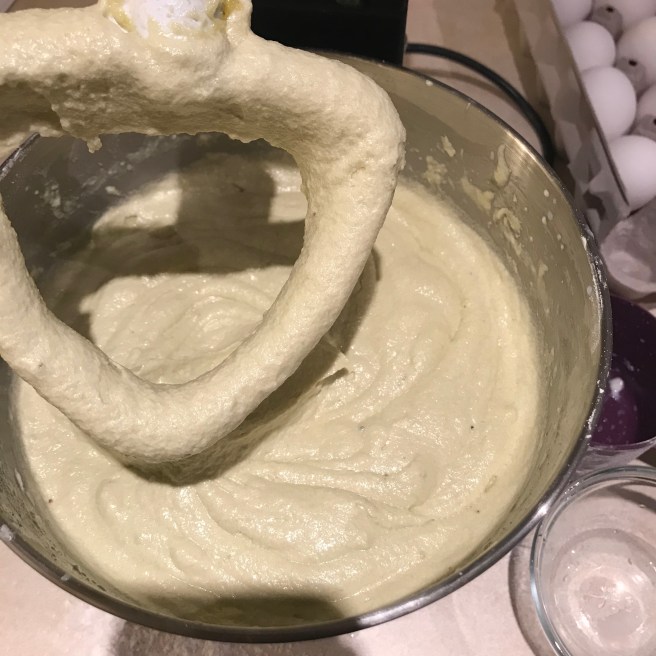
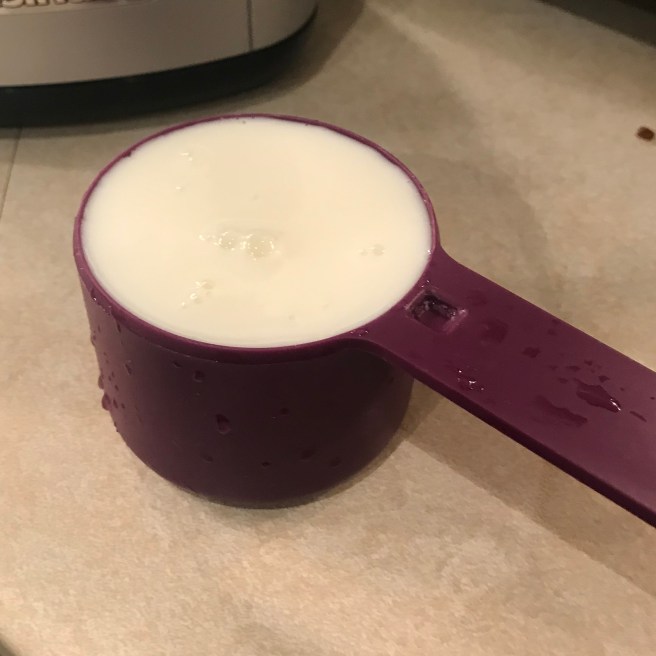
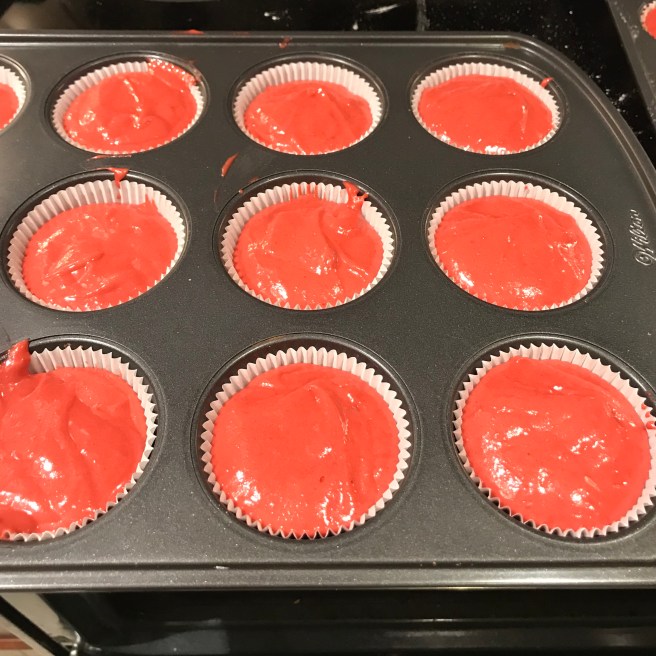
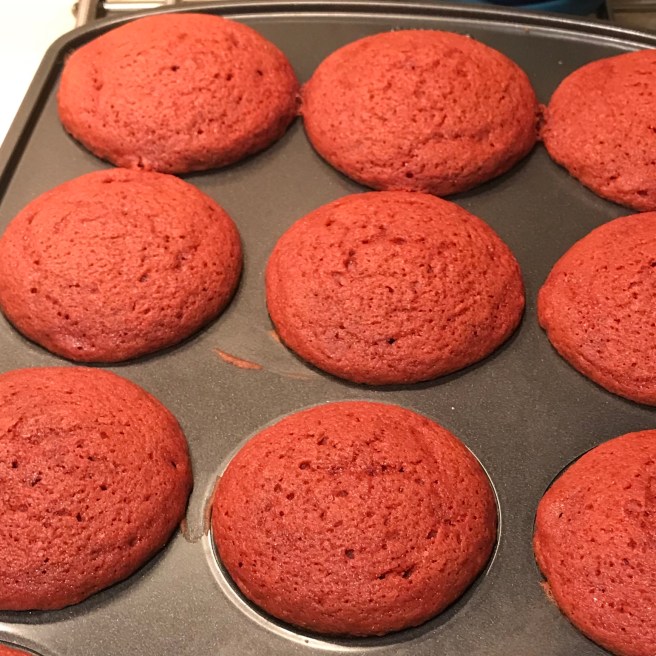
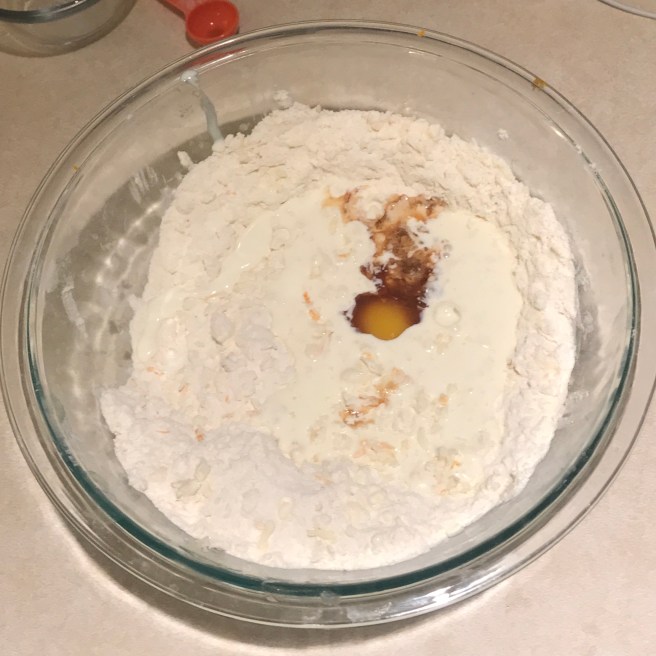
Crack two eggs into a separate bowl and beat together.

IMG_0864.jpg

Add vanilla and the egg mixture slowly.

IMG_0865.jpg

Place remaining 6 Oreos in a ziplock back and break apart (using a rolling pin). Stir in oreos.

Divide batter into muffin liners and bake for 25 minutes. Refrigerate for 4 hours.

IMG_0867.jpg

These can be stored in the fridge (in an airtight container) for 3 days or the freezer for 1 month.

Science Fact of the Week:

Sour cream is a dairy product that results from fermenting cream with lactic acid bacteria. Sour cream is high in healthy fats which may be protective against disease. It is also rich in nutrients such as vitamin A, riboflavin and phosphorous. These nutrients are essential for eyesight, immune health, bone health and energy.

Raisin Bran Muffins

IMG_0884.jpg

These muffins are simple to make and freeze nicely. Make a big batch and stick them in the freezer for a quick breakfast or snack on the go.


IMG_0877.jpg

Ingredients:

1/3 cup olive/grapeseed/canola/coconut oil
2 cups wheat bran
1 ½ cups raisins
1 cup prune juice
1 cup nondairy sour cream
1/3 cup molasses
2 large eggs
1 tsp. pure vanilla extract
1 cup unbleached all-purpose flour
1 cup whole wheat flour
2 tsp. baking powder
1 tsp. baking soda
1 tsp. kosher salt

Directions:

Preheat oven to 375F and line a 12 muffin tray with paper liners.
Combine oil, wheat bran, raisins, prune juice, sour cream, molasses, eggs and vanilla in a large bowl. Let stand for 10 minutes.

IMG_0878.jpg

IMG_0879.jpg
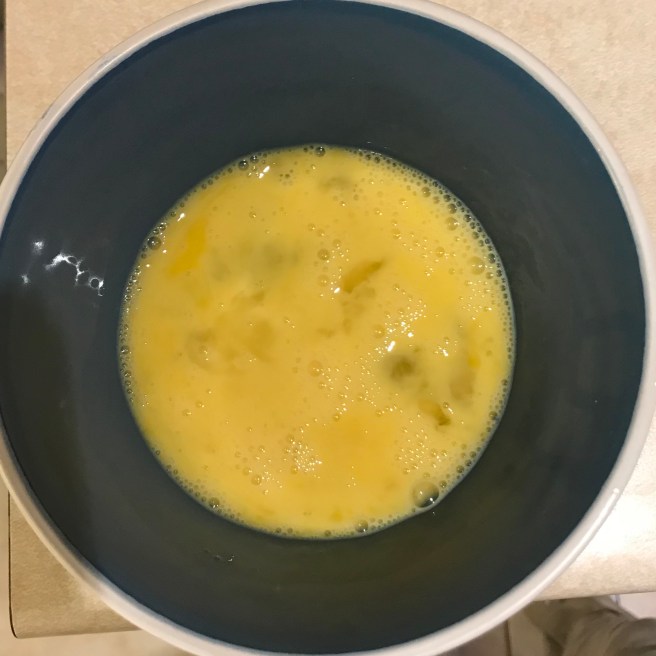
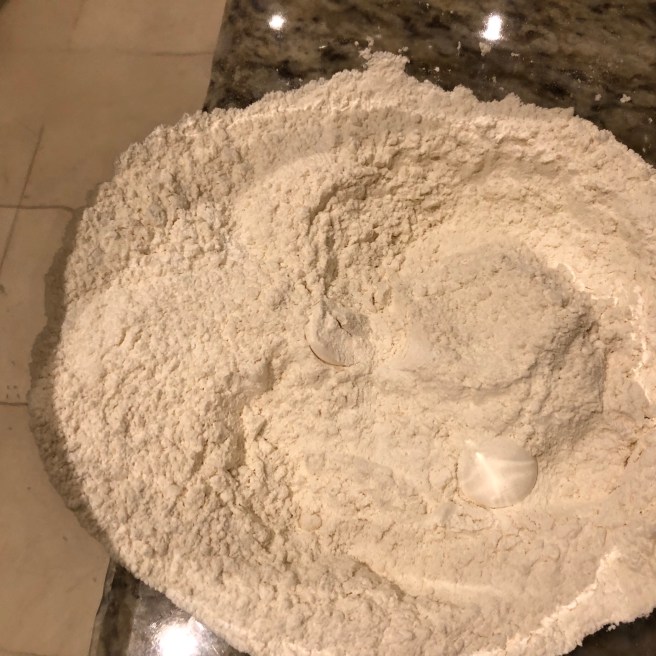
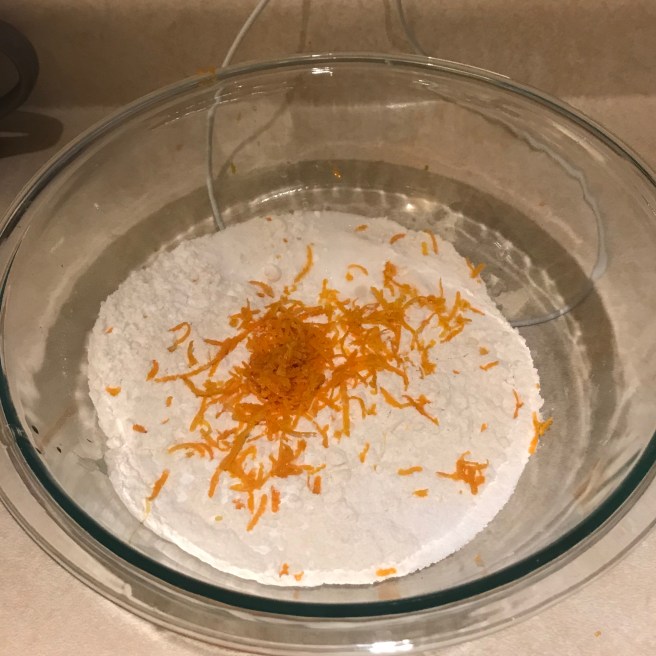
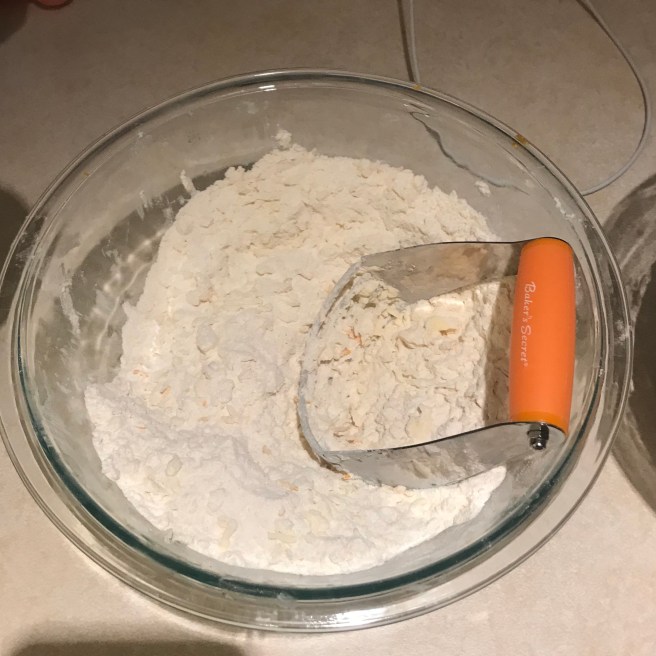
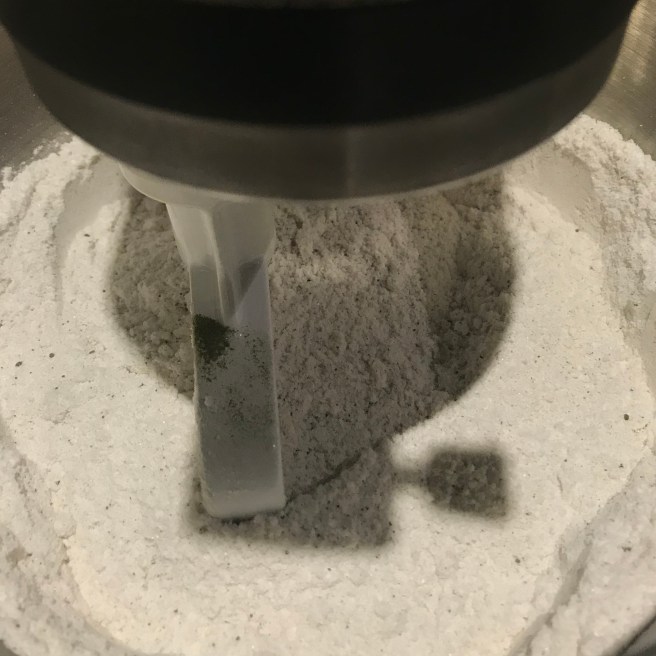
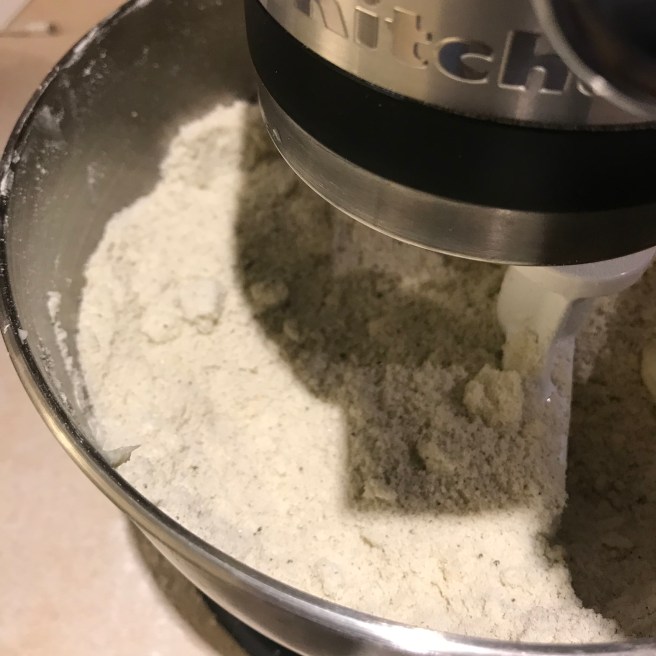
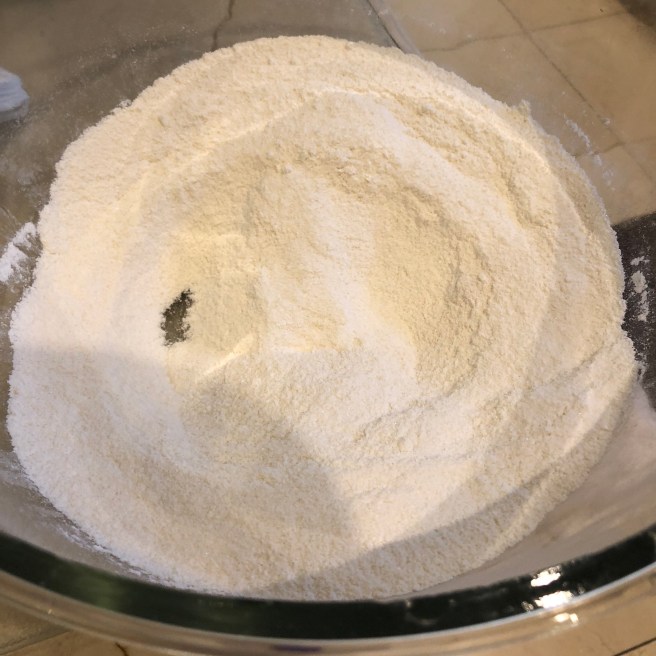
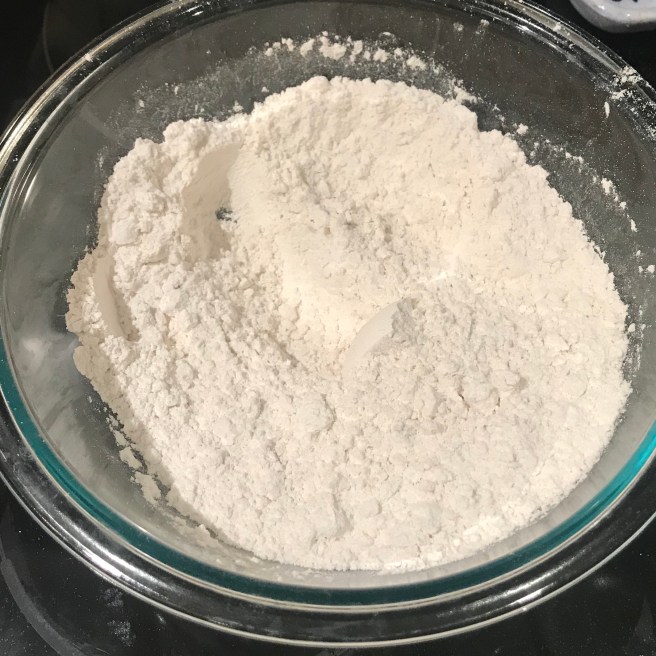
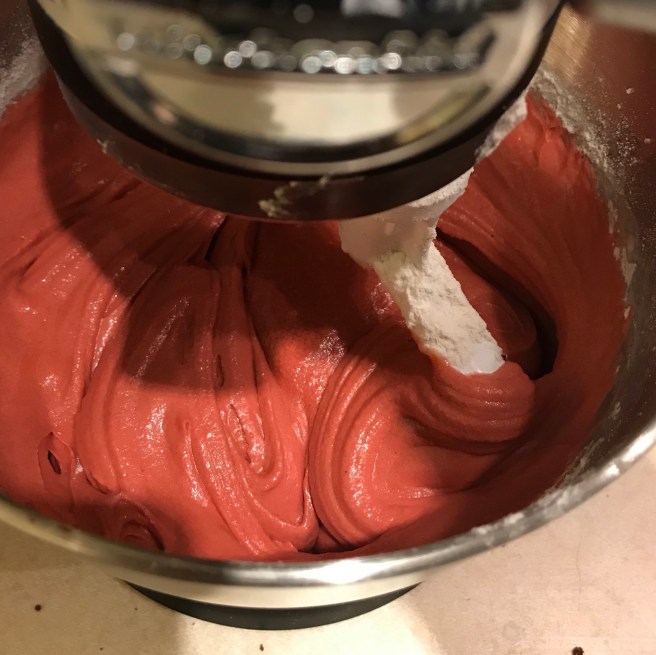
Whisk together flours, baking powder, baking soda, and salt in a separate bowl.

IMG_0880.jpg

Stir dry ingredients into the bran mixture just until dry ingredients are moistened.

IMG_0881.jpg
Fill muffin cups and bake for 20 minutes.

IMG_0882.jpg

IMG_0883.jpg

An absolutely delicious bakery-style bran muffin loaded with fibre and with no added sugars. Feel free to top with turbinado sugar if you want to increase the sweetness factor. These freeze well for 2 months if sealed well in a plastic bag.

Science Fact of the Week:

These muffins are packed with fibre and contain prune juice as a hidden ingredient. Together these are great for constipation, and make these muffins a natural health alternative to treating tummy troubles. As well, it is packed with essential vitamins and nutrients that make this muffin a quick and easy breakfast.

Cranberry Orange Scones

IMG_0765.jpg

These were again created off the same favourite base scone flavour. They truly work with any combination of flavour and are a great snack to keep on hand.

Make ahead and freeze the dough for a quick and fresh treat.

Thanks AH for the flavour suggestion and the help making these.

Ingredients:

For the scone

2 cups (240 g) all-purpose flour (plus extra for counters)
6 tbsp. (75g) granulated sugar
2 and 1/2 tsp. baking powder
1/2 tsp. salt
zest of one orange
1/2 cup (115 g) unsalted butter, frozen (I throw it in the freezer ice drawer about 20 mins before I start making the scones, and take it out only when I’m ready to use it)
scant 1/2 cup heavy cream (I use 35% Cooking Cream)
1 tsp. pure vanilla extract
1 large egg

For the glaze

1 cup (120 g) confectioners’ sugar
2-3 tbsp fresh orange juice

Directions:

Mix the the first 5 ingredients (flour, sugar, baking powder, salt and orange zest) in a large bowl.

IMG_0753.jpg

Grate frozen butter (simplest to use food processor). Add butter to flour mixture and combine with pastry blender or fork. Mix until flour is combined and no larger than pea sized amounts remain.

IMG_0755.jpg

Create a well in the centre and add cream, vanilla and an egg.

IMG_0759.jpg

Mix wet ingredients in the well with a fork. Combine dry and wet ingredients with a spatula.

Shape and slice the dough exactly as done in Earl Grey Scones with Vanilla Glaze.

IMG_0760.jpg

IMG_0761.jpg

Bake for 12-17 minutes (15 minutes works perfectly for me).

IMG_0763.jpg

Science Fact of The Week

A single orange can contain 75% of the recommended dose of vitamin C. Maintaining regular doses of vitamin C can be preventative of cancer and cardiovascular disease. Last year I wrote a literature review of vitamin C and cancer, looking at its use even as a cancer treatment. To get some extra vitamin C, you can eat the extra orange left after juicing! Contrary to popular belief, vitamin C is actually higher in other natural food such as red and green peppers!