
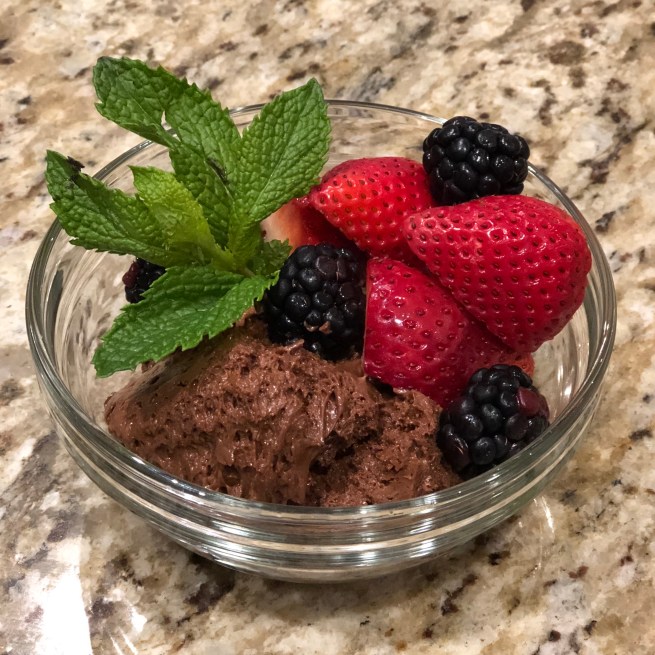
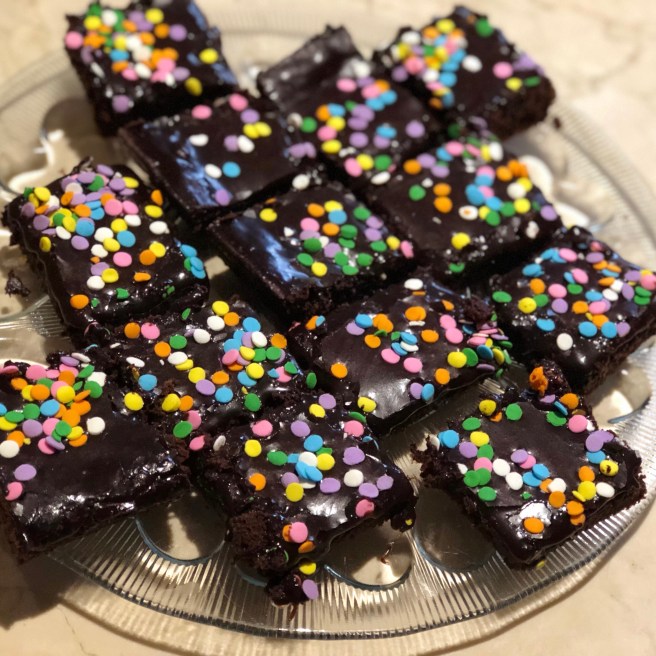
These chocolate chip cookies are from BuzzFeed and are delicious! I modified them a little to be non-dairy. Follow the instructions carefully and they will turn out perfectly. I recommend using a scale to measure ingredients. If you don’t have one, I recommend scooping and levelling the ingredients to ensure they are measured accurately.
These cookies are delicious and disappear rather quickly. I recommend doubling the batch because they are such a hit.
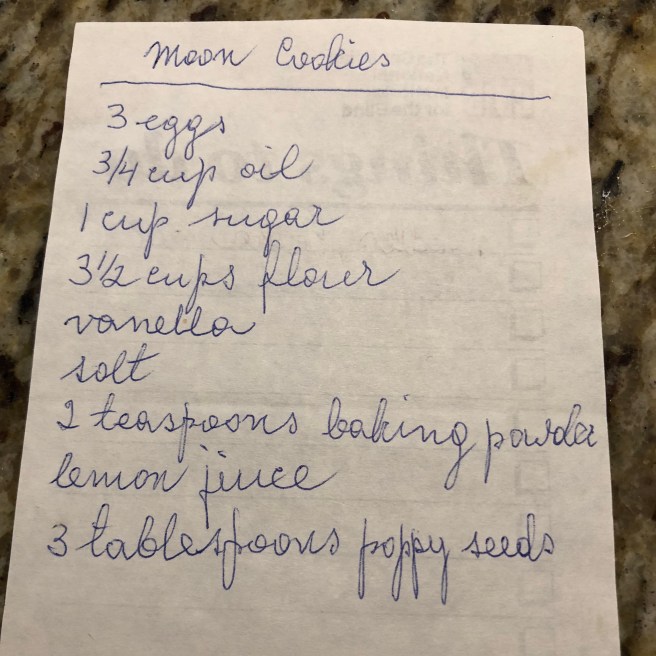
Ingredients:
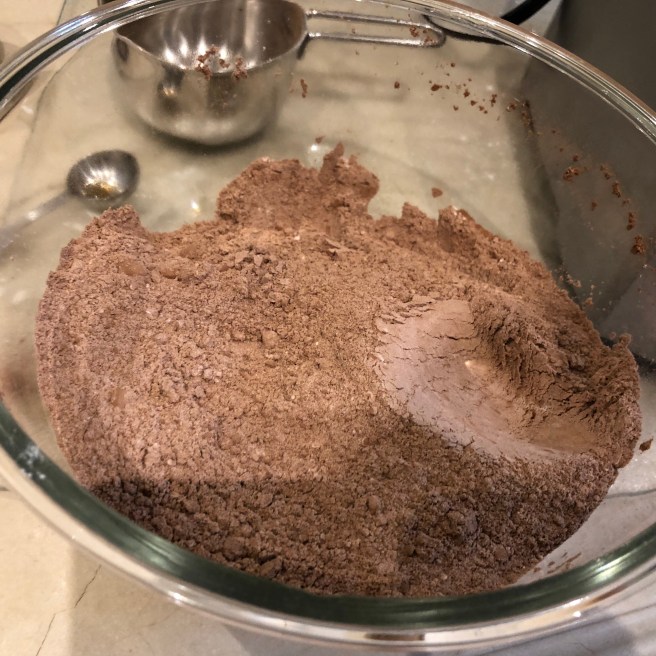
2 1/2 cups all purpose flour (300g)
1 1/2 tsp salt
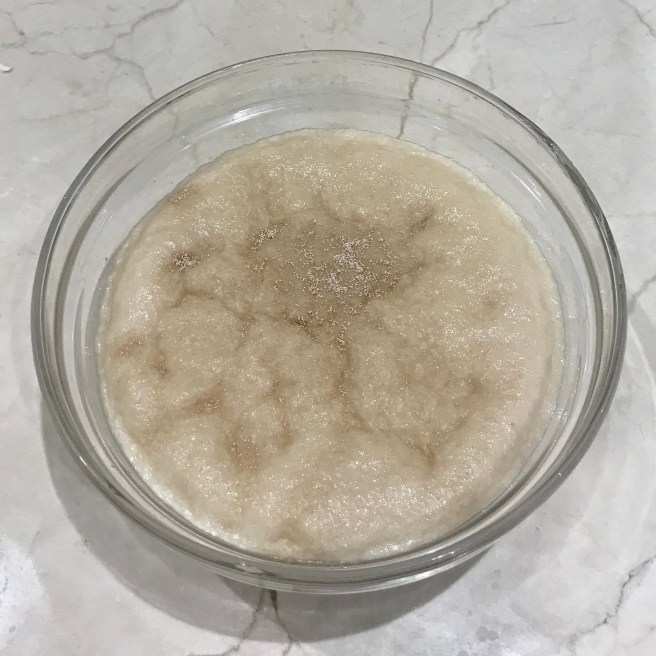
1 tsp baking soda
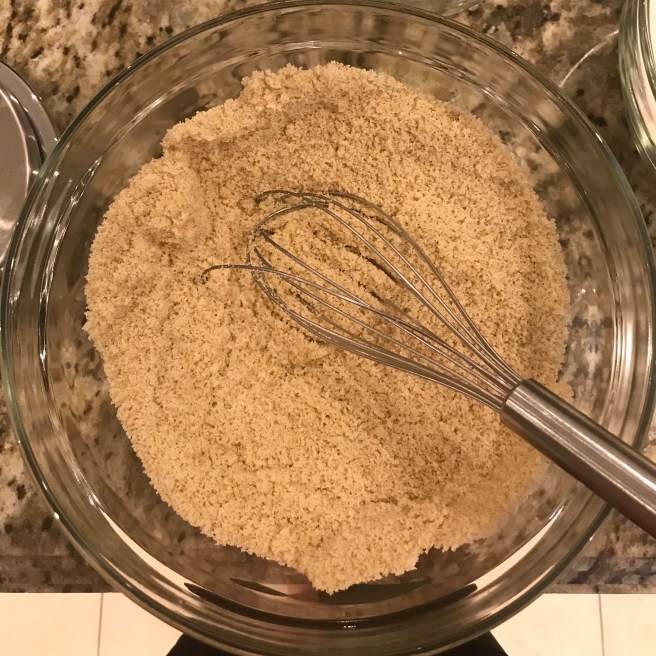
1 1/4 cup packed LIGHT brown sugar (250 g)
3/4 cup granulated sugar (175 g)
1 3/4 sticks of margarine, melted
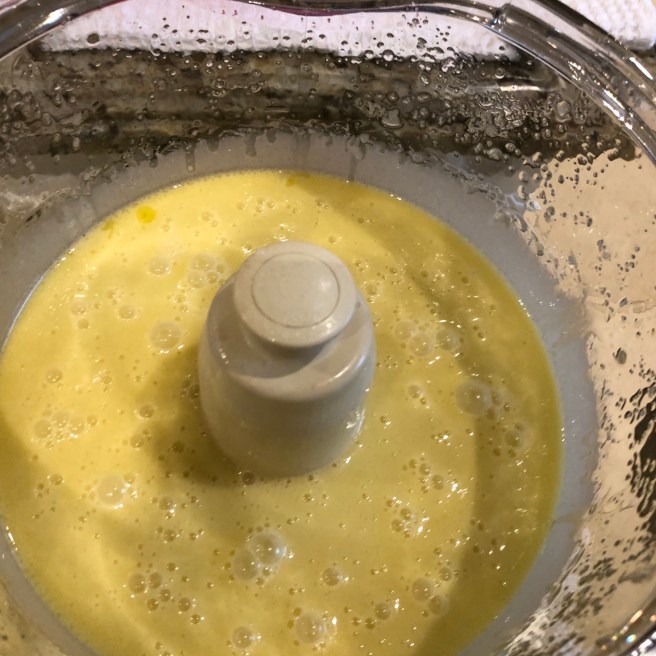
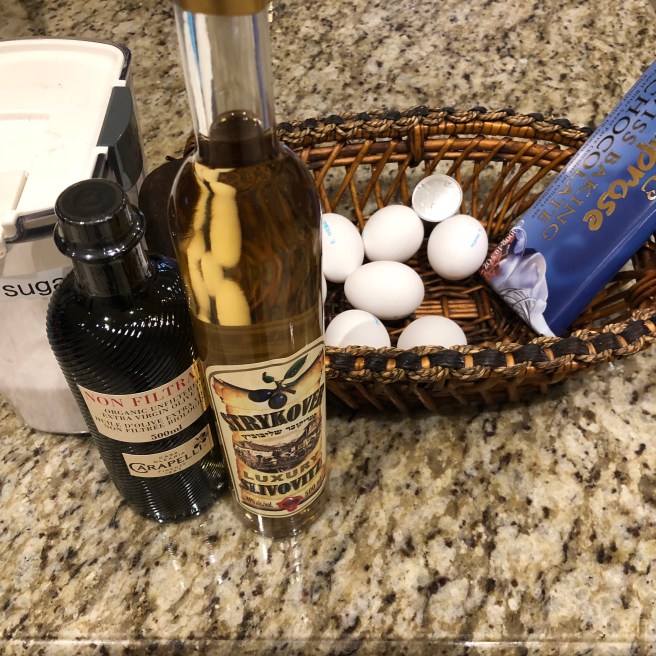
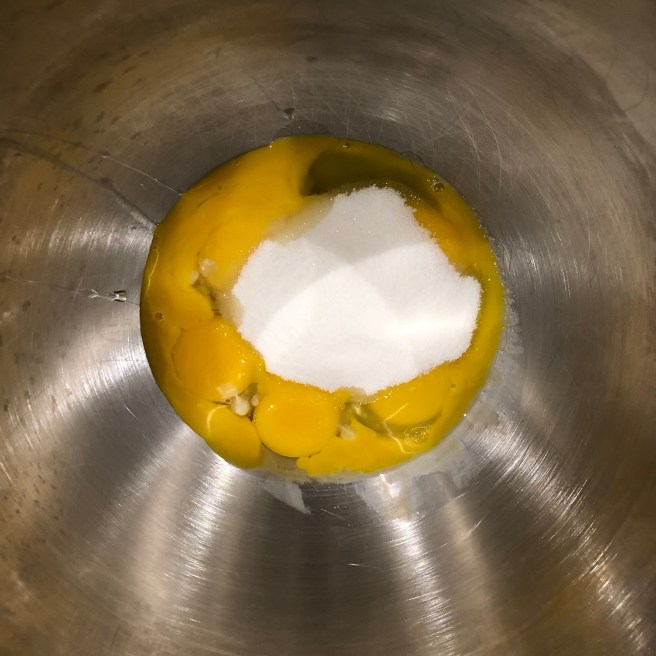
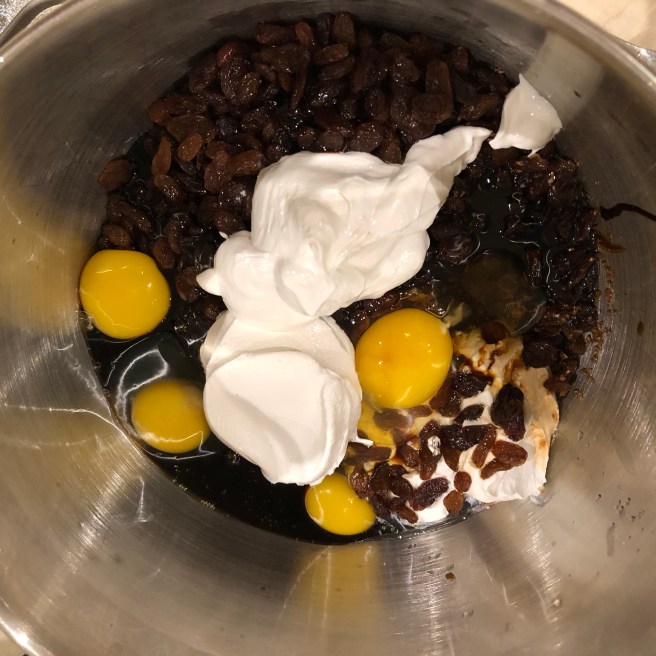
2 eggs
1 tsp vanilla extract
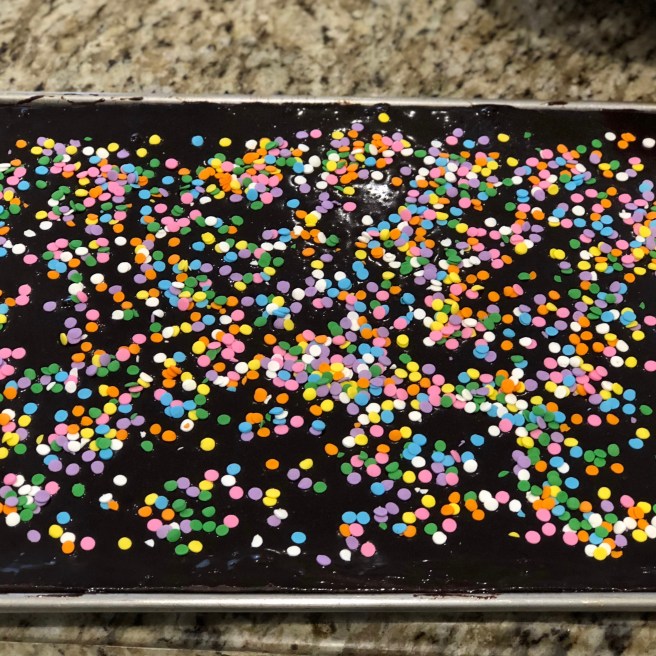
2 cups of non-dairy chocolate chips
Flakey Sea Salt
Directions
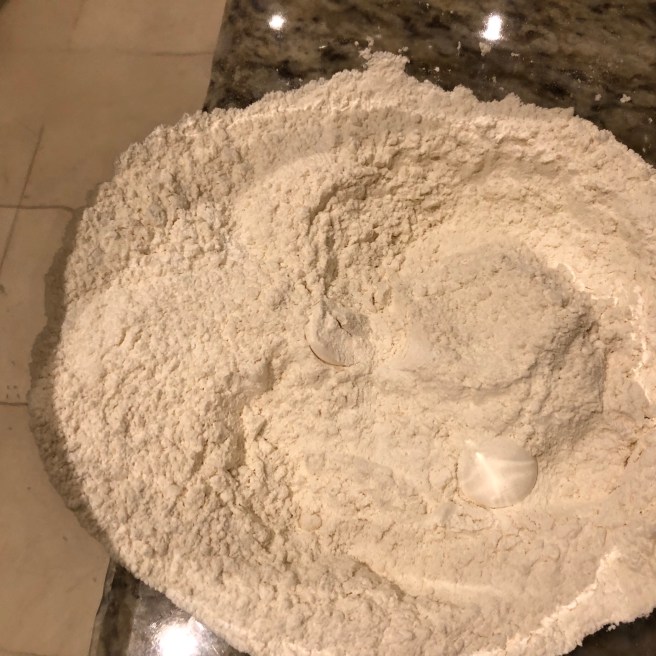
Mix flour, salt and baking soda.

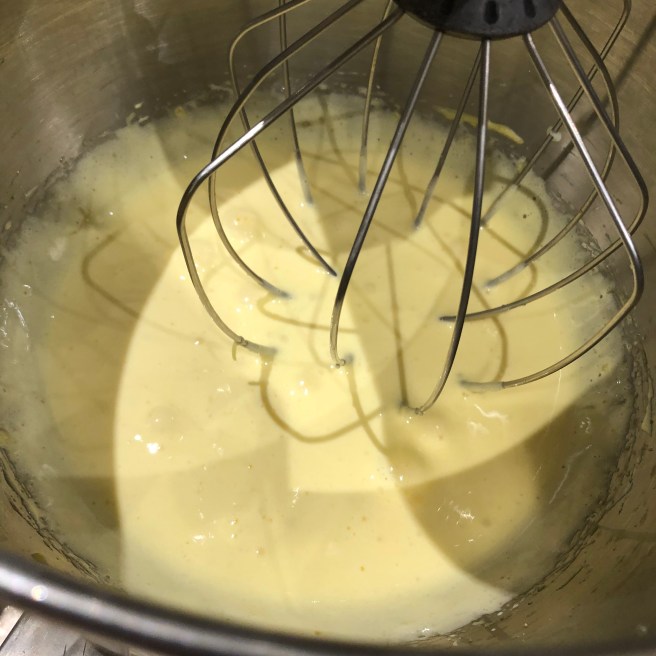
Whisk sugars and break and large chunks with your fingers
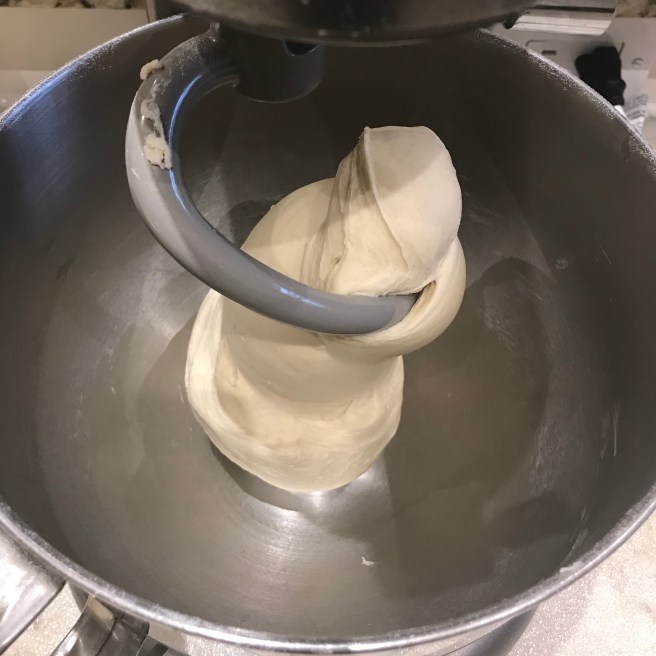
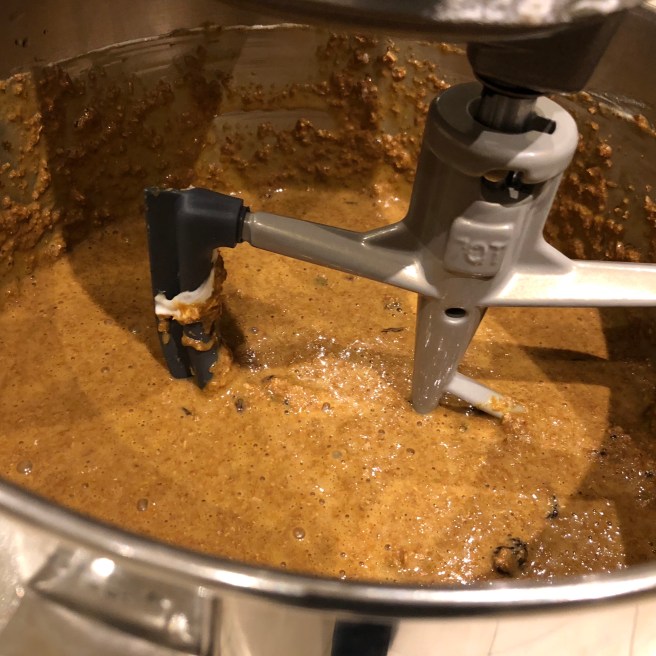
Add melted margarine and mix for 1 minute. 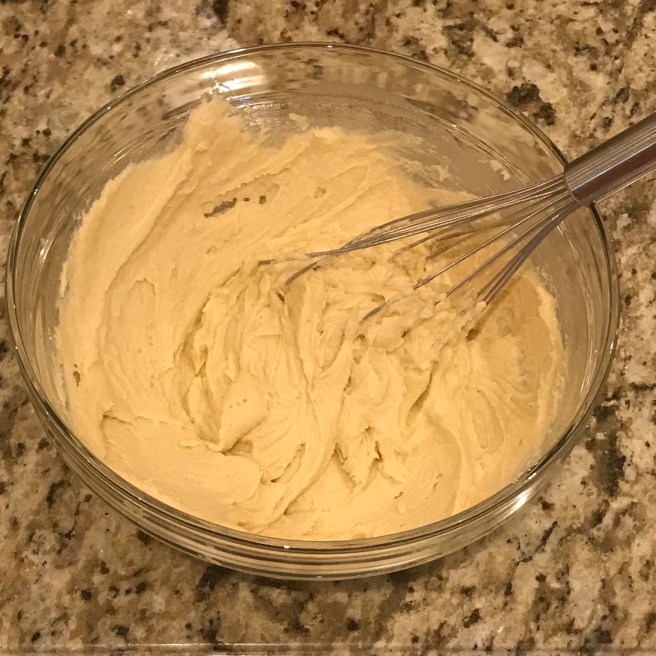
Add eggs one at a time and mix well.
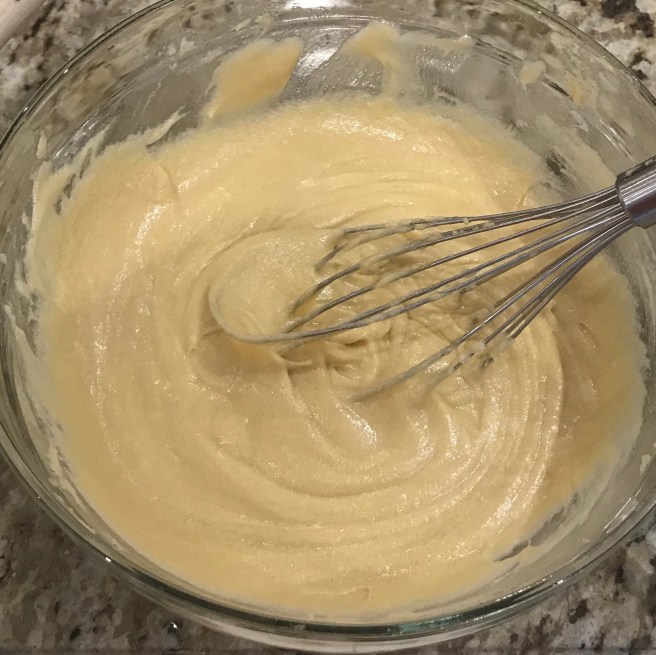
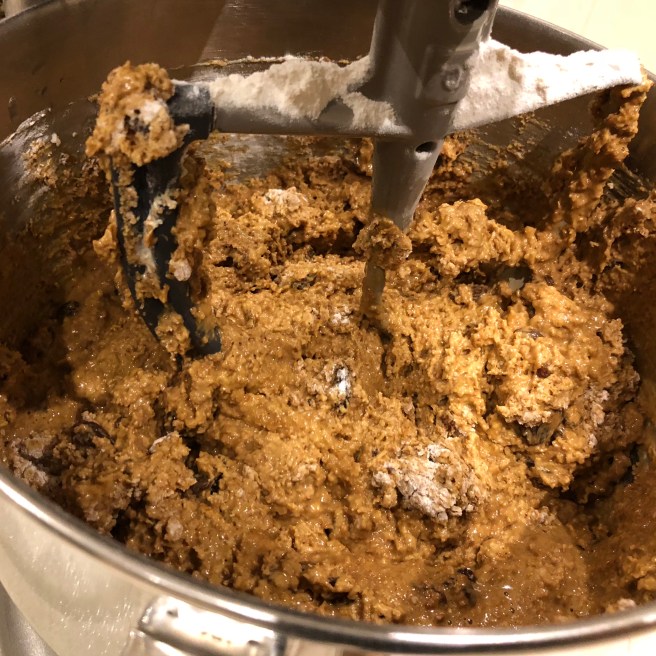
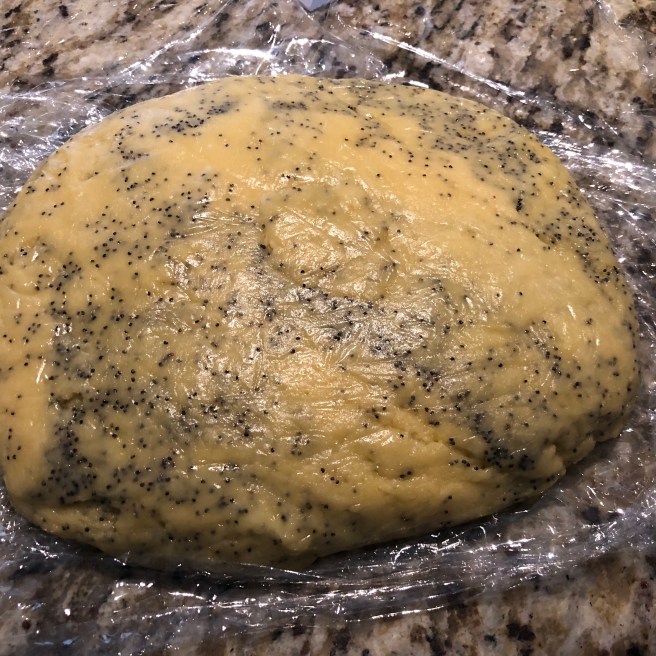
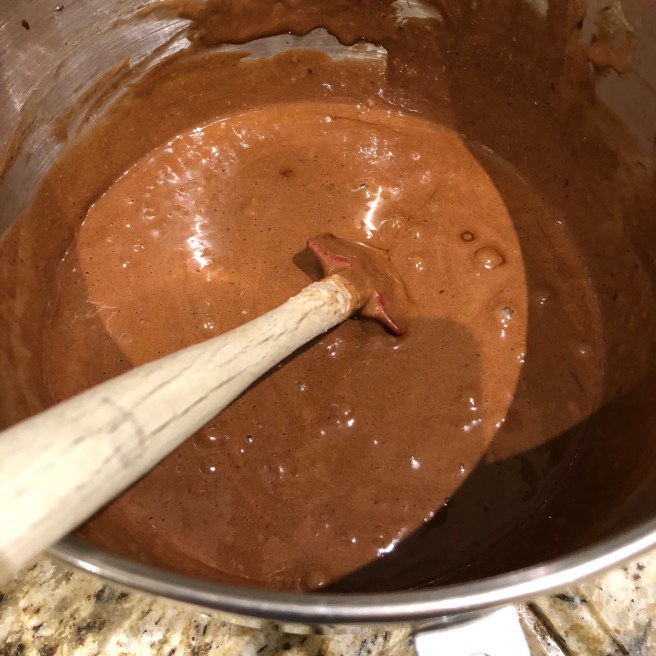
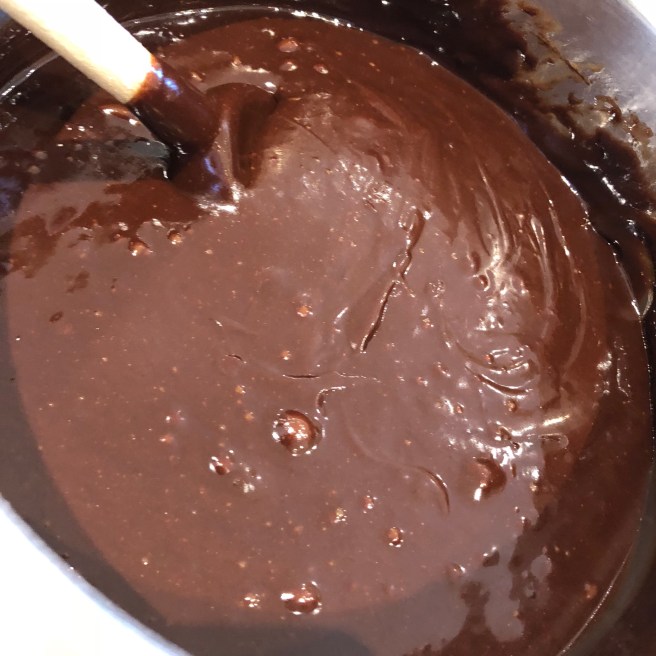
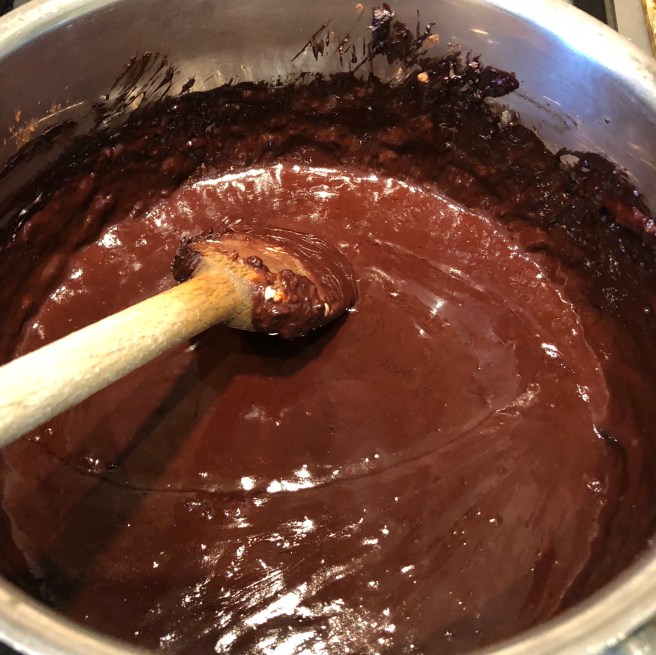
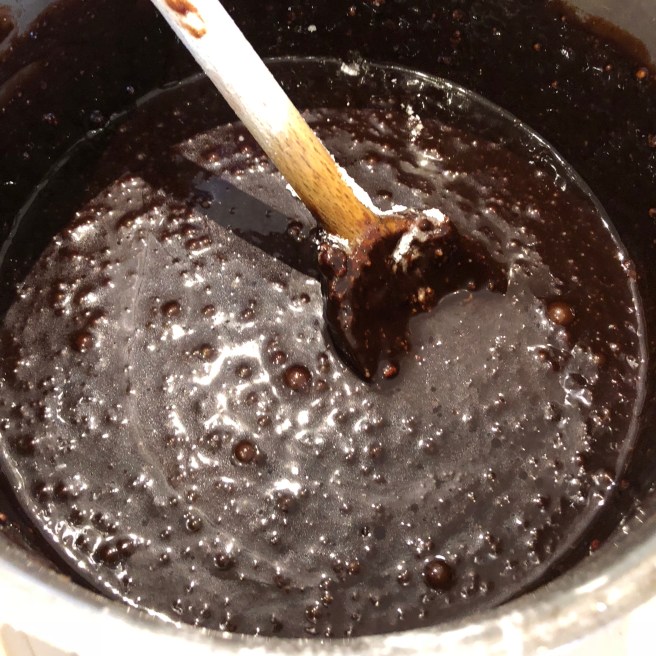
Add flour mixture to wet ingredients and mix well. Add chocolate chips and mix with a spatula. 
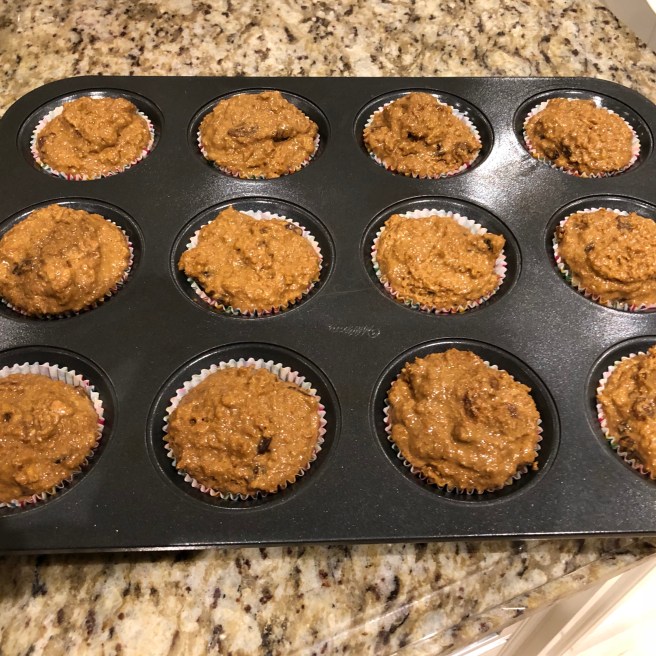
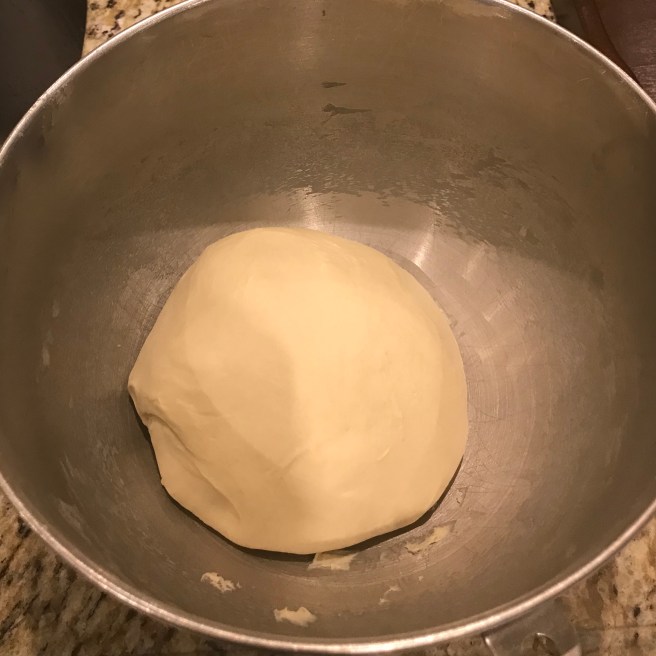
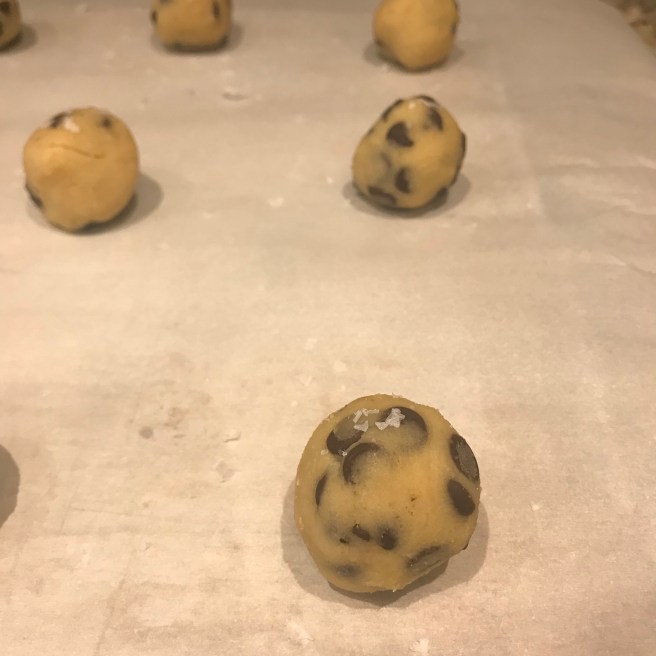
Refrigerate the batter for 10 minutes and then scoop into balls using a cookie scoop. 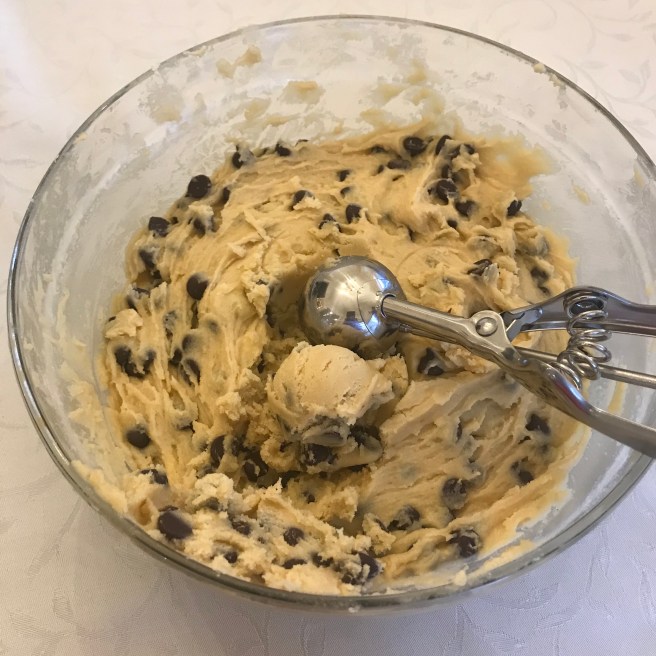
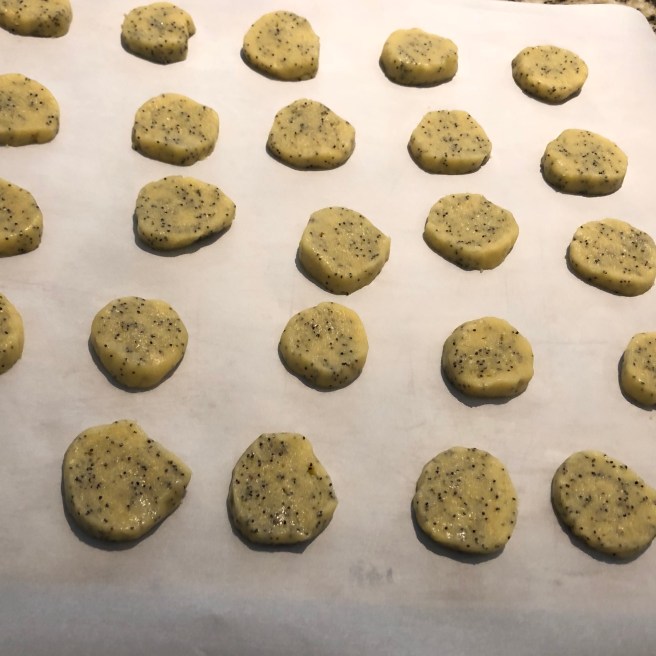
Place dough balls on a tray and wrap with plastic wrap. Put in the fridge for at least 4 hours and up to 3 days. At this point the balls can also be put in a ziplock bag and frozen for up to 3 months.

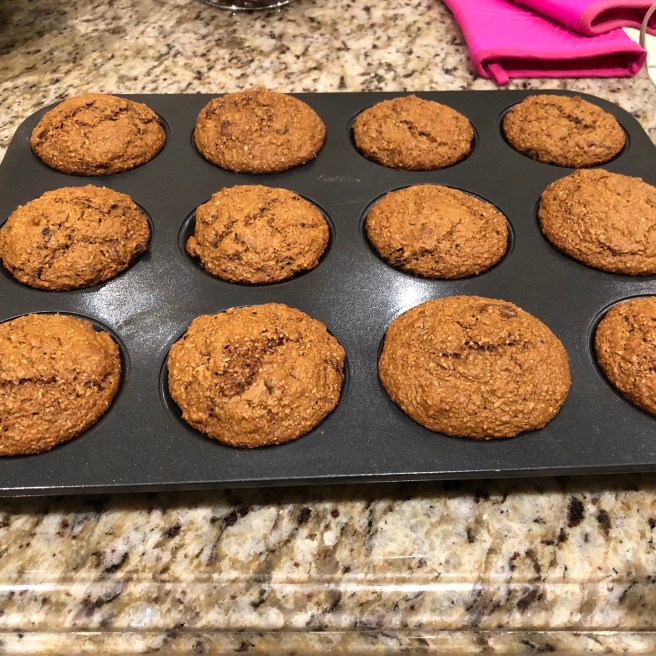
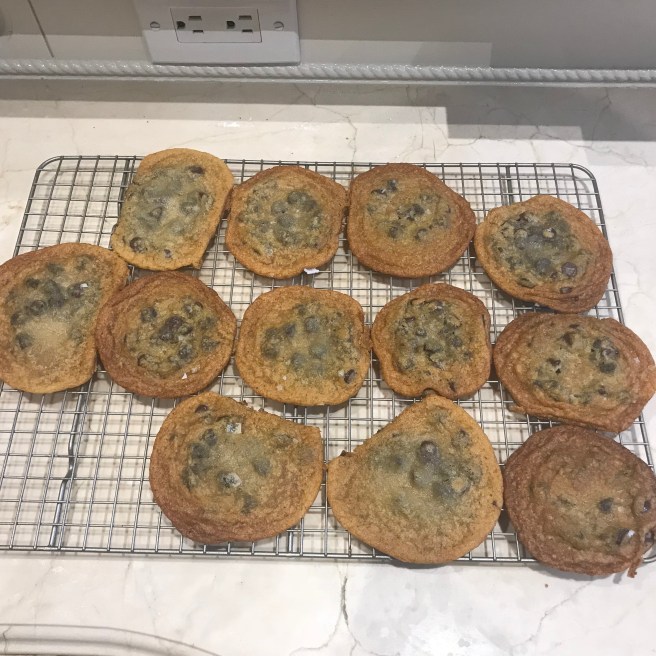
Preheat oven to 375˚F and sprinkle cookies with flakey sea salt.
Bake for 12-16 minutes. If baking from frozen, may need an additional couple minutes.
Science Fact of the Week:
Some people ask: “why do we have to refrigerate the cookies, we just want to eat them immediately?!” This is because the butter needs to solidify. This stops cookies from spreading excessively (although these do spread quite a bit)


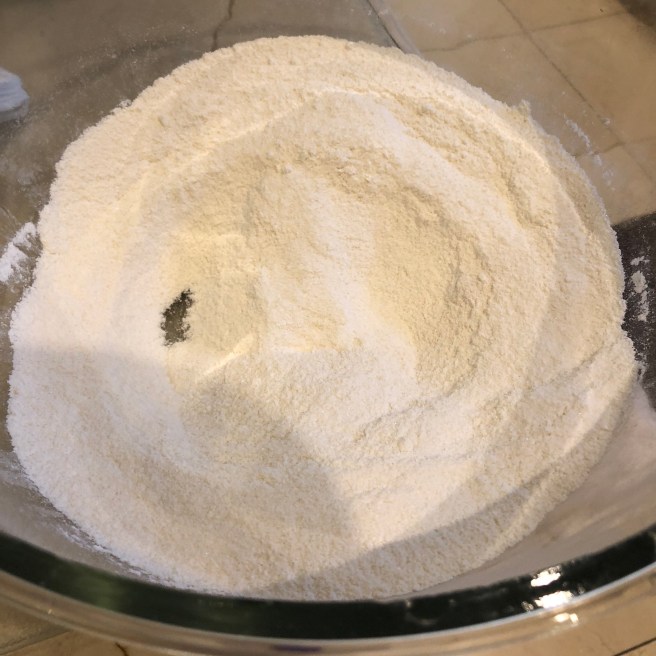


 Whisk together flours, baking powder, baking soda, and salt in a separate bowl.