Peanut Butter and Jelly Bars

IMG_3032.jpg

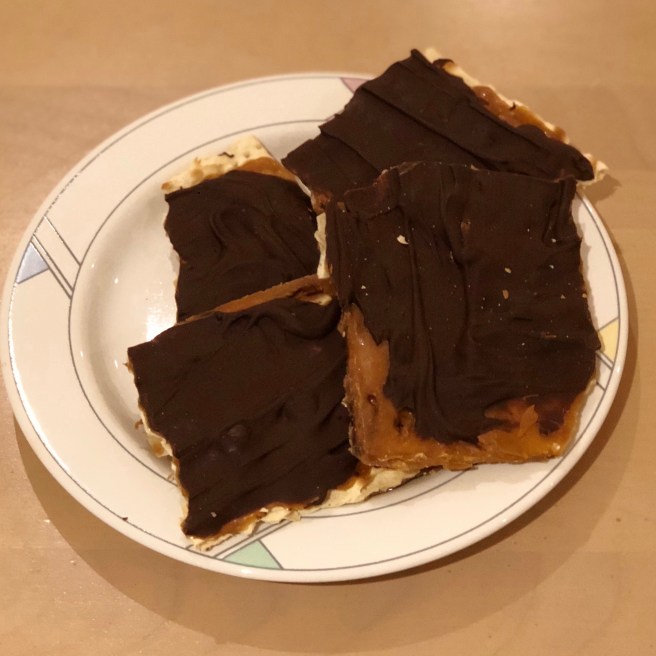
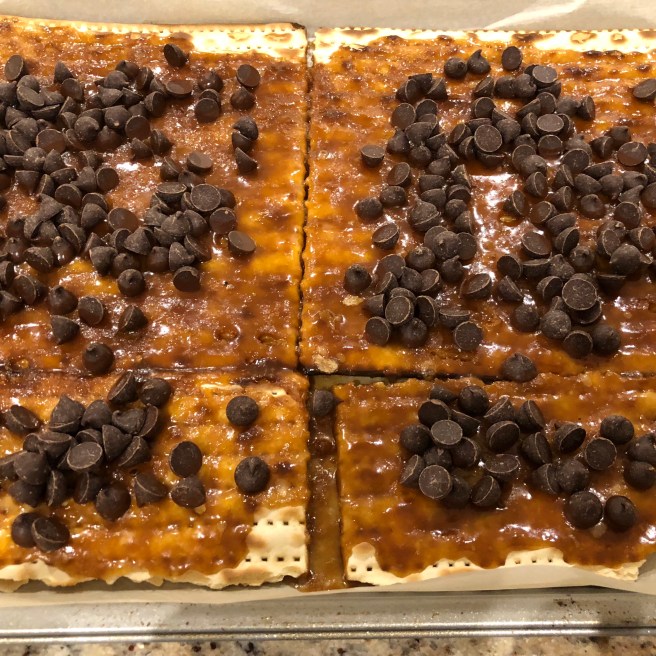
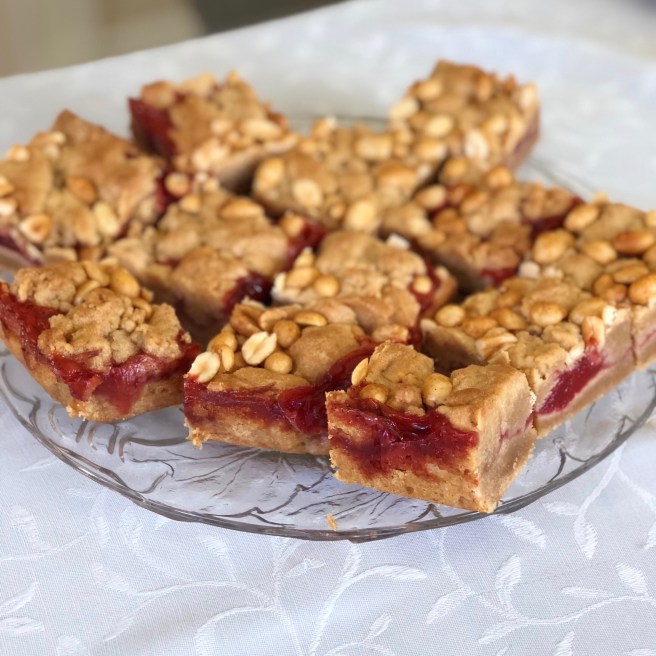
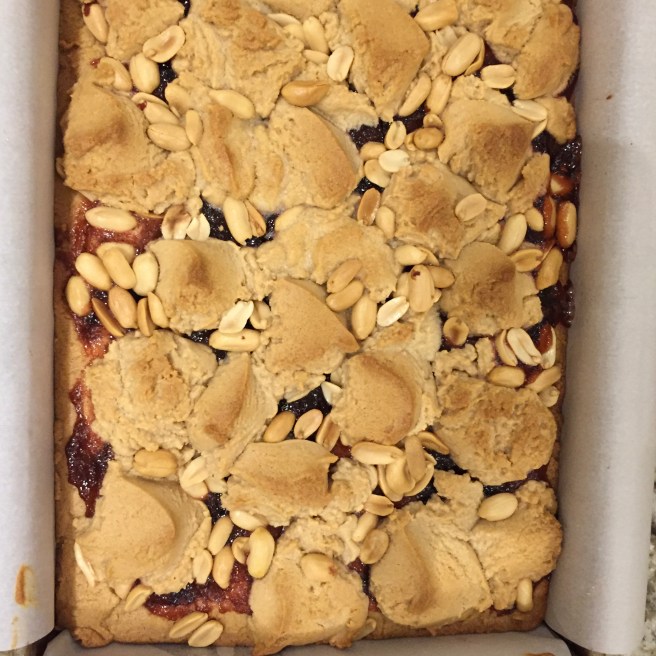
For those who love peanut butter and jelly sandwiches, this is a great alternative and easy to slice when chilled.  Adapted from a Martha Stewart recipe, this square is enjoyed by people of all ages.

Ingredients

IMG_3014.jpg

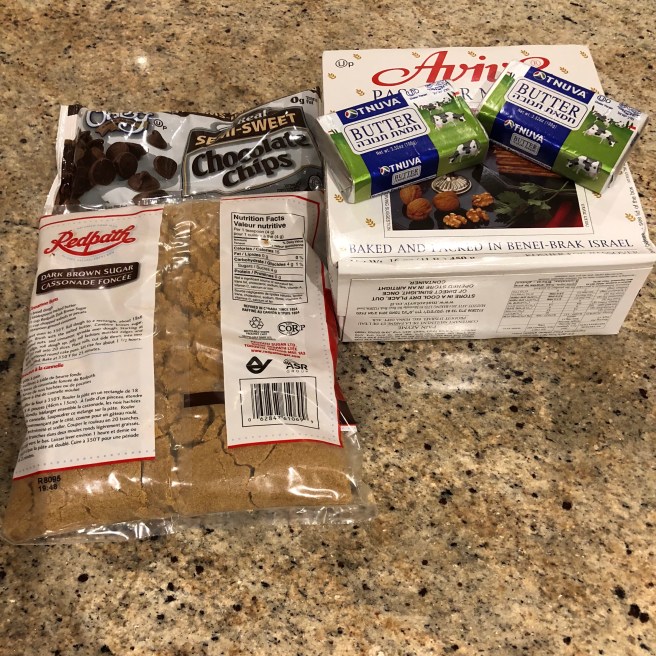
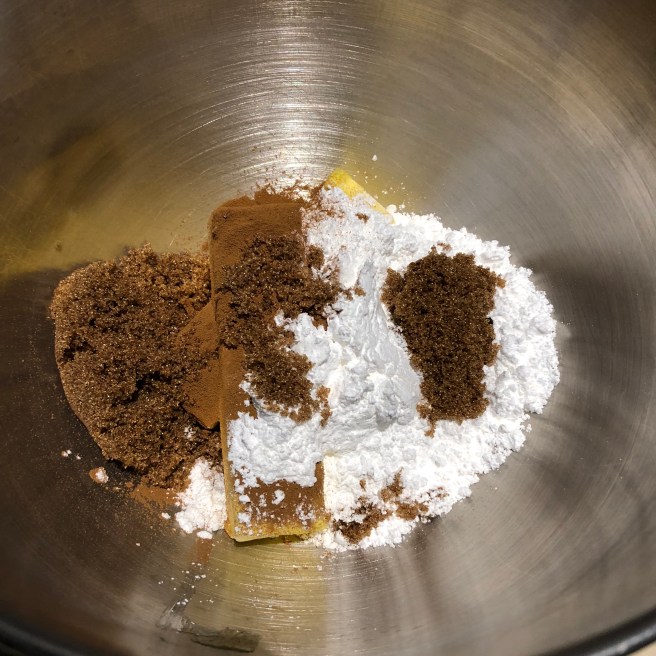
2 sticks unsalted pareve margarine, at room temperature
1 ½ cups granulated sugar
1 tsp. pure vanilla extract
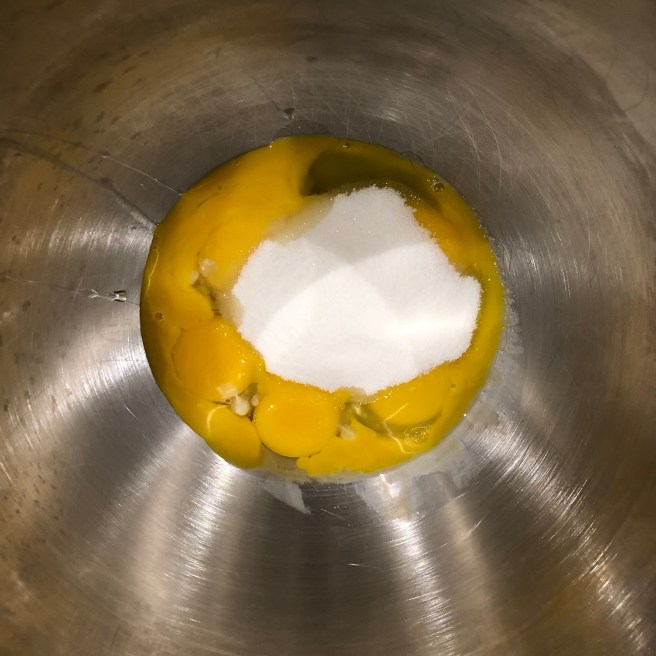
2 eggs, at room temperature
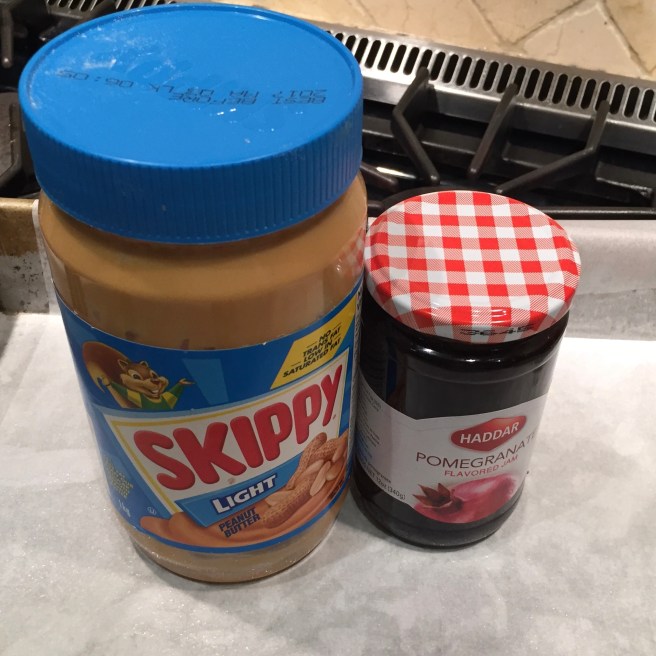
2 ½ cups creamy peanut butter (Skippy or natural)
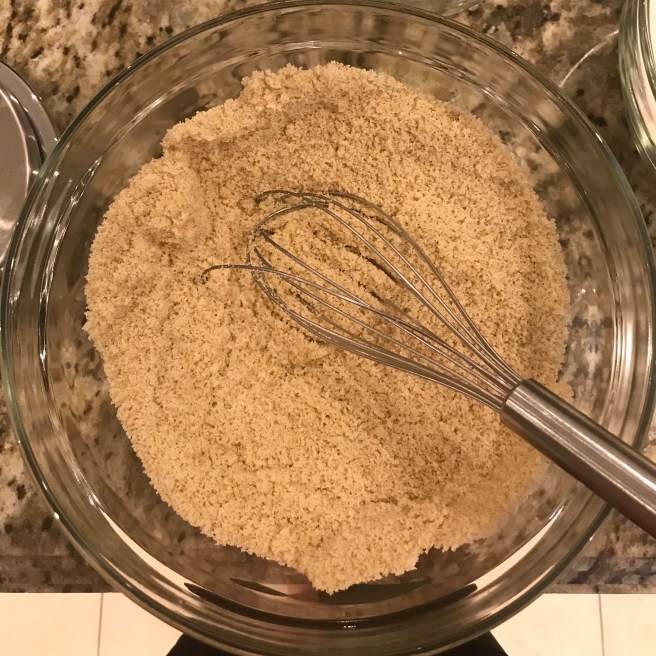
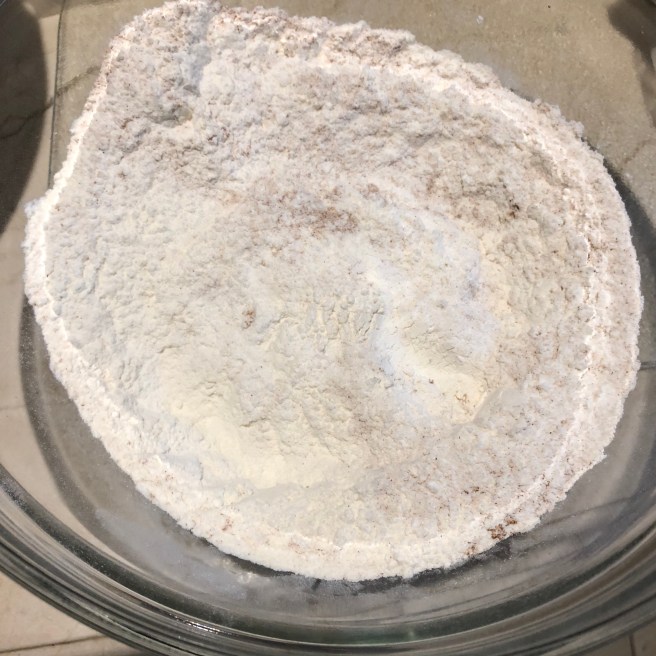
3 cups all-purpose flour
1 tsp. baking powder
1 ½ tsp. kosher salt
1 ½ cups raspberry/strawberry jam
2/3 cup peanuts, coarsely chopped

Directions

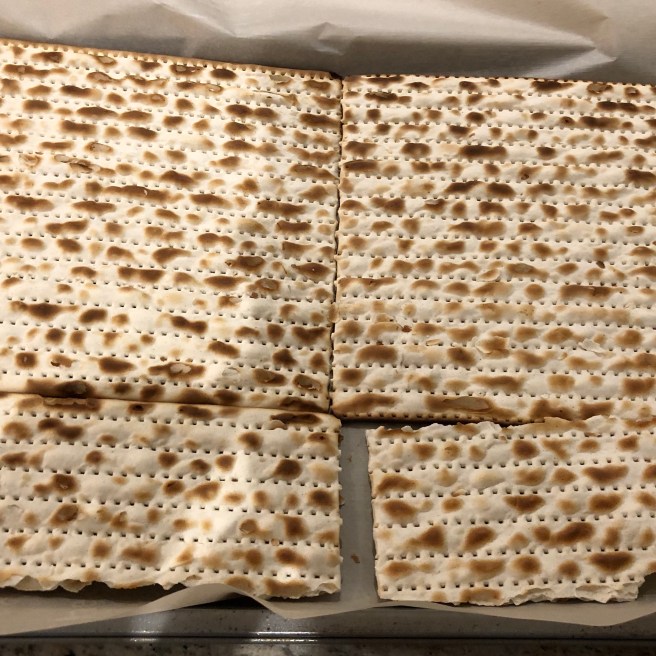
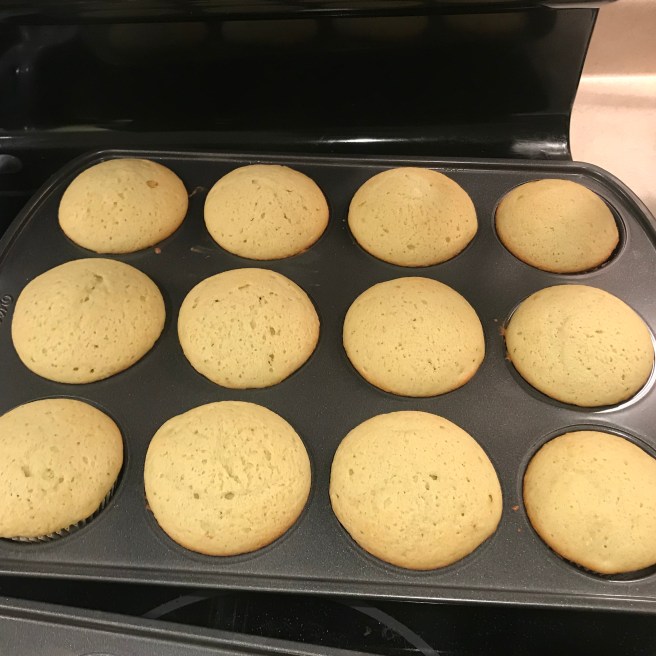
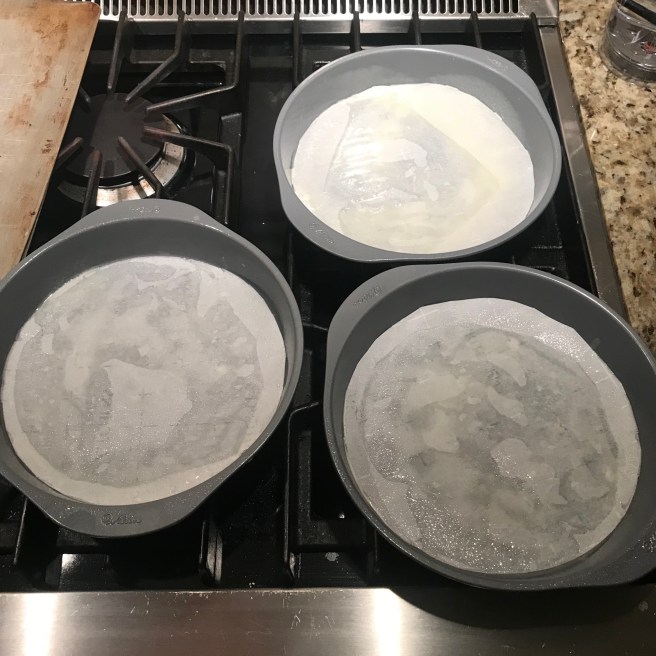
Preheat the oven to 350F.  Spray a 9 by 13 by 2 inch cake pan with cooking spray.


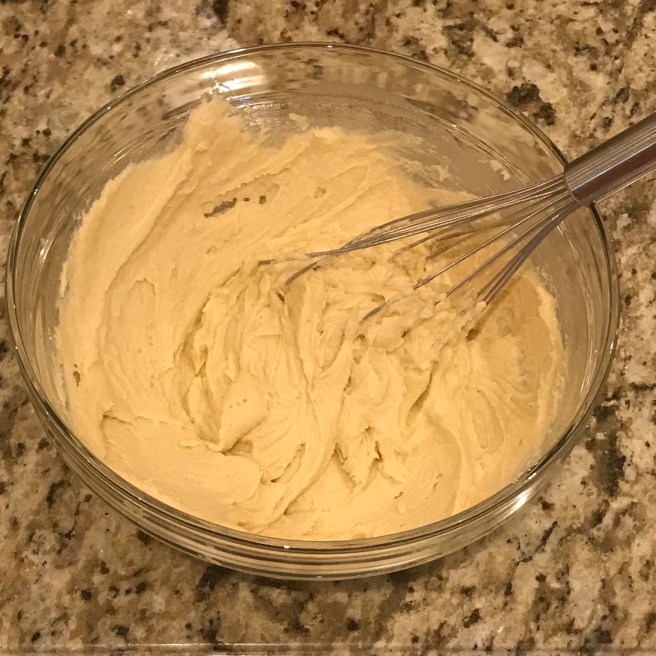
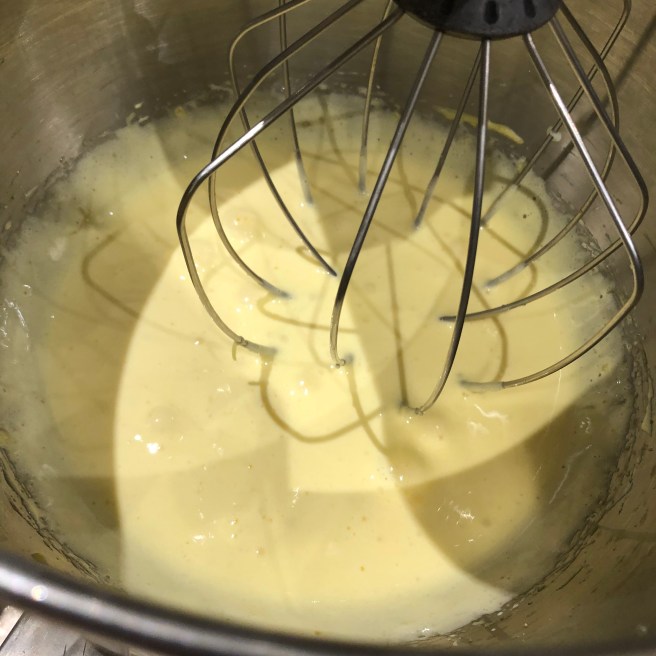
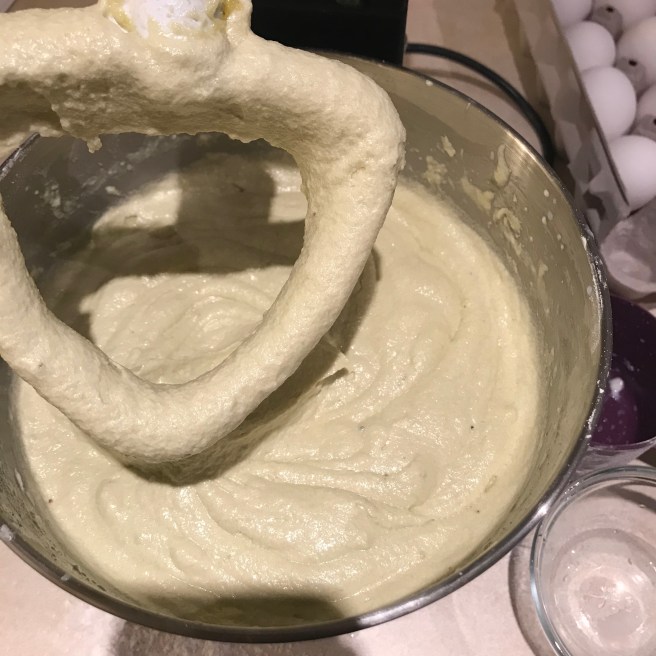
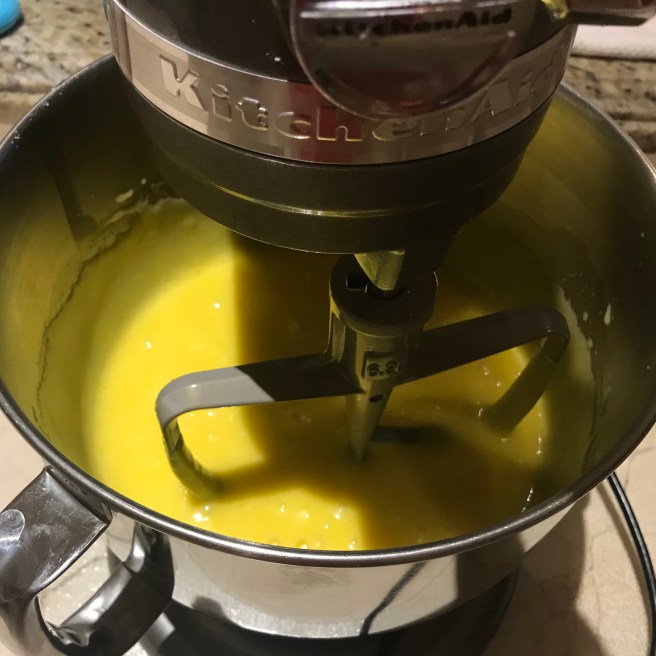
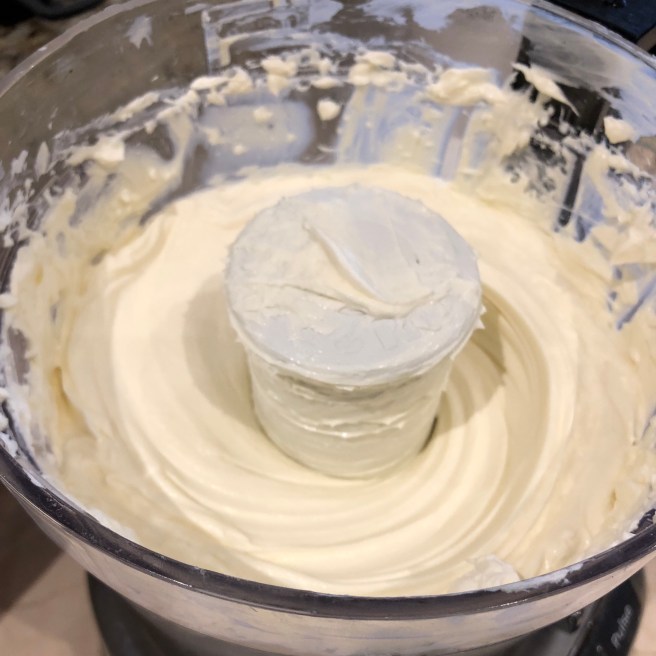
In the bowl of an electric mixer fitted with the paddle attachment, cream the margarine and sugar on medium speed until light yellow, about 2 minutes.


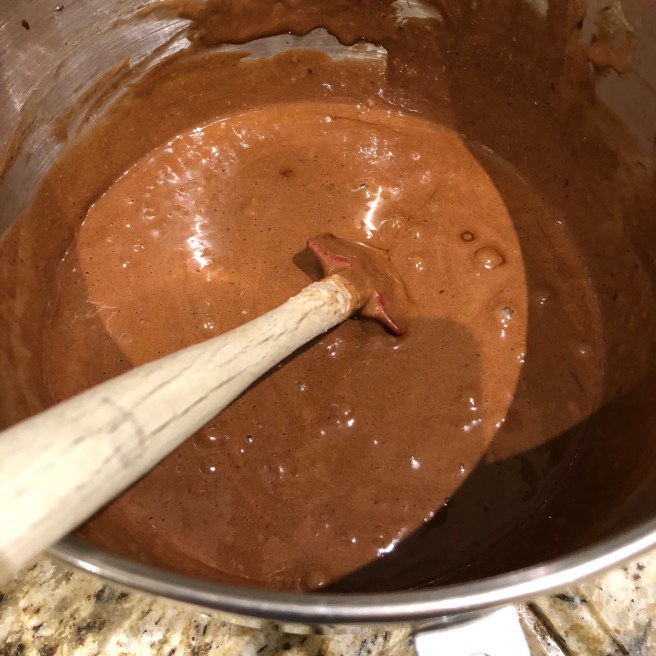
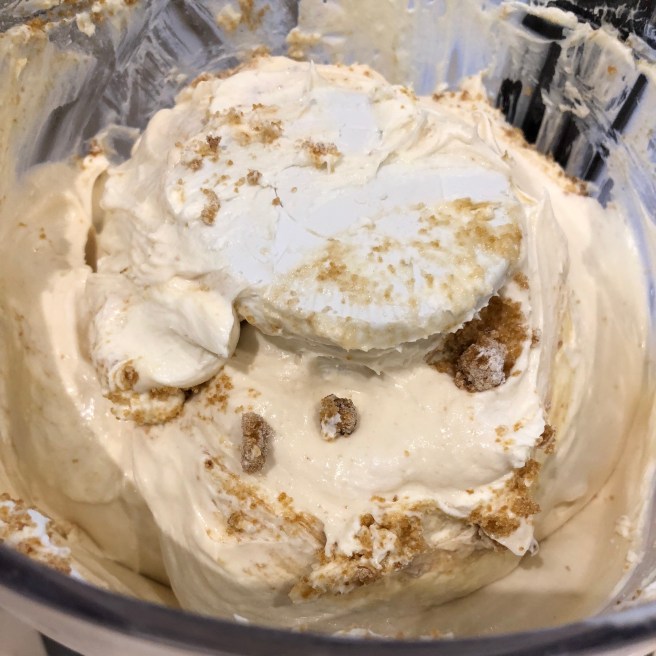
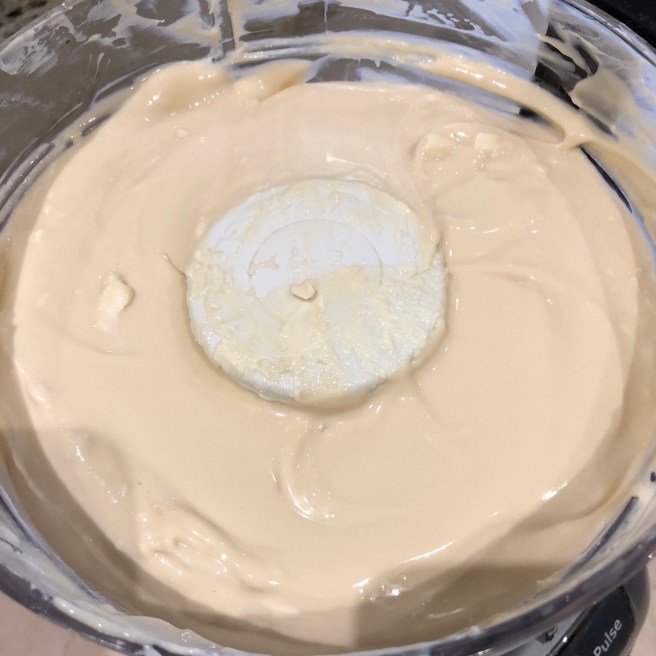
With the mixer on low speed, add the vanilla, eggs, and peanut butter and mix until all ingredients are combined.

IMG_3015.jpg

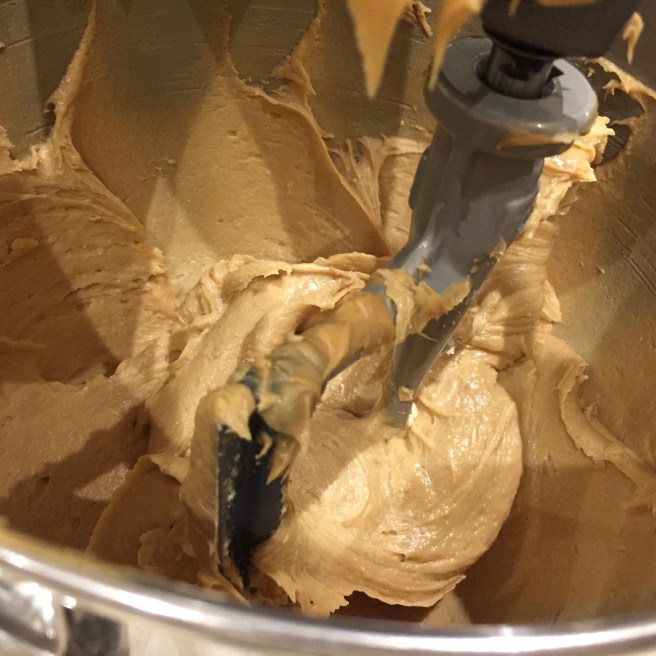
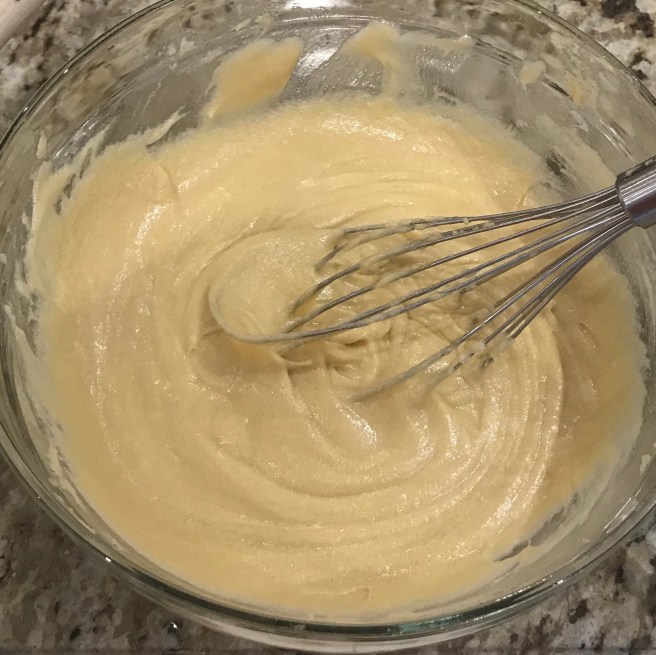
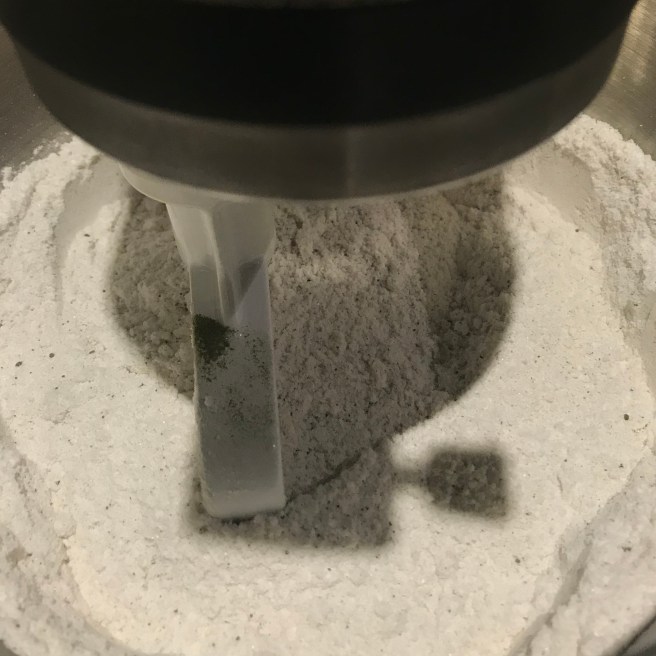
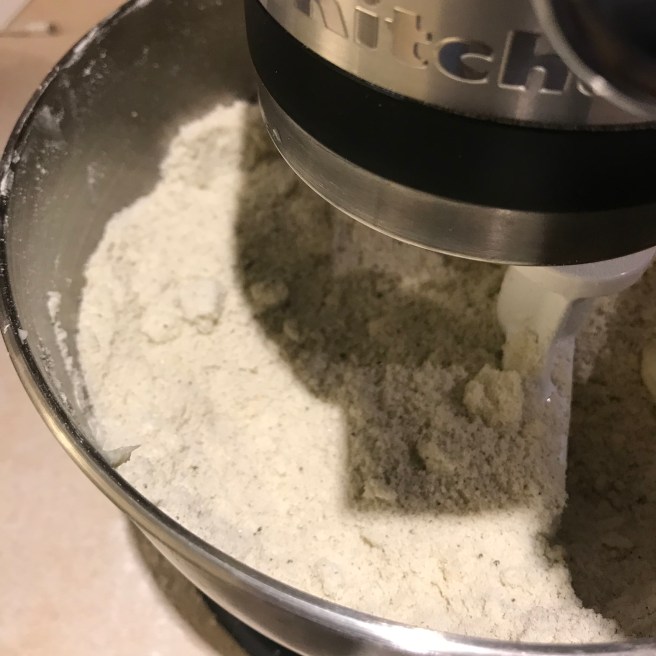
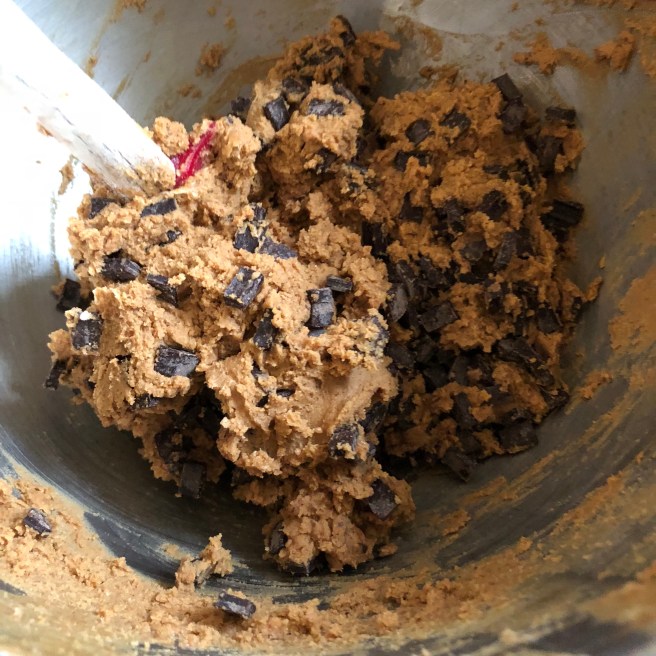
In a small bowl, mix together the flour, baking powder, and salt.  With the mixer on low speed, slowly add the flour mixture to the peanut butter mixture. Mix just until combined.

IMG_3016.jpg

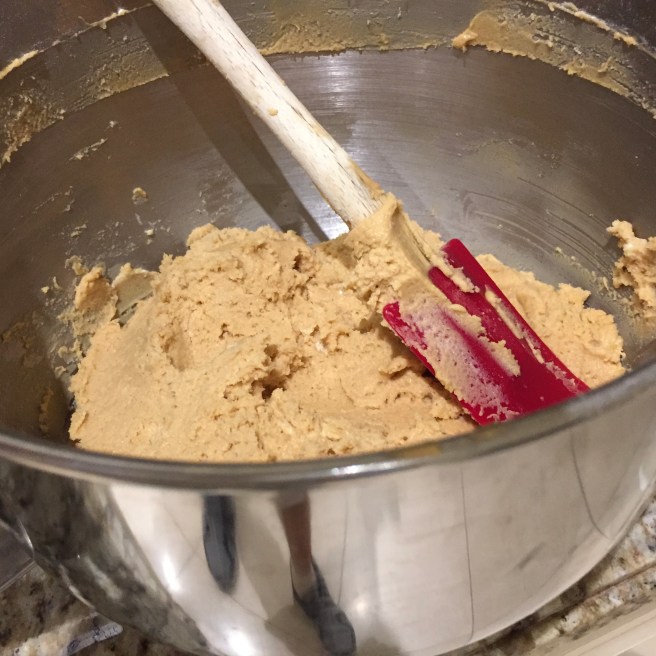
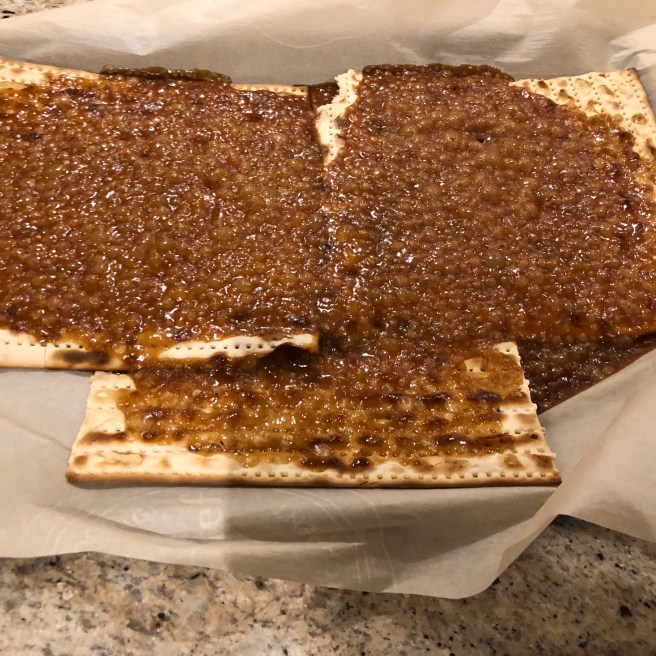
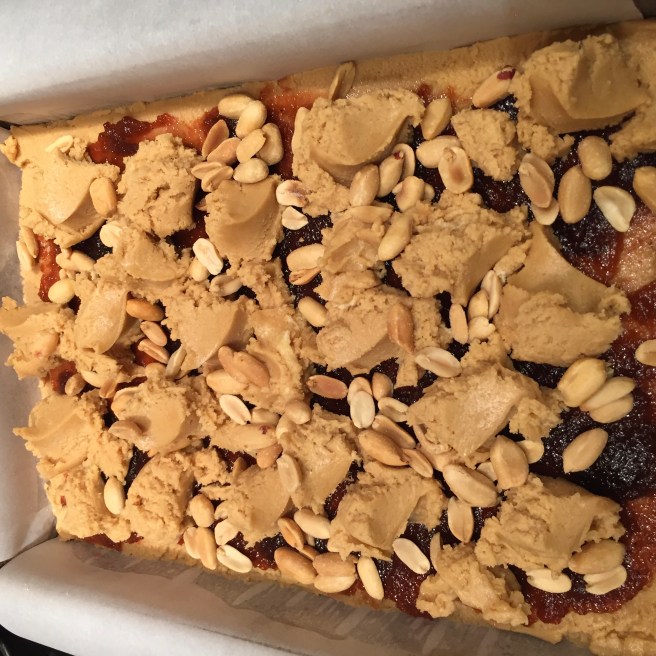
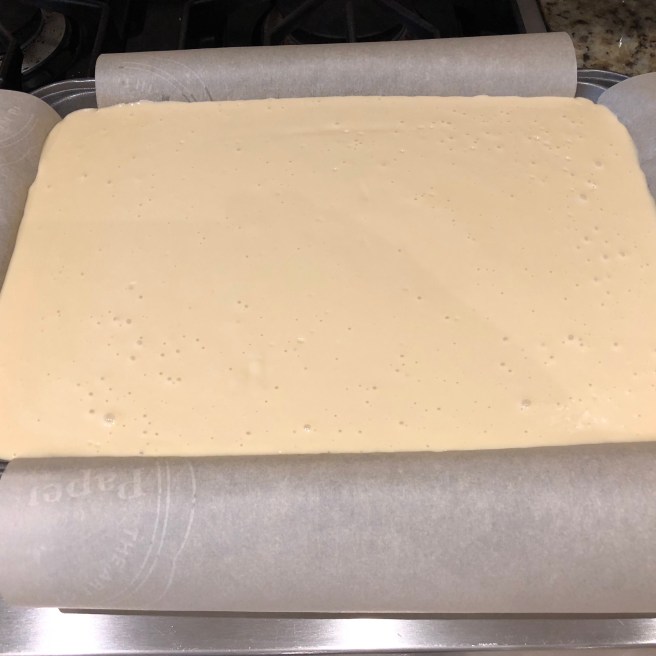
Spread 2/3 of the dough into the prepared cake pan and spread the jam evenly over the dough.

IMG_3017.jpg

Drop small globs of the remaining dough evenly over the jam.  Don’t worry if all the jam isn’t covered; it will spread in the oven. Sprinkle with chopped peanuts and bake for 40-45 minutes, until golden brown.

IMG_3018.jpgCool and cut into 24 squares.

IMG_3019.jpg

Science Fact of the Week:

Although peanuts are high in calories and fat, in moderation they confer many health benefits. Their anti-oxidants even help protect against heart disease!

Carrot Cake with Cream Cheese Frosting

IMG_2997.jpg

This carrot cake is an old recipe from Ina Garten that will be sure to impress a crowd. I made this as an addition to the shavout festival of cheesecakes and it was a huge hit.

The cake is best if you bake the layers the night before and let sit over night in the fridge.

Before starting make sure to prep the ingredients. I used a food processor to grate the carrots, chopped the walnuts and diced the pineapple.

IMG_2981.jpg

Ingredients:


For the Cake:

2 cups granulated sugar
1 1/3 cups grapeseed or vegetable oil
3 eggs, room temperature (if you forget to bring them to room temperature, allow the eggs to sit in warm-hot water for 5 minutes)
1 tsp pure vanilla extract
2 1/2 cups + 1 tbsp all-purpose flour
2 tsp ground cinnamon
2 tsp baking soda
1 1/2 tsp kosher salt
1 cup raisins
1 cup walnuts, chopped
1 pound carrots, grated
1/2 cup diced fresh pineapple

For the Frosting:

1.5 bricks of cream cheese (3/4 pound), room temperature
2 sticks (1 cup) butter, room temperature
1 tsp pure vanilla extract
1 pound confectioners’ sugar

Directions:

For the Cake:

Preheat oven to 350˚F. Line 2 or 3 circular pans with parchment and spray with canola oil spray.

IMG_2975.jpg

Beat sugar, oil and eggs in an electric mixer. Add vanilla and mix again.

IMG_2982.jpg

Add flour, cinnamon, baking soda and salt and mix well.

In another bowl toss raisins and walnuts with 1 tbsp flour. Add carrots and pineapple to this mixture. Add to the batter and fold in.

IMG_2983.jpg

Divide batter equally between circular pans and bake for 40-45 mins if 3 layers or 55-60 mins if 2 layers.

IMG_2986.jpg

For the Frosting:

Cream butter and cream cheese in stand mixer.

Add vanilla and mix again.

Add sugar in 3 parts. Mixing after each to combine.

IMG_2987.jpg

To ice:

Place a little bit of icing on the bottom of your cake plate and smooth out. This will help the cake stick in place.

Place first layer with flat side down and spread icing on top. Put second layer and repeat). If using three layers repeat and ensure that flat side is facing up.

IMG_2996.jpg

Evenly coat in a layer of thin frosting and refrigerate for 15 minutes to seal in the crumbs.

IMG_2999.jpg

Add more frosting on top and smooth out.

IMG_2771.JPG

Top with pieces of fresh pineapple.

IMG_9884.JPG

Science Fact of the Week:

This cake has plenty of carrots which are a high source of antioxidants and can decrease your risk of cancer, heart disease and stroke.

Maple Cheesecake

IMG_2864 2.jpg

For this special edition post we are sharing one of our favourites. Maple Cheesecake. This weekend is the Jewish Holiday of Shavout. On this holiday it is traditional to eat dairy, so we’ve deemed this the cheesecake holiday. I love to make cheesecakes for the Jewish holiday of Shavuot. We hope you enjoy this one.

This uniquely Canadian cheesecake gets most of its sweet flavour from reduced pure maple syrup.  To make a reduction, place 2 ¼ cups pure maple syrup in a saucepan over medium heat and simmer until it is reduced to 1 ½ cups.  Allow to cool to room temperature before using in batter.

IMG_2856.jpg

IMG_2857.jpg

Ingredients:

For the crust:

2 ½ cups graham cracker crumbs
3 tbsp. granulated sugar
½ tsp. ground cinnamon
¾ cup coconut oil (or 1 stick butter, melted)

For the cake:

4 ½ eight oz. bricks of light cream cheese at room temperature (36 oz. total)
¾ cup brown sugar
4 ½ tbsp. unbleached all-purpose flour
½ tsp. kosher salt
1 ½ cups reduced maple syrup (see above)
1 cup low-fat sour cream (not fat-free)
2 tsp. pure vanilla extract
6 large eggs, at room temperature

Directions

Preheat oven to 350F. Combine graham cracker crumbs, sugar and cinnamon in the bowl of a food processor fitted with the steel blade and combine well.
IMG_2852.jpg

Drizzle the coconut oil over the crumb mixture and pulse until the mixture resembles wet sand.

IMG_2853.jpg

Transfer the crumb mixture to a 9-x13-inch baking pan lined with parchment paper and sprayed with cooking spray.

IMG_2854.jpg

Bake for 10 minutes and allow to cool. Reduce the oven temperature to 300F.

IMG_2855.jpg

Cube the cream cheese and place in the cleaned food processor bowl.  Process until creamy and smooth, scraping down the bowl as necessary.

IMG_2859.jpg

Add the sugar, flour, and salt and blend until smooth.  IMG_2860.jpg

Add the maple syrup, sour cream and vanilla and process again.  IMG_2862.jpg

Add the eggs, 2 at a time, and process just until blended after each addition.

IMG_2861.jpg

Pour the filling into the cooled crust.

IMG_2863.jpg

Bake in the oven beside a small glass bowl filled with boiling water (acts as a water bath and reduces cracking).

IMG_2864.jpg
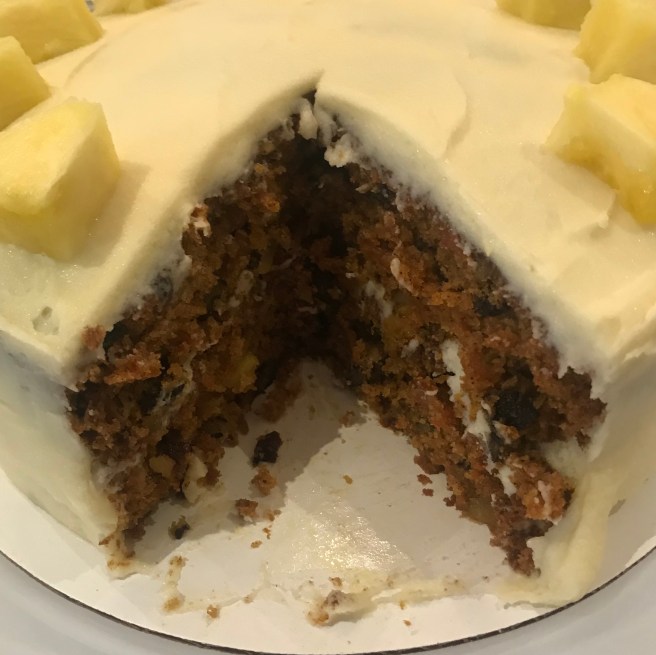
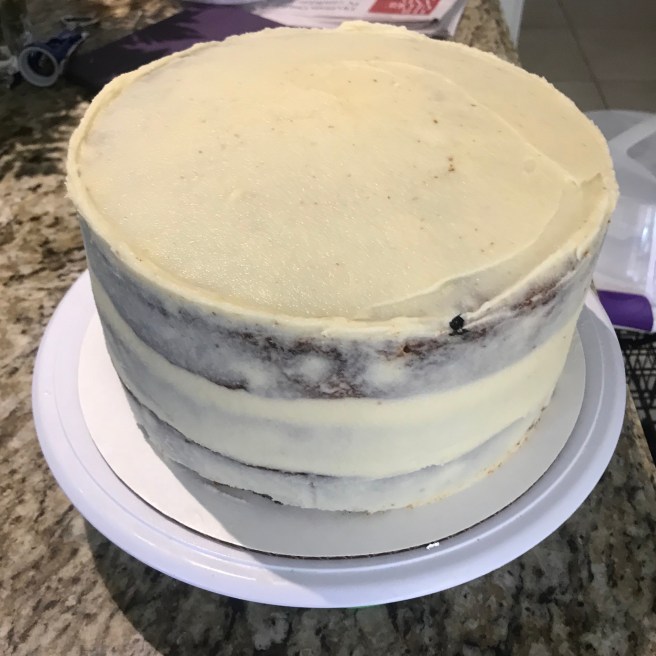
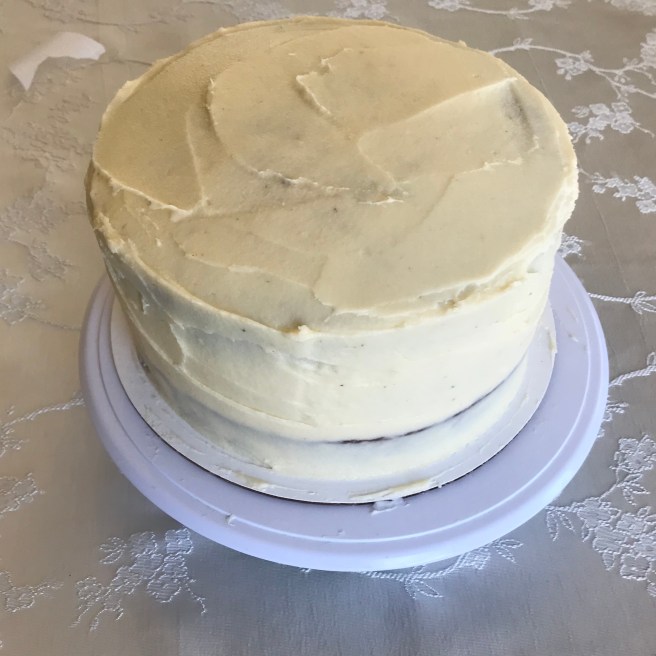
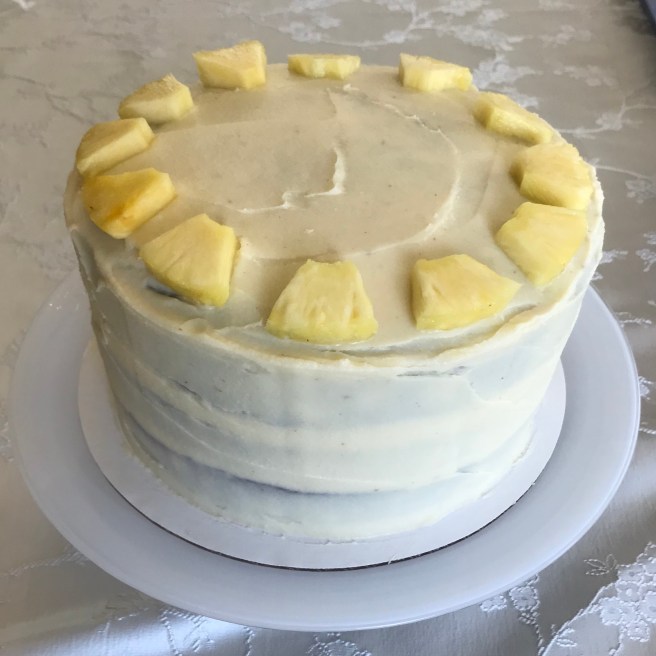
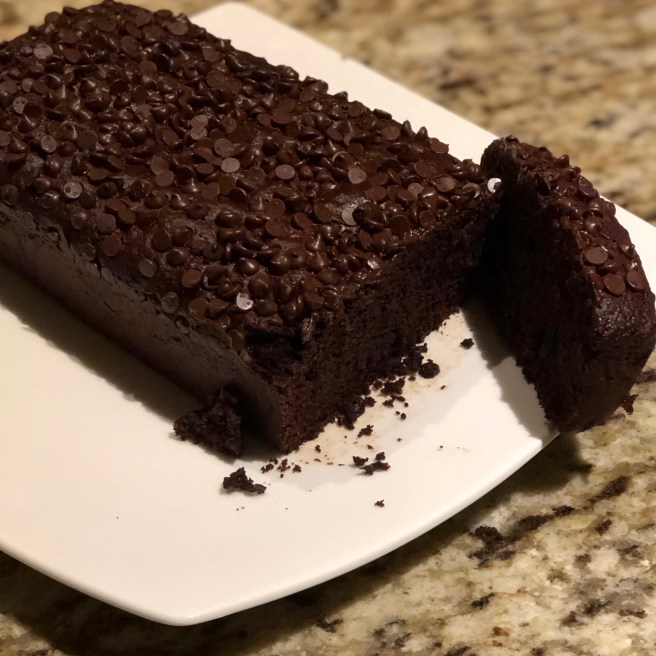
After 55 minutes, turn the oven off and prop open the door for 15 more minutes before removing the cake.  Allow to cool to room temperature then refrigerate for at least 4 hours or until ready to serve.

Mocha Chocolate Chip Cookies

IMG_2127.jpg

IMG_2135.jpg
These delicious vegan chocolate chunk cookies are easy to make. Possibly one of the best tasting cookies I have ever made.

These are always a hit and disappear quickly.

Ingredients

2 cups all-purpose flour
½ tsp. baking powder
¾ tsp. ground cinnamon
¼ tsp. salt
2 ½ sticks (10 oz.) unsalted pareve margarine softened at room temperature
4 tbsp. espresso powder
1 cup confectioners’ sugar
½ cup packed brown sugar
1 ½ cups semisweet chocolate chips/chunks
¼ cup granulated sugar for dipping

Directions:

In a medium bowl, combine the flour, baking powder, cinnamon, and salt.

IMG_2133.jpg

In the bowl of an electric mixer fitted with the paddle attachment, beat the margarine, coffee, and sugars until well combined.

IMG_2134.jpg

IMG_2131.jpg
Stir in the flour mixture about ½ cup at a time, mixing well after each addition. Stir in the chocolate chunks.

IMG_2130.jpg

Cover the dough with plastic wrap and refrigerate for at least 2 hours.

Preheat oven to 350F and line baking sheets with parchment paper. Put the granulated sugar in a small, shallow bowl. Scoop out about 1 tbsp dough and flatten it slightly into a disk. Dip one side into the granulated sugar and then set the disk, sugar side up, on the baking sheet. Repeat with the remaining dough, spacing the disks about 2 inches apart.

IMG_2129.jpg

Bake until the edges start to darken, 12 to 14 minutes.

IMG_2127.jpg
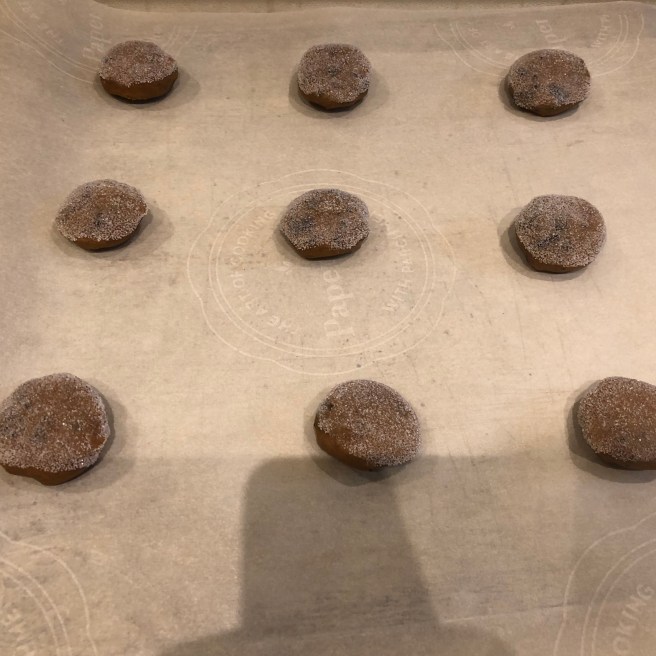
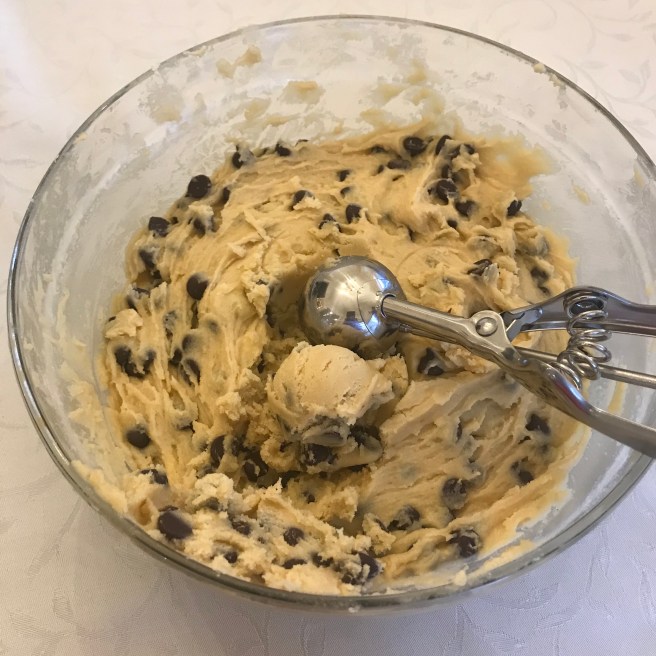
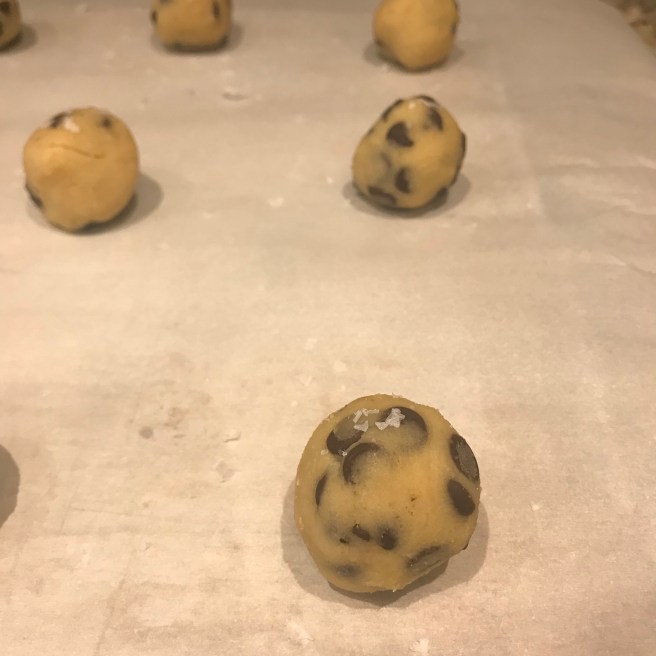
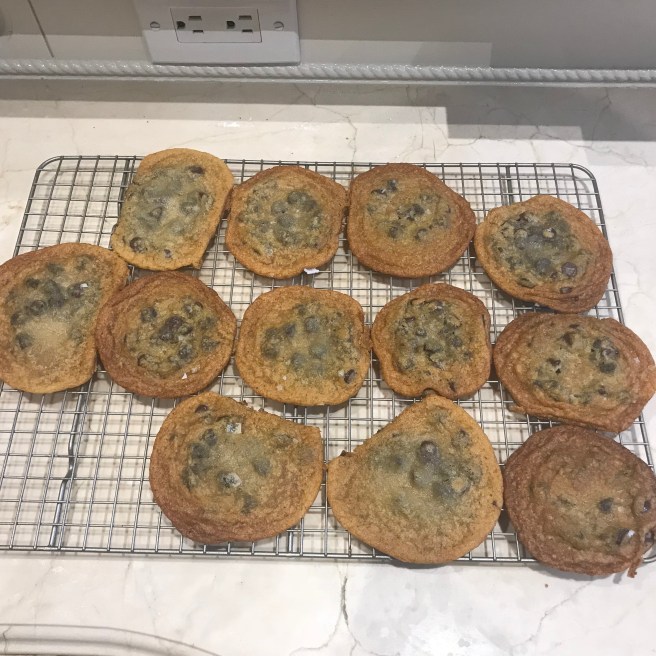
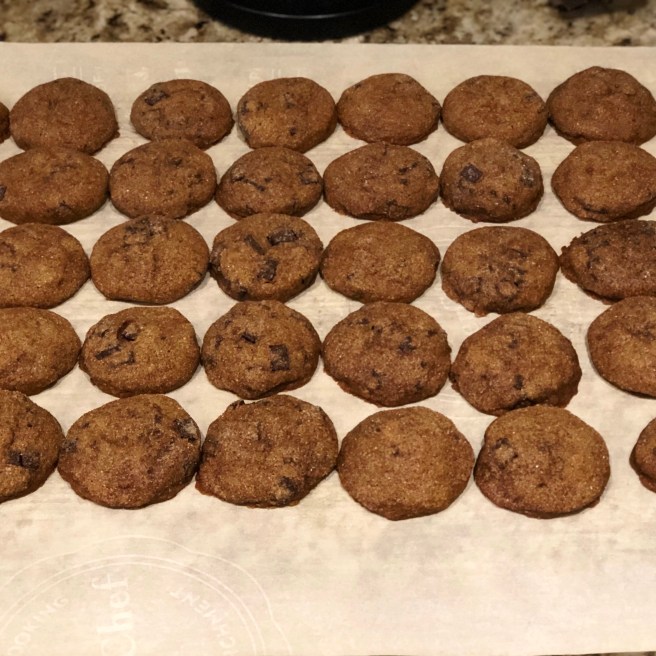
Let the cookies cool for 1 to 2 minutes on the baking sheets. Transfer them to paper-towel-lined cooling racks to cool completely.

Yield: 41 cookies.

Science Fact of the Week:

Packing the brown sugar means pushing it firmly into the measuring cup. This compacts the brown sugar to ensure the correct measurement. Otherwise people can end up utilizing incorrect measurements of sugar.

Chocolate Chip Cookies

IMG_0068.jpg

These chocolate chip cookies are from BuzzFeed and are delicious! I modified them a little to be non-dairy. Follow the instructions carefully and they will turn out perfectly. I recommend using a scale to measure ingredients. If you don’t have one, I recommend scooping and levelling the ingredients to ensure they are measured accurately.

These cookies are delicious and disappear rather quickly. I recommend doubling the batch because they are such a hit.

Ingredients:

2 1/2 cups all purpose flour (300g)
1 1/2 tsp salt
1 tsp baking soda
1 1/4 cup packed LIGHT brown sugar (250 g)
3/4 cup granulated sugar (175 g)
1 3/4 sticks of margarine, melted
2 eggs
1 tsp vanilla extract
2 cups of non-dairy chocolate chips
Flakey Sea Salt

Directions

Mix flour, salt and baking soda.

IMG_0046.jpg

Whisk sugars and break and large chunks with your fingers
IMG_0047.jpg

Add melted margarine and mix for 1 minute. IMG_0049.jpg

Add eggs one at a time and mix well.

IMG_0050.jpg

Add flour mixture to wet ingredients and mix well. Add chocolate chips and mix with a spatula. IMG_0052.jpg

Refrigerate the batter for 10 minutes and then scoop into balls using a cookie scoop. IMG_0058.jpg

Place dough balls on a tray and wrap with plastic wrap. Put in the fridge for at least 4 hours and up to 3 days. At this point the balls can also be put in a ziplock bag and frozen for up to 3 months.

IMG_0059.jpg

Preheat oven to 375˚F and sprinkle cookies with flakey sea salt.

IMG_0062.jpg

Bake for 12-16 minutes. If baking from frozen, may need an additional couple minutes.

IMG_0065.jpg

Science Fact of the Week:

Some people ask: “why do we have to refrigerate the cookies, we just want to eat them immediately?!” This is because the butter needs to solidify. This stops cookies from spreading excessively (although these do spread quite a bit)

Double Chocolate Banana Bread

IMG_2054.jpg

This easy quick bread can be made with a food processor or mixed by hand. A great use of leftover/ripe bananas that combines the delicious flavours of chocolate and banana. Freezes well when wrapped with one layer of plastic wrap and a second layer of aluminum foil.

IMG_2045.jpg

Ingredients:

1 cup unbleached all-purpose flour
½ cup unsweetened cocoa powder
1 tsp. baking soda
½ tsp. kosher salt
3 large ripe bananas (1 ½ cups mashed)
½ cup liquid coconut oil
¾ cup packed brown sugar
1 large egg, at room temperature
1 tsp. pure vanilla extract
1 cup mini semisweet chocolate chips, divided

Directions:

Preheat oven to 350F and line a 9-by-5-inch loaf pan with nonstick cooking spray and parchment paper.

In a medium bowl, whisk together the flour, cocoa powder, baking soda, and salt. Set aside.

IMG_2046.jpg
In the bowl of a food processor fitted with the steel blade, process the bananas, oil, brown sugar, egg and vanilla until smooth.

IMG_2047.jpg

IMG_2048.jpg

Add the dry ingredients and pulse until just combined.

IMG_2049.jpg

Add ¾ cup of the mini chocolate chips and fold in with a spatula.

IMG_2050.jpg

Transfer the batter to the lined pan and sprinkle the remaining ¼ cup mini chocolate chips over the cake.

IMG_2051.jpg

Bake for 60 minutes.

IMG_2052.jpg

Allow to cool for 15 minutes before removing from the pan. Enjoy!

IMG_2053.jpg

Science Fact of the Week:

Cocoa powder has many health benefits as it contains flavonoids. These can help lower the risk of heart disease by lowering LDL cholesterol. As well, they have the added effect of being a potential anti-depressive agent.

Special Edition: Caramelized Matzo Crunch (Passover)

IMG_1863.jpg

In honour of the holiday, we are posting early this weekend and are sharing our recipe for chocolate covered matzah.

I have been making this Marcy Goldman recipe for many years.  It can be made nondairy/pareve by using Passover margarine, however the cottonseed and palm oils used are less than desirable from a health perspective.  As well, the taste is much better when using good quality butter.  There are only FOUR ingredients in this amazing delicacy which we call “crack,” because of its addictive nature.  It can keep in the refrigerator for up to one week in a sealed Ziploc bag.

Ingredients:

5 plain matzos
200 g butter
1 cup brown sugar
1 ½ cups semisweet chocolate chips

 IMG_1855.jpg

Directions:

Preheat oven to 350F.  Line 2 cookie sheets with parchment paper and break the matzos into appropriate sizes so that they can accommodate the cookie sheet.

IMG_1856.jpg

Bring the butter and sugar to a boil over medium heat.

IMG_1859.jpg

Once the sugar is dissolved, allow the mixture to turn to amber colour.  Take it off the heat and pour the mixture over the matzos.  Bake for 10 minutes.

IMG_1860.jpg

Sprinkle the chocolate chips over the matzos and allow to rest for 3-5 minutes.

IMG_1861.jpg

Spread the chocolate over the matzos.

IMG_1862.jpg

You can quickly set the chocolate matzos in the fridge and then break it up into pieces.

Science Fact of the Week

Matzo is unleavened bread made from flour and water! It can only be in the oven for 18 minutes as beyond this point it is considered to rise. Although matzo is for passover, this is so delicious you might want to eat it year round.

Chocolate Mousse (Passover)

IMG_1406.jpg

This recipe is a family favourite, and can be made year round. When people try it they won’t even know its for passover!

IMG_1396.jpg

Ingredients:

10.5 oz. bittersweet chocolate, coarsely chopped
8 large eggs, room temperature, separated
¾ cup granulated sugar, divided
½ cup extra-virgin olive oil
2 tbsp. kosher for passover brandy or Sabra liqueur
1/3 cup brewed espresso, room temperature

Directions:

In a double boiler, melt chocolate over low heat, then cool slightly.

IMG_1400.jpg

In the bowl of an electric mixer fitted with the whisk attachment, beat the egg yolks with ½ cup sugar until light, about 3 minutes.

IMG_1398.jpg

IMG_1399.jpg

Whisk in olive oil, brandy, espresso and melted chocolate.

IMG_1401.jpg

In a clean bowl of an electric mixer fitted with the whisk attachment, beat the egg whites until soft peaks form. Add remaining ¼ cup sugar, whisking until stiff but not dry.

Fold whites into chocolate mixture in stages until no white streaks remain.

IMG_1404.jpg

Spoon in a tub/container covered with a lid or plastic wrap and refrigerate for 24 hours before serving.  Makes about 8-10 one cup servings.

I have been making this olive oil chocolate mousse for passover for many years.  Aside from being a delicious tasting dessert, there are no traditional passover ingredients in this dish.  It is dairy free and gluten free.  It keeps in the refrigerator for several days….if it lasts that long.  Feel free to pipe or spoon some nondairy whipping cream on top of each dish.

A couple of years ago I left The Domestic Goddess in charge of putting the brandy in the mousse. She accidentally used a 2 tbsp measuring spoon thinking that it was 1 tbsp. This led to a strong, but still delicious chocolate mousse.

Science Fact of the Week:

Eggs are high in protein and many nutrients! Some choose not to prepare dishes made with raw eggs because of the risk of salmonellosis, but the risk is quite low.

Green Tea Cupcakes with Cream Cheese Frosting

IMG_0996.jpg

Time for another cupcake! This time green tea with cream cheese frosting. The pairing is unique

Ingredients:

For the cupcake

1.5 cups cake flour
1 1/4 cup sugar
1 1/4 tsp baking powder
1 tbsp matcha powder (I use vanilla matcha from David’s Tea)
1 tsp kosher salt
1 stick butter, room temperature, cut into 1/2 inch cubes
2 eggs
1/2 cup milk
1 tsp vanilla

For the icing

8 oz brick of cream cheese, room temp
1 stick butter, left out for 30 minutes
3 cups powdered sugar
1 tsp vanilla extract

Directions:

For the Cupcakes:

Preheat oven to 350˚F and line a muffin tin with paper liners.

Directions:

For the Cupcake:

Preheat the oven to 350˚F and line a muffin tin with cupcake liners.

Mix first 5 dry ingredients in a mixmaster.

IMG_0926.jpg

Add in butter, one cube at a time, until combined and mixture looks like coarse sand.

IMG_0927.jpg

Add eggs, one at a time at low speed.

IMG_0928.jpg

Add milk and vanilla slowly and beat for 2 minutes.

IMG_0929.jpg

Fill liners.

IMG_0931.jpg

Bake for 15-20 minutes.

IMG_0932.jpg

For the Icing:

With a paddle attachment, cream butter and cream cheese. Add the powdered sugar 1 cup at a time.

Add the tsp of vanilla and mix slowly. If it is too thick at 1/2 tsp of milk at a time until you have the right consistency.

Science Fact of the Week:

I often asked what makes cake flour so special? Why do we use it? Now I’ve found the answer! It actually relates to protein! Cake flour has less protein in it, giving it a softer texture.

Deconstructed Lemon Meringue Pies

IMG_0960.jpg

A much easier way to make lemon meringue pie…adapted from Smitten Kitchen, there are 3 easy steps and the final product is quite impressive.  This gluten-free dessert can also be made for Passover by substituting the Nutriwhip with a Kosher for Passover whipping cream, and by omitting the cream of tartar.

Ingredients:

3 large egg whites, at room temperature
¼ tsp. cream of tartar
¾ cup granulated sugar
Pinch of kosher salt
2 lemons zested
1 ¼ cups granulated sugar
1 cup freshly squeezed lemon juice
6 large egg yolks
5 tbsp. unsalted pareve margarine
2 cups Nutriwhip

Directions:

Preheat oven to 250F. Line a large baking sheet with parchment paper.  Beat the egg whites with an electric mixer fitted with the whisk attachment until frothy, then add the cream of tartar and continue to beat until they hold soft peaks.

Very gradually add the sugar, then the salt, beating the whole time, and continue whipping the whites until they hold thick, glossy peaks.

IMG_0953.jpg

Spread the meringue to about a ¼-to-1/2-inch thickness on the prepared sheet.

IMG_0955.jpg

Bake for 90 minutes, until the meringue slab is dry and firm but not browned on top.  Let the slab cool completely at room temperature.

IMG_0958.jpg

To make the lemon curd, combine the sugar and zest in a bowl of a double boiler and use your fingertips to rub them together to release the flavour from the peel.

IMG_0956.jpg

Add the lemon juice, egg yolks and margarine, and set the bowl over an inch of boiling water.  Cook, stirring constantly, until the mixture begins to gel or thicken slightly.  Remove from the heat, and strain through a fine-mesh sieve.  Place plastic wrap directly over the lemon mixture and refrigerate until ready to use (up to one week in advance).

IMG_0957.jpg

Whip the “cream” until it holds soft peaks in the bowl of the electric mixer fitted with the whisk attachment.

IMG_0959.jpg

To assemble, crumble a little of the meringue into each of 9 glasses, dollop with whipped “cream,” and top with a spoonful of the lemon curd. Repeat the layers and then top off with a little crumbled meringue.  Refrigerate until ready to serve.

IMG_0961.jpg

Science Fact of the Week

When you beat egg whites, you are mixing air into them. Meringues are light and airy desserts, and it is important not to over whip the egg whites. It is commonly said to whip the egg whites until they have stiff glossy peaks. Beyond this point the eggs can be over whipped, creating a grainy and dull texture.