Cake Pops

IMG_3011.jpg

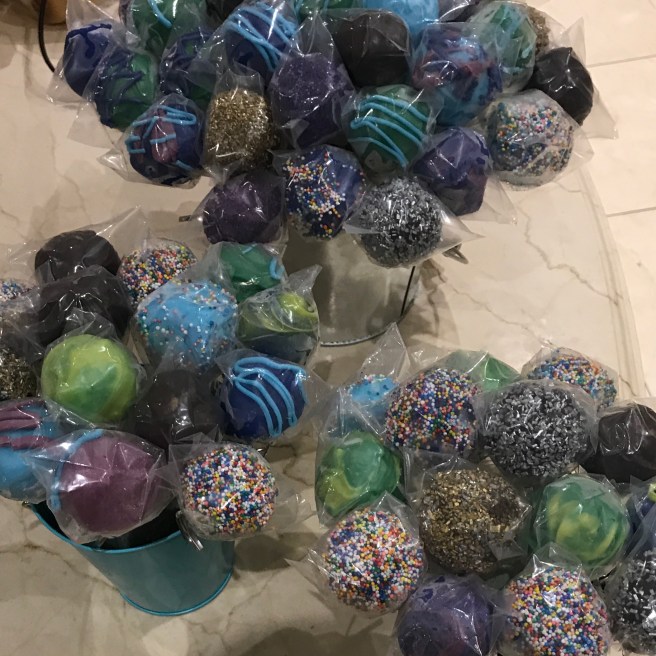
For any family event my go to dessert is a cake pop. I make 3-4 different kinds, and have mastered the technique over the last 5 years. This recipe is a lot of work and requires patience, but the pay off is worth it. Make these and the number one question you get will be “where did you buy them?”

Buckle down and get ready for the ride, this post is a long one. Clear some freezer space and head to Michael’s with a shopping list in hand.

Supplies

Cake pop sticks
Cake pop treat bags with twist ties
Candy melts, any colour
Foam blocks
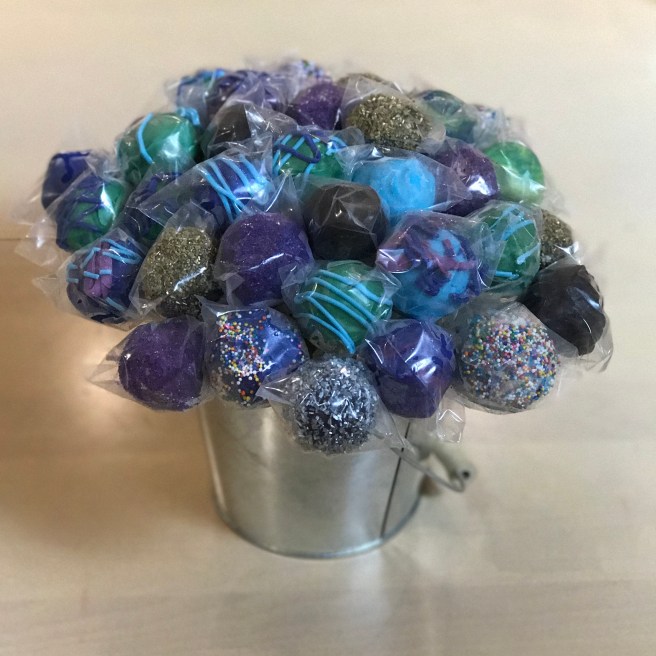
An opaque bucket – such as this one, but any canister you want to place the cake pops in for decoration
Optional: ribbon for decoration of canister and/or cake pops

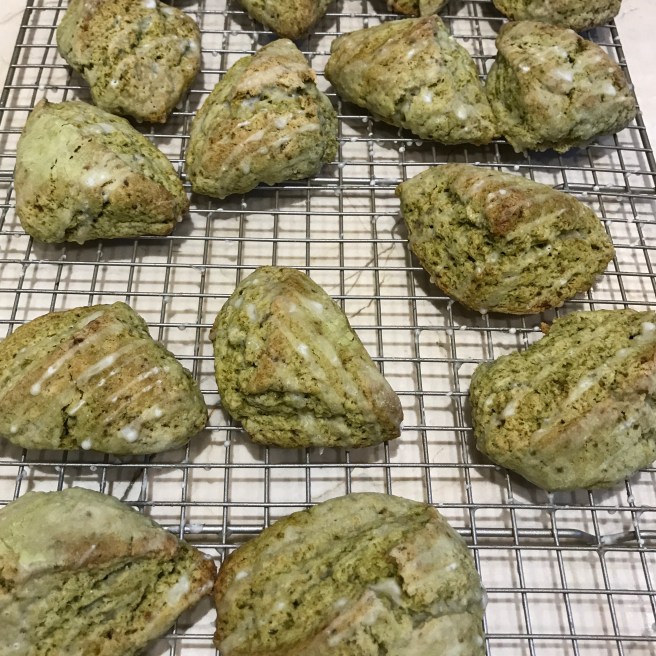
This recipe is going to follow an untraditional format from previous ones. Instead of including the ingredients/directions for the cake, I’ll be providing the assembly instructions. These cake pops can be made with any cake and any frosting. The choices are endless and it is up to you! I’ve made red velvet with cream cheese frosting, green tea cake with cream cheese frosting, chocolate cake with chocolate frosting, chocolate cake with espresso frosting, vanilla cake with chocolate frosting, vanilla cake with vanilla frosting and even cookie dough.

This recipe is comprised of pictures of many different samples, however the classic favourite in our house is chocolate with espresso frosting. Please note: if you are making cookie dough, try this recipe and don’t include any frosting. Skip straight to rolling out the balls once you’ve prepared the raw dough. A shout out to SA for helping prep these. She helped make these cake pops right after designing our incredible logo.

Ingredients:

1 recipe chocolate cake
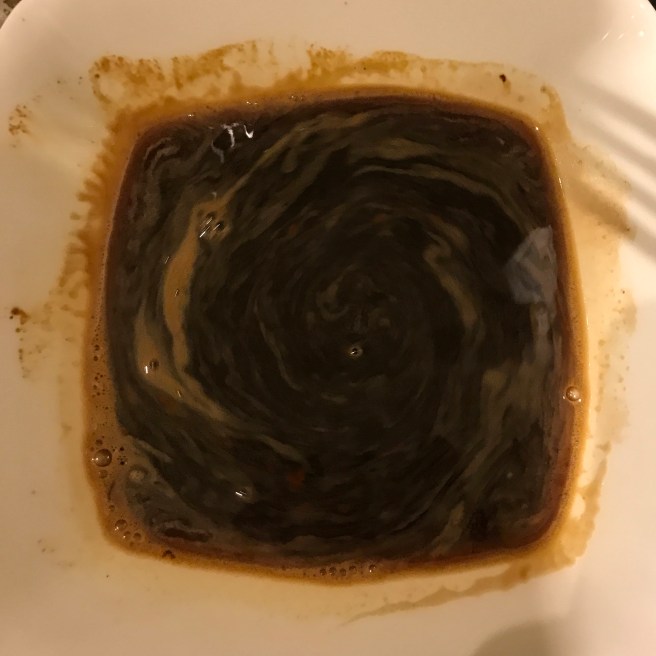
1/2 recipe espresso frosting

Directions

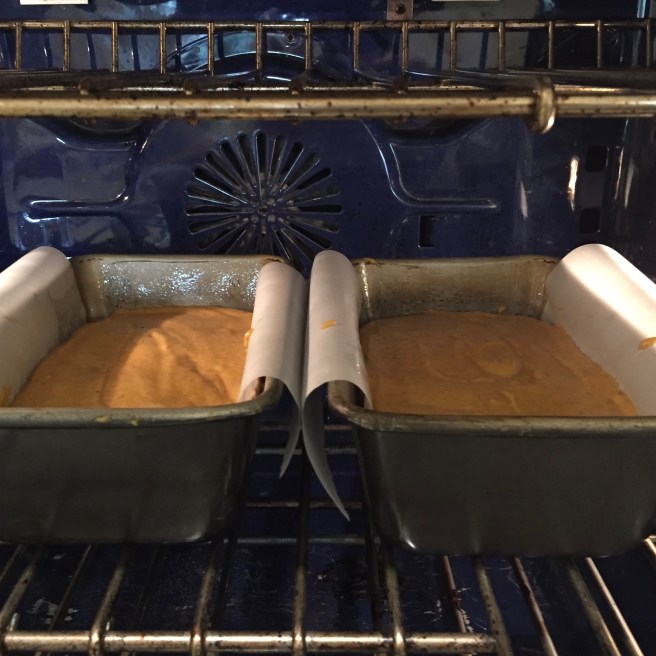
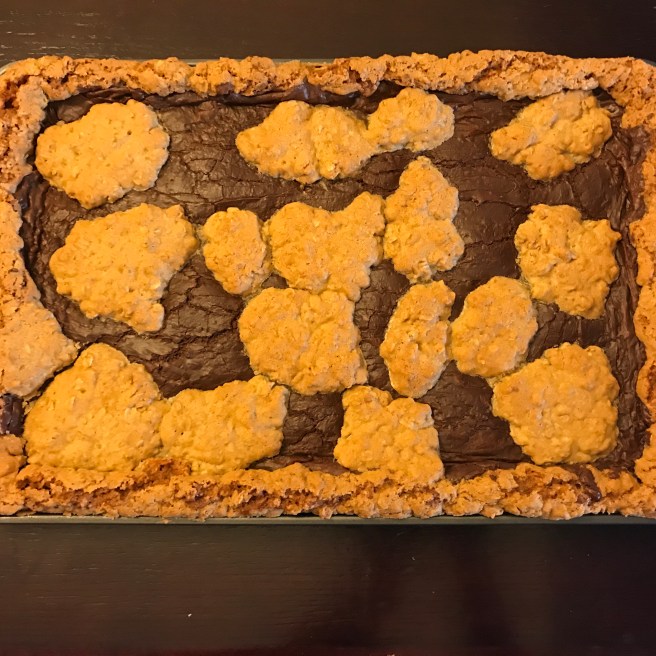
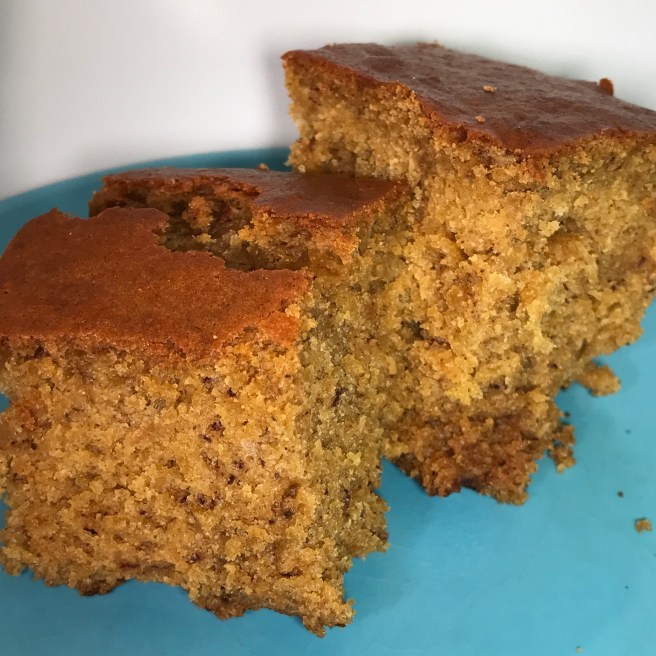
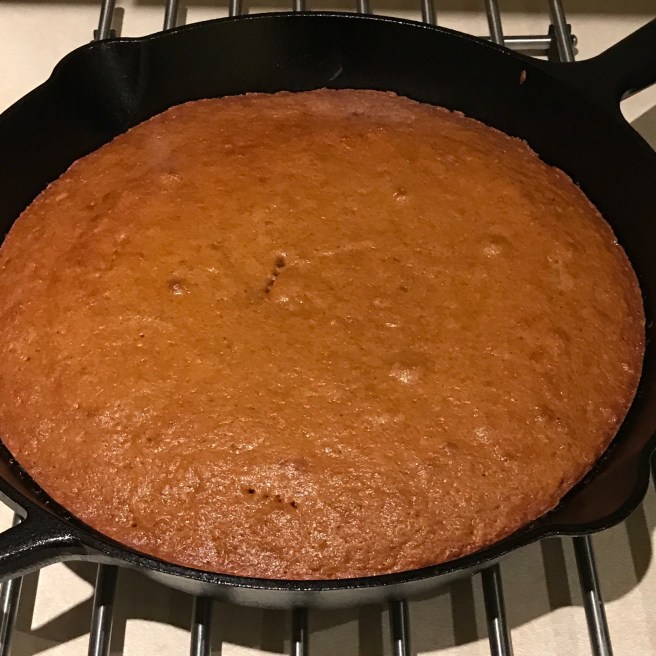
1) Prepare cake in a 9×13 pan and allow to cool.

IMG_2900.jpg

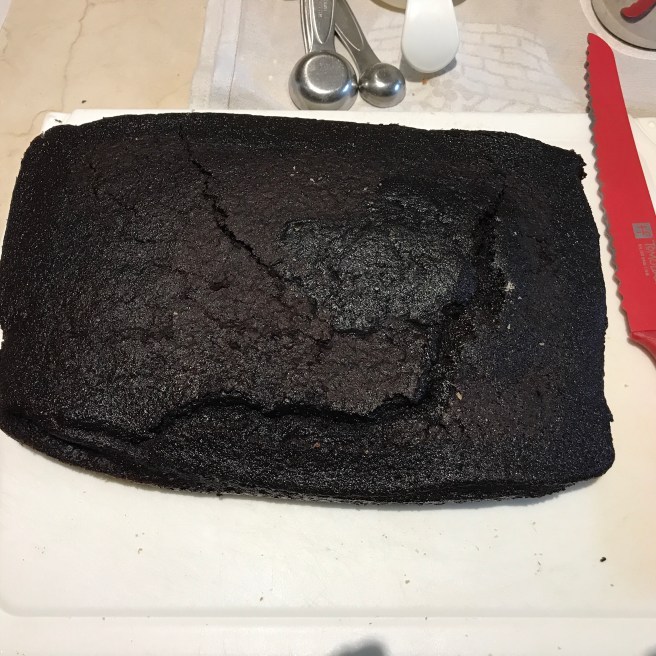
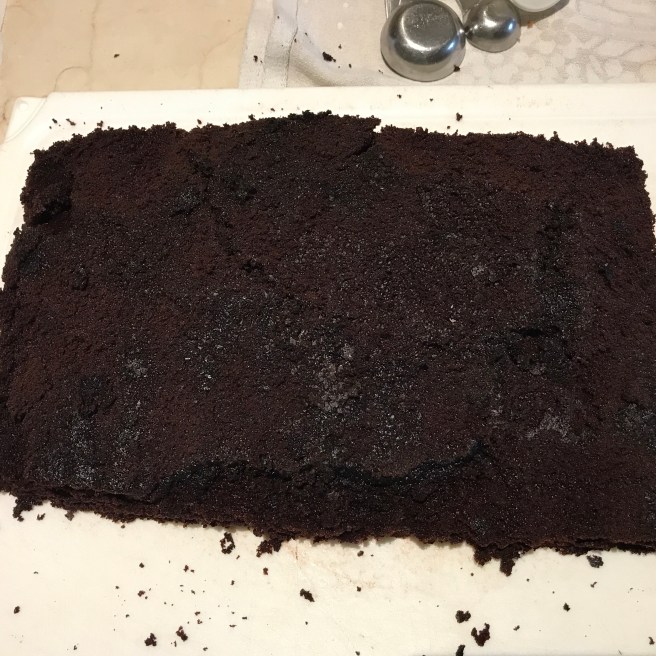
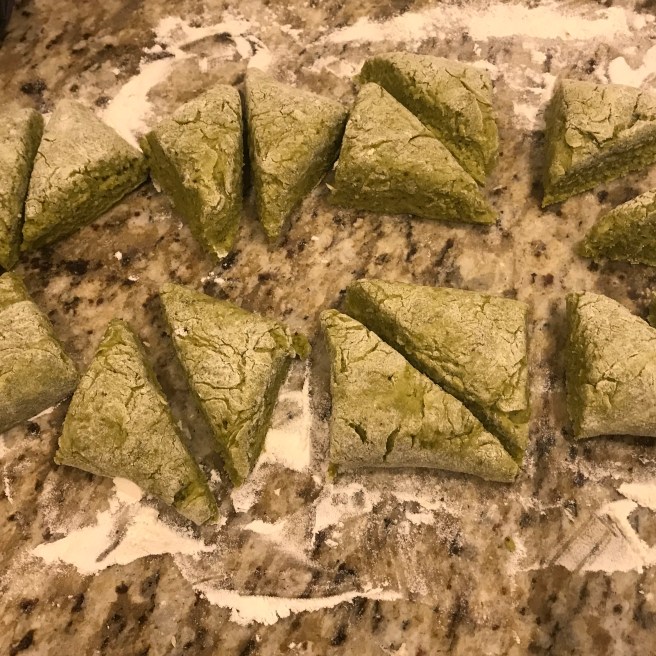
2) Carefully trim top and sides of cake to remove any “crunchy” exterior

IMG_2901.jpg

3) Prepare a 1/2 recipe of frosting

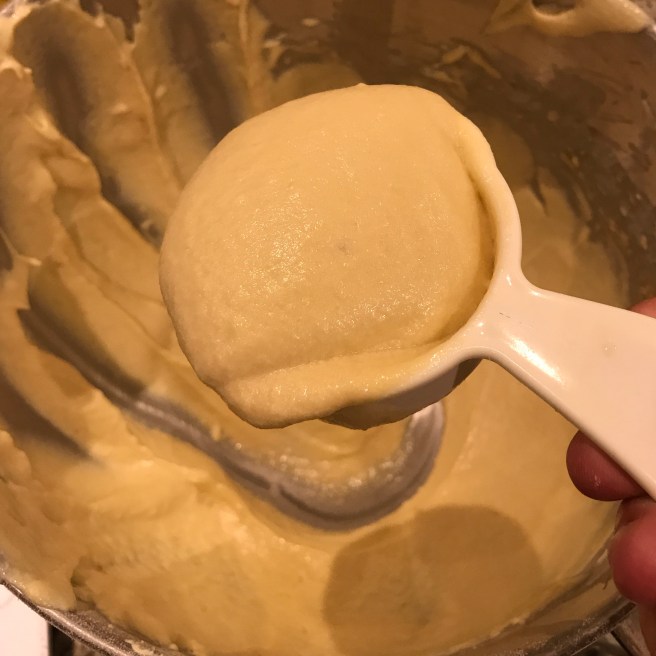
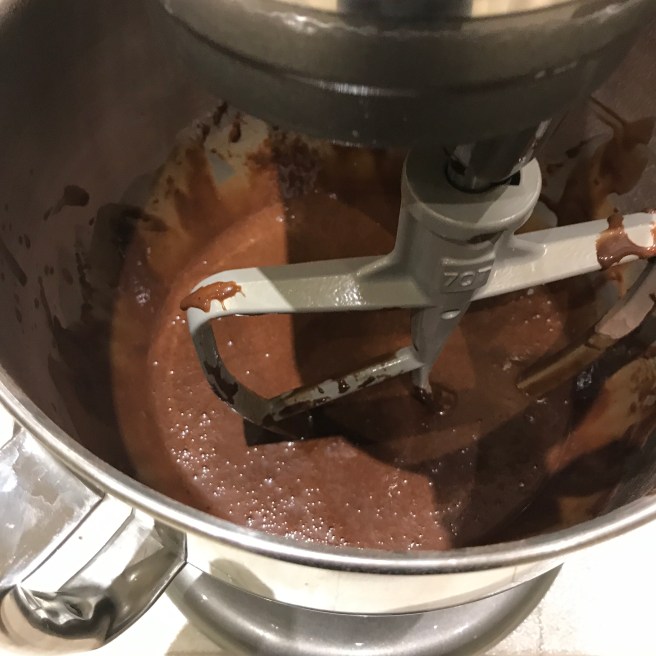
4) Place cake in a large bowl and add 1-2 cups of frosting and mix with your hands (varies depending on moisture level of cake). You want the cake pop to be able to stick together when rolled into a ball. Ensure that you add enough frosting so they don’t crack and crumble.

IMG_2903.jpg

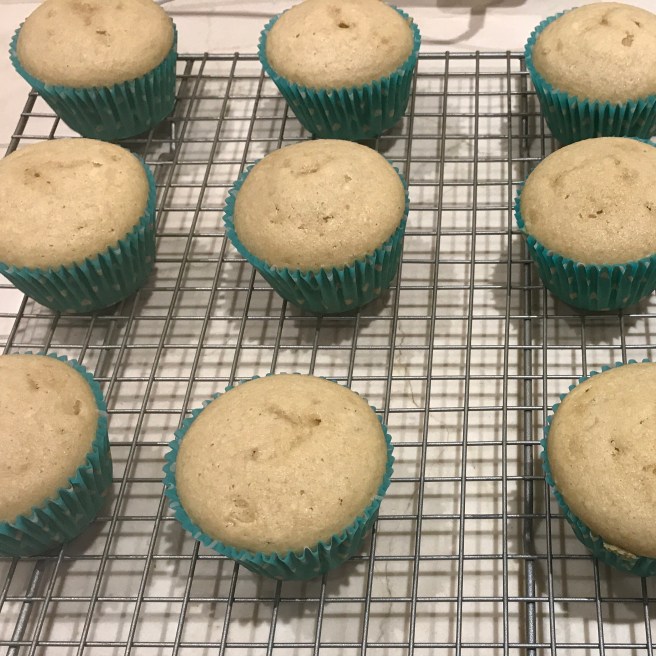
5) Scoop a heaping tablespoon of cake from the bowl and roll into an even ball. Repeat until all dough is finished. This picture is from the vanilla cake pops, however the chocolate would look very similar.

IMG_2899.jpg

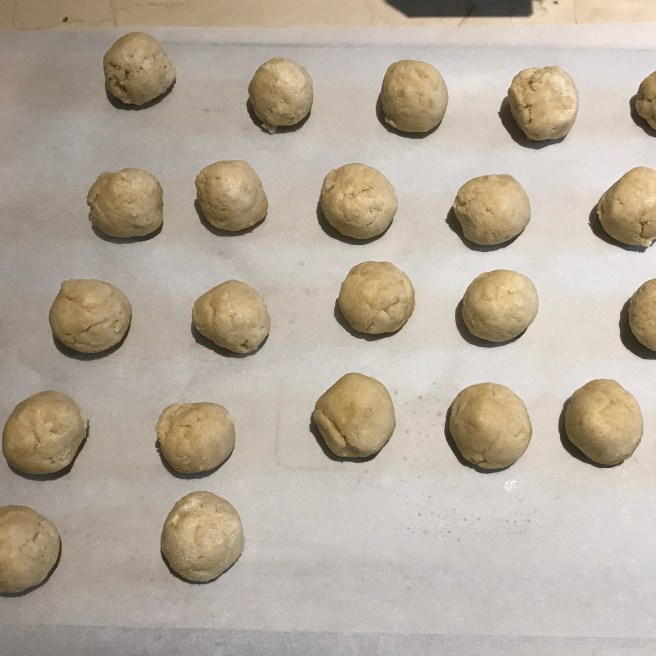
6) Place balls on parchment on a cookie sheet and place in the refrigerator for 30-60 minutes.

7) Take balls out of fridge and melt a bowl of candy melts in a bowl (any colour)

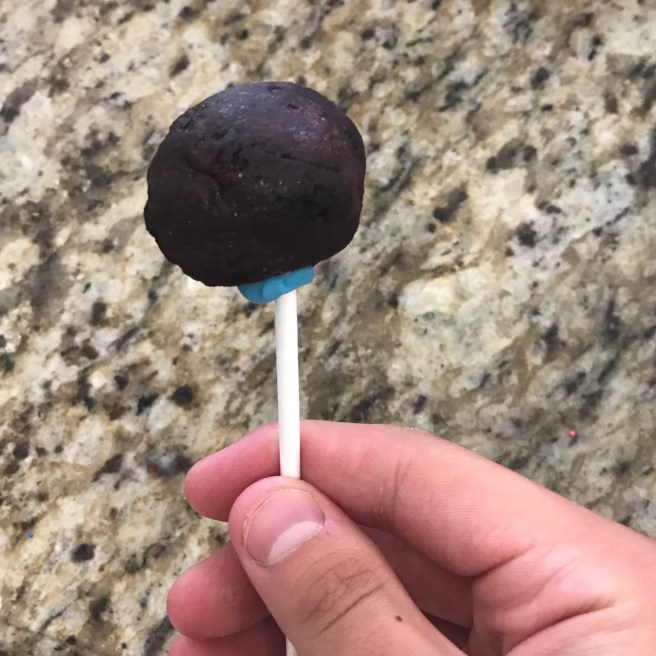
8) Dip a lollipop stick into the melted chocolate, and then put it into the cake ball. Place the stick into the foam block to support it.

IMG_2984.jpg

IMG_2966.jpg

9) Put the cake pops (with foam blocks) in the freezer for 1-2 hours

IMG_2959.jpg

10) Melt more of the candy melts (a full bowl) – can be done on the stove or in the microwave (any colour)

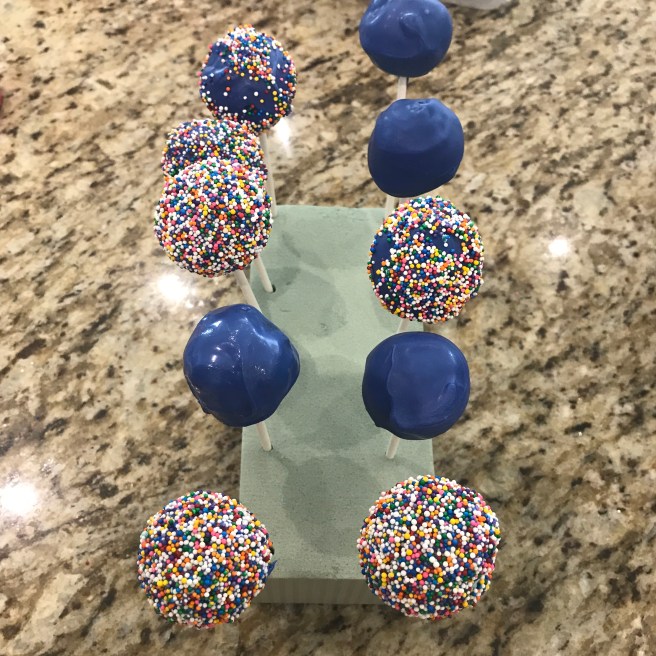
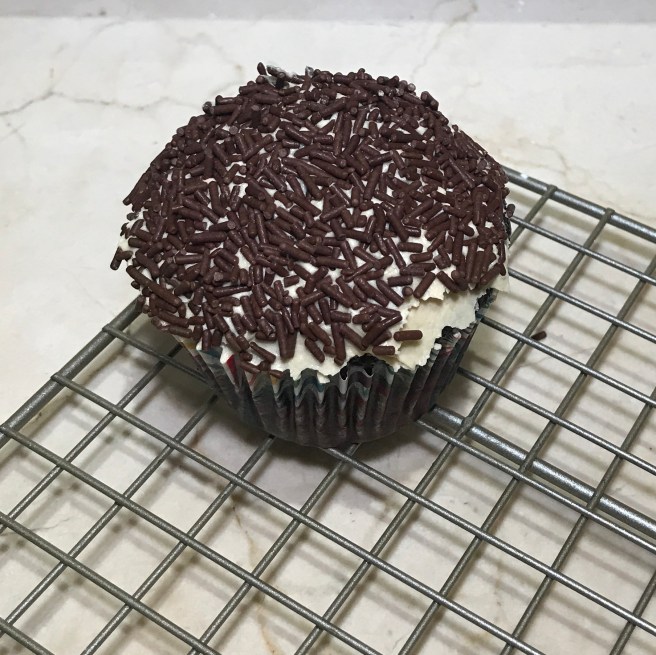
11) Dip the frozen cake pop into the melted chocolate and twist it so it is completely covered. Since the cake is frozen, it will harden quickly. Optional: cover the outside in sprinkles

IMG_2969.jpg

12) Place the stick back in the foam block and allow it to harden completely in the freezer.

IMG_2979.jpg

IMG_2972.jpg

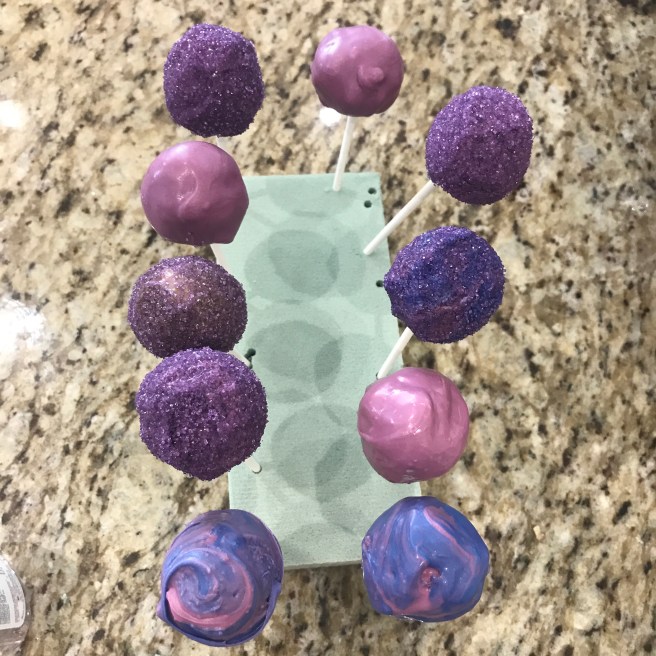
13) Optional: You can decorate the cake pops by melting a different colour candy melt. Place a small amount of the candy melt in a ziplock back. Seal it and place it in a large bowl of hot water. Once melted, cut a small tip off the corner and drizzle onto the cake pops.

IMG_2983.jpg

14) Once the cake pops are prepared, slide them into the treat bag and close with a twist tie. Optional: Add a ribbon for decoration.

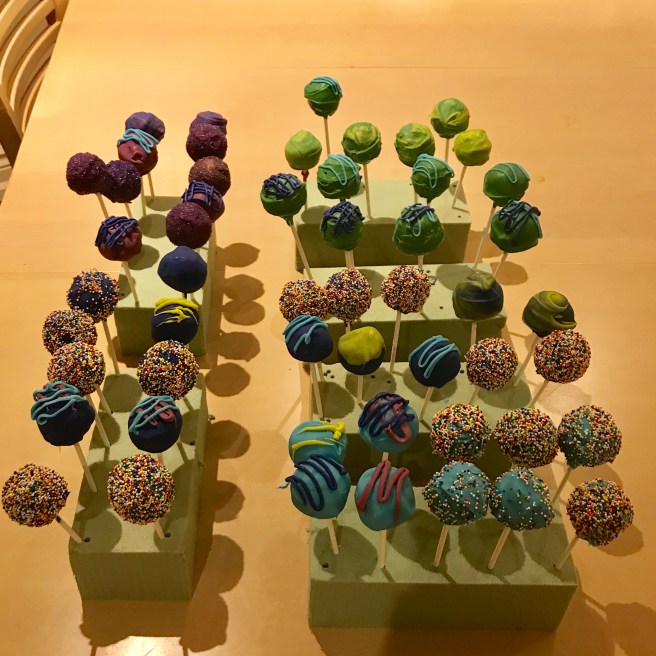
15) Place a foam block in the container (cut to size). Arrange the cake pops into a bouquet in the container. Optional: Add a ribbon to the outside for decoration.

IMG_2999.jpg

Congrats! You made it to the end! This recipe is intensive, but a unique one. Give it a shot and it will be worth it.

Science Fact of the Week:

Our science fact of the week has to do with gravity and temperature. These cake pops are very temperamental. If you make them too large, they will be heavy and will fall off the stick. As the saying goes, what goes up must come down. Let’s just hope it comes down into our stomachs. As well, ensure that you are allowing the cake pops to cool between steps so that the balls and chocolate harden. This will ensure their stability on the sticks.


The Best Banana Bread

IMG_5286.jpg

Simple and delicious; after many tweaks and adjustments in the lab, one of my most favourite recipes to prepare.   I have attached a photo of my late mother Pearl’s original recipe.

IMG_5285.JPG

I like to think that Max and I are lucky enough to have inherited some of my Mom’s and Bubi’s baking genes.

Ingredients:

3 ripe bananas
2 large eggs
¼ cup canola/grapeseed/olive/coconut oil
¼ cup orange juice/soy milk/almond milk/coconut milk
1 tsp. pure vanilla extract
3/4 cup granulated sugar
1 cup whole wheat flour
1 cup unbleached all-purpose flour
1 tsp. baking soda
½ tsp. ground cinnamon
½ tsp. kosher salt
OPTIONAL-1 cup semisweet chocolate chips tossed in 1/8 cup any flour

Directions:

Preheat the oven to 350F and line a standard loaf pan with parchment paper, sprayed with cooking spray.

Place bananas, eggs, oil, milk, vanilla and sugar in the bowl of a food processor fitted with the steel blade. IMG_5283.jpg
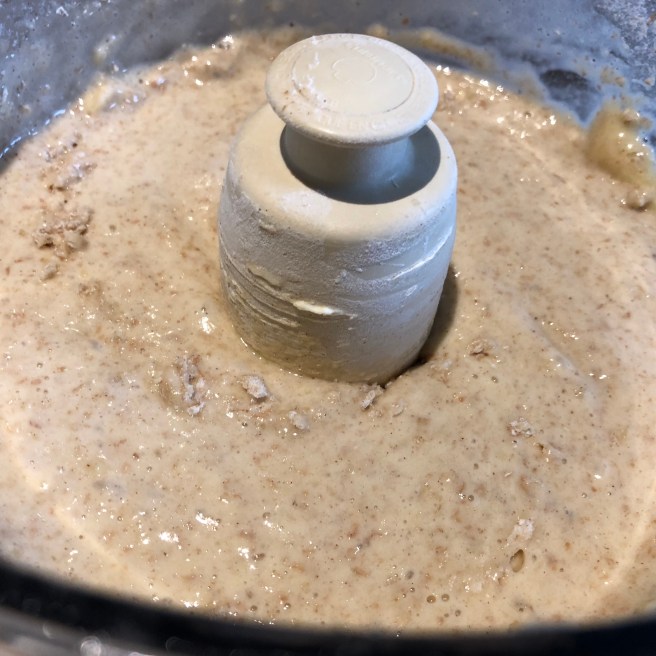
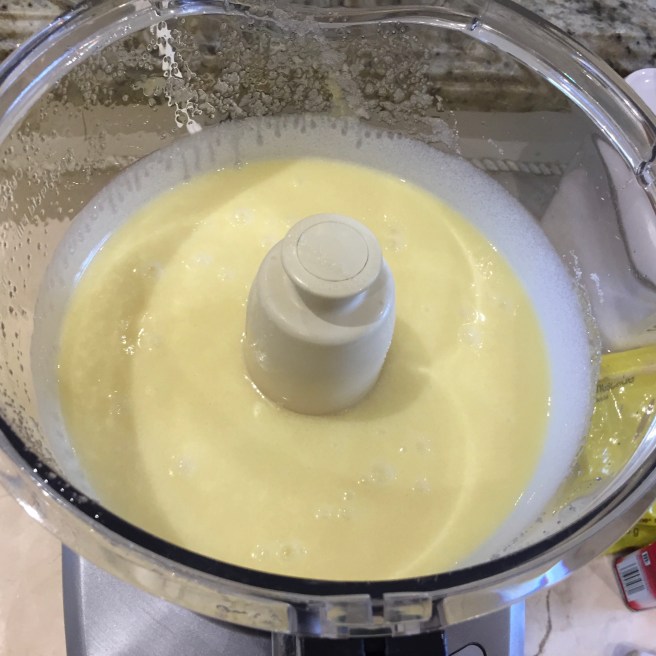
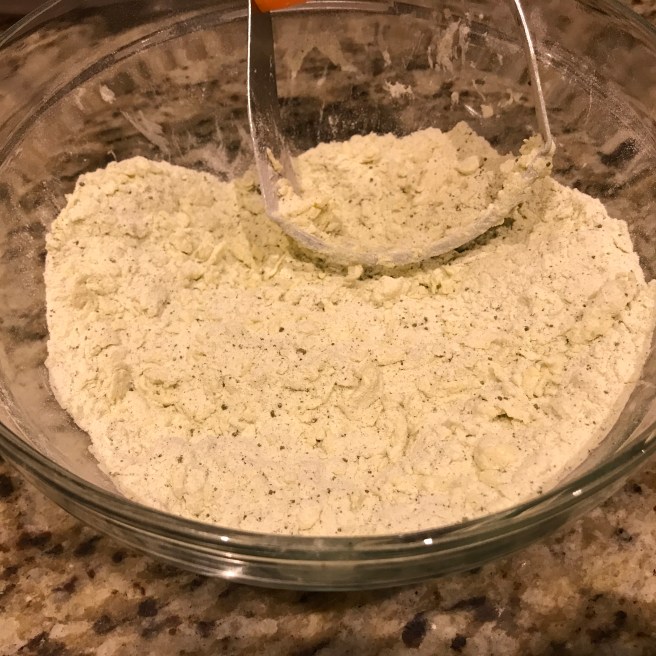
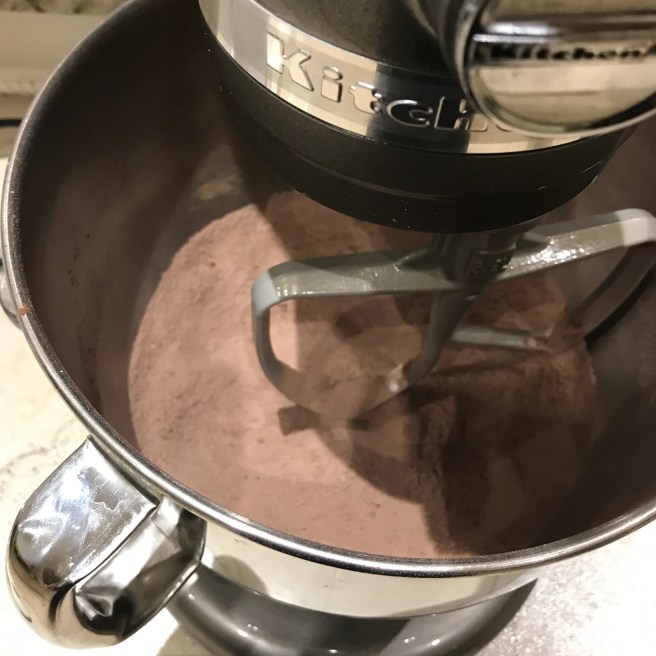
Process until well combined.

IMG_5284.jpg

In a separate bowl, combine flours, baking soda, cinnamon and salt.

IMG_5283.jpg

Add to food processor and pulse until just combined.

IMG_5282.jpg

Fold in chocolate chips if using.

IMG_5291.jpg

IMG_5289.jpg

Transfer batter to loaf pan.

IMG_5281.jpg

Bake for 60 minutes.

IMG_5280.jpg

This banana bread freezes well and is a great use for overripe bananas. If you have bananas sitting on your counter use them to make this banana bread.

Science Fact of the Week:

Bananas are inexpensive and great to keep on hand. As they ripen they release ethylene gas, which is a natural part of the ripening procedure of most fruits and vegetables. If you have a couple unripe bananas and one ripe one, throw them together into a brown paper bag to speed up the ripening process. This also works to soften an avocado. Put a ripe banana with an avocado in a brown bag overnight and it speeds up the ripening process.

IMG_9904.JPG

Apple Pie

IMG_0273.JPG

Now that the weather is finally starting to get cooler, it’s the perfect time to pick apples (or go to the grocery store and buy them). We picked up some Spy and Cortland apples, both of which are great for baking as they retain their shape and crunch.

This apple pie is a bit of a concoction, and we tested out some cool tricks to make the pie crust flakey. After a couple attempts, it worked perfectly. The secret is the use of apple cider and apple cider vinegar.

This pie is dairy free, and can be vegan if you swap out the egg wash for melted margarine.

Ingredients:

For the Crust:

4 cups cake and pastry flour
12 tbsp. apple cider (cold) – Can be purchased at the grocery store. If unavailable you can substitute for ice water.
2 tsp. apple cider vinegar
4 tbsp. powdered sugar
1 tsp. salt
3/4 cup margarine
3/4 cup coconut oil

For the Filling:

8 cups of thinly sliced apples (about 8 medium or 6 large)
1 tbsp. fresh lemon juice
2/3 cup sugar
3 tbsp. all-purpose flour
1/2 tsp. ground cinnamon
1/2 tsp. ground nutmeg
1/8 tsp. salt

For the Egg Wash:

1 large egg white, lightly beaten – swap for melted margarine to make this recipe vegan.

Directions:

Preheat the oven to 450˚F.

Combine 1 cup flour, cider and vinegar in a small bowl.

IMG_4655.jpg

In a large bowl, combine remaining flour, powdered sugar and salt.

IMG_3370.JPG

Add coconut oil and margarine (cut into small pea sized balls). Cut into flour mixture with a pastry cutter.

IMG_4724.JPG

Add wet ingredients to this mixture.

Divide dough in half and cover each with plastic wrap. Chill in the fridge for 10 minutes.

To prepare filling, cut apple into a large bowl and add remaining filling ingredients.

Roll out (on a floured surface) 1 of the divided pie crusts to approx. 1/8 inch thick (large enough so there is overhang off the edge of the pie plate.

IMG_0652.JPG

Cut off the excess dough and design the edges however you would like. Here I pinched the edges.

IMG_5904.JPG

Put the filling in the pie crust.

Roll out remaining dough and cut into 1/2 inch strips. Weave together to create a lattice. Alternatively you can roll out the dough and place on top. If you choose this method, ensure that you cut holes in the top to let steam escape.

IMG_4313.jpg

Brush pie with egg wash (or melted margarine)

Bake at 450˚F for 15 minutes before changing the temperature to 350˚F. Bake for an additional 35-50 minutes (until golden brown)

Feel free to use extra pie dough for design or to make mini pies in ramekins.  For mini pies, change additional baking time to 25-30 mins.

IMG_9418.JPG

Enjoy this delicious fall dessert with a side of vanilla ice cream.

Science Fact of the Week:

Our science fact this week relates to the use of different kinds of apples. Three apples that are great for pies are Spy, Cortland or Granny Smith apples. The texture of the apple is the most important. Macintosh are great for eating, but won’t suit the right texture for pie. You want to avoid apples that will get soft.

Pumpkin Spice and Everything Nice

IMG_4834.jpg

A non-dairy pumpkin spice loaf to wow any house guest. Great for a crowd, this fall dessert is a perfect go to with a quick clean up and very little effort.

If you wanna prep in advance to make this even simpler, you can create a pre-packaged Pumpkin Spice mixture (in a ziplock) to quickly throw into the bowl next time.

IMG_4828.jpg

Ingredients:

3 cups granulated sugar
1 cup olive/grapeseed/coconut/canola oil
4 eggs
2 cups pure pumpkin puree
3 ½ cups unbleached all-purpose flour
1 tsp. baking soda
1 tsp. salt
1 tsp. ground cinnamon
1 tsp. ground nutmeg
½ tsp. baking powder
½ tsp. ground cloves
½ tsp. ground allspice
½ cup water

Directions:

Preheat oven to 350F and line 2 loaf pans with parchment paper sprayed with cooking spray.

Process sugar, oil and eggs until well combined.

IMG_4829.jpg

Add pumpkin and process again. Combine dry ingredients in a bowl.

IMG_4830.jpg

Add to the pumpkin mixture alternately with water. Pulse until just combined.

IMG_4831.jpg

Pour batter into the 2 loaf pans and bake for 65-70 minutes.

IMG_4832.jpg

Aside from being healthy and colourful, pumpkin is very easy to use in many baked recipes. Be sure to use “pure pumpkin” and not pumpkin pie filling which has added sugar and other additives. A great loaf to serve for Sukkot/Thanksgiving or any time in the fall/winter.

Science Fact of the Week:

Since we’ve already spoken about the health benefits of pumpkin, we thought it was important to talk about the choice of oil in this recipe. By using an oil base we can replace butter, making this non-dairy and a lighter alternative. Grapeseed oil contains Vitamin E, which as an anti-oxidant has been tied to lower risks of cancer, heart disease and other chronic illness. Olive oil, coconut oil and regular canola all work well for the recipe, feel free to use whichever you have on hand.

Matcha Green Tea Scones

As you may remember, I had a bit of a scone obsession this summer. In addition to the earl grey scone, I created another tea infusion using  matcha (green tea).

Similar to the earl grey scones, it is important to work with grated frozen butter. I use the food processor to grate the butter quickly, but it can also be done by hand.

Ingredients:

For the Scones:

2 tbsp. boiling water
2 + 2 tbsp good quality matcha green tea powder (I use David’s tea Vanilla Matcha)
2 cups (240 g) all-purpose flour (plus extra for counters)
6 tbsp (75g) granulated sugar
2 and 1/2 tsp baking powder
1/2 tsp salt
1/2 cup (115 g) unsalted butter, frozen (I throw it in the freezer ice drawer about 20 mins before I start making the scones, and take it out only when I’m ready to use it)
scant 1/2 cup heavy cream (I use 35% Cooking Cream)
1 tsp pure vanilla extract
1 large egg

IMG_3407.jpg

For the Glaze

1 cup (120 g) confectioners’ sugar
2-3 tbsp milk
1/2 tsp pure vanilla extract (or 1/2 of a vanilla bean, seeded)

Directions:

Preheat the oven to 400˚F.

Mix the boiling water with 2 Tbsp. of green tea using a whisk. Let it sit on the counter to cool down.

Take the other two tbsp. of tea and mix with the next 4 ingredients (flour, sugar, baking powder and salt) in a large bowl using a whisk.

IMG_3412.jpg

In a small bowl, whisk the scant 1/2 cup of heavy cream, vanilla, matcha concentrate and egg.

IMG_3417.jpg

Grate the butter (by hand or in the food processor) and add to dry ingredients. Use a pastry cutter (or fork) to incorporate. IMG_3436.jpg

Pour wet ingredients over the butter mixture and incorporate with a rubber spatula. Make sure not to over-work the dough.

Flour a work surface to place your dough on. Shape the dough into a long rectangle (as pictured here).

IMG_3438.jpg

To cut the scones, look at the instructions with the earl grey scones.

IMG_3439.jpg

IMG_3440.jpg

IMG_3441.jpg

Bake scones for 12-17 minutes. 15 minutes usually works perfectly for me.

If you want scones on demand, these freeze well (pre-cut) in an air-tight container. Ensure that scones are not touching each other (divide with parchment). They can be stored in freezer for a few weeks before baking. Add two minutes to baking time when baking from frozen.

Allow the scones to cool on wire rack.

Mix ingredients for glaze in separate bowl. Top cooled scones with glaze.

IMG_2713.jpg

Science Fact of the Week:

Matcha has some unique properties. It is packed with antioxidants and is said to boost metabolism. It also helps detoxify the body and boosts the immune system. It may also improve cognitive ability and help us complete tasks more efficiently.

Chocolate Cupcakes with Whipped Espresso “Buttercream”

IMG_3558.jpg
This recipe is an adaptation from Hershey’s Perfectly Chocolate Chocolate Cake.

A good chocolate cake is hard to come by. This one is great as a cake, cupcake, loaf, or cake pop. I’ve been making this chocolate cake recipe for about 10 years.

Feel free to get creative with this cake. Try topping it with fondant, sprinkles or toasted walnuts. This recipe is very adaptable. Swap out the icing for vanilla, chocolate, or any other flavour you can think of. One of my favourites is to make this as a two layer cake with whipped cream and strawberries inside, topped with chocolate frosting.

Ingredients:

For the Cake:

2 cups sugar
1 3/4 cups all-purpose flour
3/4 cup cocoa
1 1/2 tsp baking powder
1 1/2 tsp baking soda
1 tsp salt
2 eggs
1 cup almond milk (can swap for skim or soy)
1/2 cup extra light tasting olive oil (can also use canola)
2 tsp pure vanilla extract
1 cup boiling water
2 tbsp espresso powder

For the Frosting:

1 cup (2 sticks) non-dairy margarine, at room temperature
2 1/2 cup powdered sugar
1 1/2 tsp vanilla extract
1 1/2 tsp espresso powder

Directions:

For the Cupcakes:

Makes 24 cupcakes. Preheat oven to 350˚F. Prepare two cupcake trays with liners.

Combine the first 6 ingredients in a large bowl.

IMG_3527.jpg

Add eggs, almond milk, olive oil and vanilla extract and mix well for 1-2 minutes.

IMG_3528.jpg

In a small bowl mix boiling water with espresso powder. Allow to sit for a minute before adding to batter.

IMG_3532.jpg

Mix slowly. Batter should be thin.

IMG_3534.jpg

Bake for 22-25 minutes. Allow to cool in pan for 10 mins before transferring to a wire rack to cool completely.

IMG_3543.jpg

While cooling, prepare the whipped espresso frosting

For the Frosting:

In a small bowl, mix the vanilla and espresso powder. Set aside.

In a stand mixer, using the whisk attachment, whip the margarine for 5 minutes. Scrape the sides. With the mixer off, add the powdered sugar a 1/2 cup at a time, mixing in between to incorporate.

Add the vanilla espresso mixture and continue to mix on medium-high.

IMG_3550.jpg

Science Fact of the Week:

Using almond milk allows this recipe to be dairy free, and adds some hidden nutritional value. Almonds are low in fat, and may help maintain a healthy heart and reduce blood pressure.

Oat Fudge Bars

FullSizeRender 4.jpg

Have you ever longingly looked at the oat fudge bar in the Starbucks display window, tempted by the fudgy deliciousness?

These copycat Starbucks oat fudge bars will fill that void in your life. Make these and people will think that you stopped at the nearest Starbucks to pick up their entire stock of Oat Fudge bars.

They are great for a crowd, freeze well and are very simple to make. This recipe makes a 9×13 pan, however I multiply everything by 1.5 to fill a larger rimmed baking sheet.

Ingredients:

For the Oat Mixture:

1 cup granulated sugar
1 cup brown sugar
1/2 cup butter (1 stick)
1/2 cup coconut oil (can replace with another stick of butter)
2 large eggs
2 cups all-purpose flour
1 tsp baking soda
3 cups old fashioned oats

For the Fudge:

1 cup sweetened condensed milk (about 1 container)
2 cups semi-sweet chocolate chips
1/2 cup butter (1 stick)
1 tsp pure vanilla extract

Directions:

Grease a 9×13 pan.

Cream butter (and coconut oil), sugars and eggs in a large bowl

Mix in flour, baking soda and old fashioned oats. Mix well.

FullSizeRender 5.jpg

Take 3/4 of the mixture and press down into the pan similar to a crust. Ensure that the oats come up the edge of the pan slightly. This is what gives the fudge bars their delicious oat-ey crust.

FullSizeRender 3.jpg

In a saucepan, melt fudge ingredients. Pour sauce over oat crust.

Take remaining 1/4 of oat mixture and “blob” on top.

FullSizeRender.jpg

Bake for 25-30 minutes at 350˚F.

FullSizeRender 2.jpg

Science Fact of the Week:

You may be asking about the use of coconut oil here. Lately I’ve been swapping out half the butter, or half the margarine and using coconut oil instead. Coconut oil contains no trans fats, and is made of up healthier saturated fats (including Lauric acid). Lauric acid may lead to apoptosis (cell death) in cancer cells, therefore leading to possible health benefits.  It may also improve  hepatic (liver) antioxidant status and improve overall cardiovascular health. 

Pumpkin Banana Bread

FullSizeRender 31.jpg

It’s September. School is back in session, it is no longer appropriate to wear white and Starbucks released the infamous PSL. Rather than a classic pumpkin recipe I thought I would experiment a little.

What do you get when you mix banana bread and pumpkin bread?

MAGIC!

On a hunch, I decided to intertwine the recipes for my favourite banana bread and pumpkin bread. With a few alterations, the creation came out perfectly. Not too heavy on the pumpkin, not too heavy on the banana – it is truly a delicious concoction. When serving it to someone, ask what flavour they think it is. About half have said pumpkin, the other half banana. Their minds are blown when you say both.

The banana bread base is an older recipe that has been altered over the years, however the pumpkin bread part comes from Gimmie Some Oven. Also a delicious fall dessert that I often make.

FullSizeRender 32.jpg

Ingredients:

2 cups granulated sugar
1/2 cup packed brown sugar
3 and 3/4 cup all-purpose flour
2 tsp baking soda
1 and 1/2 tsp salt
2 tsp pumpkin pie spice
1 cup pumpkin puree (pure pumpkin)
3 ripe bananas, mashed
2 eggs + 2 egg whites
3/4 cup melted coconut oil
1/4 cup greek yogurt (I used vanilla greek yogurt, but can also use plain or toffuti sour cream to be non dairy)
1/2 cup milk (can use almond milk to be non-dairy)
2 tsp vanilla extract

Directions:

1) Preheat oven to 350F.

2) Spray 9×13 pan with cooking spray, or line with parchment paper.

3) In a large bowl, mix together the first six ingredients (dry ingredients). Make sure to break up any large clumps.

FullSizeRender 30.jpg
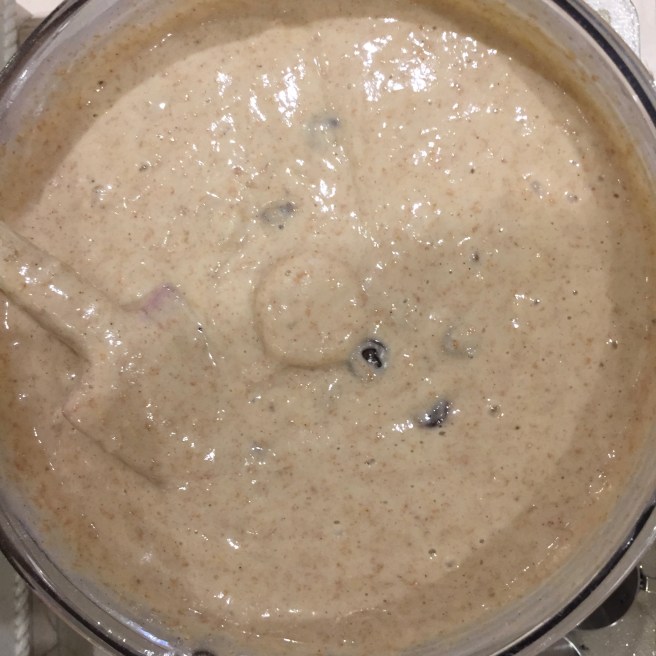
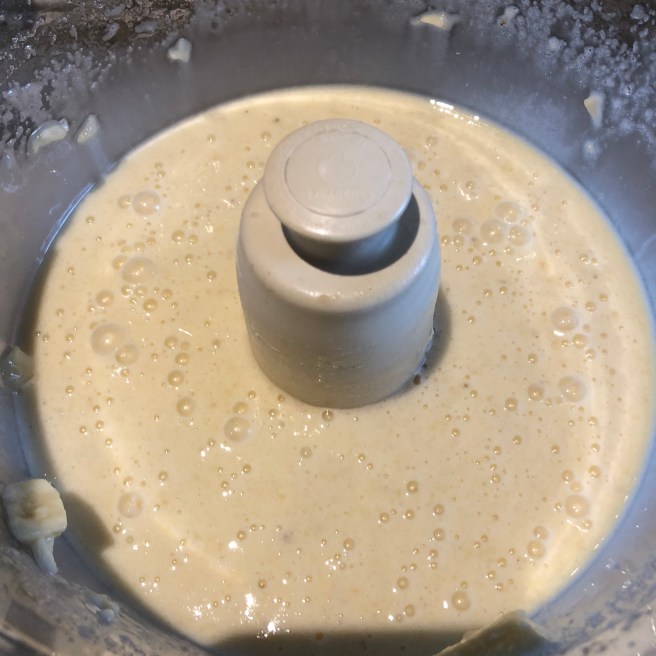
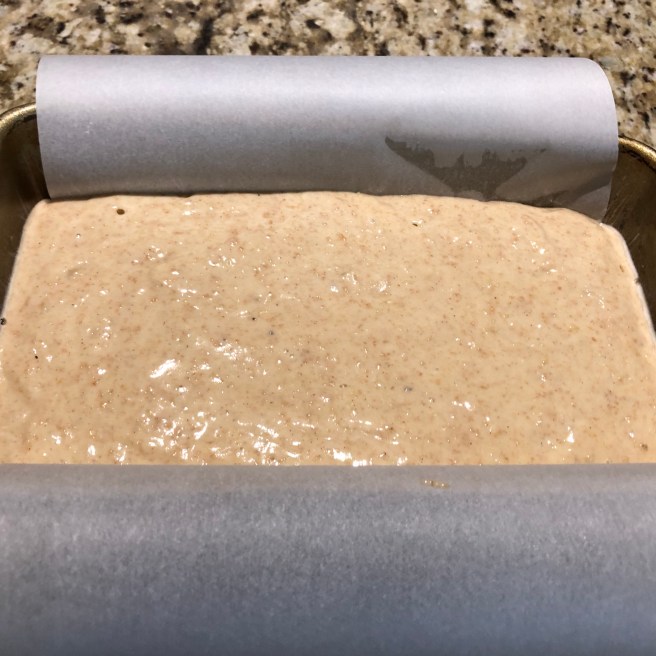
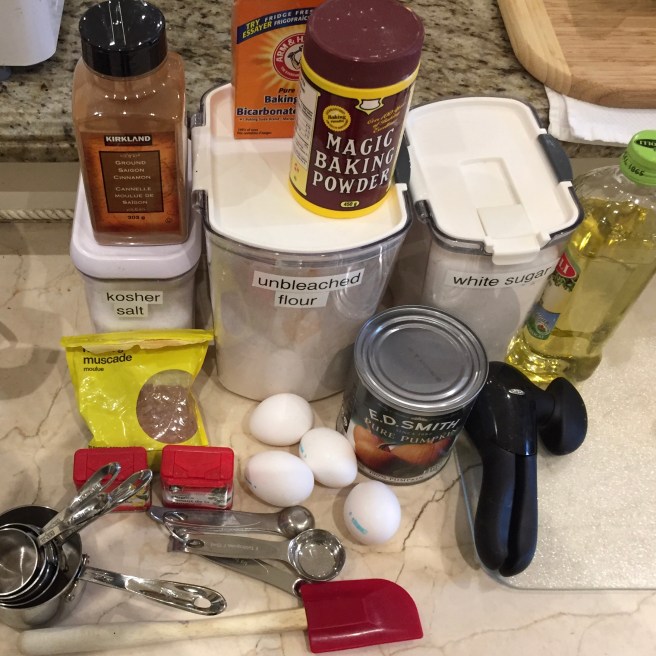
4) In a separate bowl, mix pumpkin and banana well. Add eggs and egg whites, oil, greek yogurt, milk and vanilla extract.

5) Create a well in the centre of the dry ingredients and add wet ingredients. Use spatula to mix well.

FullSizeRender 28.jpg

6) Fill pan and bake for 45-55 minutes.

FullSizeRender 33.jpg

This recipe is delicious for a crowd. It makes a 9×13 cake. Cut recipe in half to make a loaf cake and reduce the baking time by 10 minutes. It freezes well. Also works well with frosting (I’m partial to cream cheese frosting), but make frosting after defrosting the cake.

Science Fact of the Week:

Pumpkin is rich in vitamins and minerals. It is high in potassium, which may help lower blood pressure. It is also rich in beta-carotene and carotenoids, which, as antioxidants, may protect against cancer and cardiovascular disease. 

Whole Grain Blueberry Muffins

FullSizeRender 29.jpg

With summer coming to an end we thought we would share another blueberry recipe to make use of the delicious local produce. This is a newer recipe, but is a delicious healthier muffin that can be made year round. Off season, feel free to swap out the blueberries for frozen.

FullSizeRender 30.jpg

Enjoy!

Ingredients:

2 cups whole wheat flour
2 cups large flake oats
1/4 cup demerara style brown sugar
1/4 tsp. kosher salt
1 tsp. ground cinnamon
2 tsp. baking powder
1 tsp. baking soda
2 tbsp. ground flaxseed
2 large eggs
1 tsp. pure vanilla extract
1/4 cup unsweetened almond  or soy  milk
1/2 cup unsweetened applesauce
1/2 cup olive/grapeseed/coconut/canola oil
1/2 cup pure honey
1/2 cup blueberry pomegranate juice, reduced (see note below)
2 cups blueberries
large flake oats and raw/turbinado style sugar for sprinkling (optional)

Directions:

Preheat oven to 425F.  Combine first eight ingredients in a bowl and mix well.

FullSizeRender 33.jpg

In an electric mixer, combine next six ingredients and beat until well combined.  Add juice and beat again.

FullSizeRender 31.jpg

Slowly add flour mixture and mix until just combined. Then fold in blueberries and mix.

FullSizeRender 34.jpg

Fill 15 paper liners in muffin tins.  Optionally, sprinkle each muffin with approximately 1/4 tsp. each of large flake oats and raw/turbinado sugar.  Bake 16 minutes or until golden brown.

Note:

FullSizeRender 32.jpg

“Reduced” juice in this recipe refers to the process of bringing 1 cup of blueberry pomegranate juice (such as Pom brand) to a boil and reducing it down to half the amount.  The juice becomes more dense and imparts a richer flavour with half the volume while sweetening the muffins.   Along with using applesauce as a sweetener, this allows the muffin to have a lower sugar content but still allows a delicious taste.  The taste is reminiscent of a Starbucks-style muffin but is of course, homemade.  The muffins freeze well and can be enjoyed year round.

FullSizeRender 28.jpg

Science Fact of the Week:

Flaxseeds are a great source of nutrients. Flaxseeds may assist with weight-loss, and as well may reduce blood pressure due to their alpha-linoleic acid, fibre and lignan content. They may also be a contributing factor in reducing breast cancer risk. Flaxseeds are great in muffins, but can also be added to oatmeal, cookies or delicious foods to increase their nutritional value.

Earl Grey Vanilla Cupcakes with Vanilla “Buttercream”

FullSizeRender 27.jpg
Building on my last post, I’ve been on a little bit of a tea-kick. David’s Tea Cream of Earl Grey is one of my favourites, and incorporating it into some of my favourite recipes has been a unique challenge. I modified my vanilla cupcake recipe I’ve been using for nearly 10 years to add the strong earl grey flavour, giving these cupcakes a unique depth.

It took a few tries until this experiment was a success! After all, this is why we chose to call this blog The Science of Baking.

Ingredients:

For the Cupcakes:

1/2 cup earl grey concentrate (2-3 tbsp. earl grey tea and 1/2 cup boiling water)
1 3/4 cup cake flour
1 3/4 cup all purpose flour
1 3/4 cup sugar
2 1/2 tsp baking powder
1 tsp kosher salt
1 cup (2 sticks) nondairy margarine, room temperature, cut into 1/2 inch cubes
4 eggs
1 cup unsweetened vanilla almond milk
2 tsp pure vanilla extract

For the icing:

1 cup (2 sticks) nondairy margarine (softened)
1 tsp pure vanilla extract
4 cups confectioners’ sugar
2 tablespoons unsweetened vanilla almond milk

Directions

Preheat oven to 350° and line cupcake pan with cupcake liners.

1) Steep Earl Grey tea (in filter) with 1/2 cup boiling water. Allow to cool
2) Add the flours, sugar, baking powder and salt. Mix on medium speed until well combined (about a minute).
FullSizeRender 21.jpg
3) Add margarine, a few cubes at a time until mixture resembles coarse sand.
FullSizeRender 22.jpg
4) Add eggs one at a time
5) Slowly pour in almond milk, vanilla and earl grey concentrate. Beat for 2 minutes until smooth (works best with a mixer), scraping sides of bowl as needed.
6) Fill liners 2/3 full (about 1/4 cup batter) and bake for 15-20 minutes until tops are golden brown and centre is set.
FullSizeRender 23.jpg
Allow to cool completely before frosting.
FullSizeRender 25.jpg
7) Make the Frosting: Cream margarine. Add vanilla and gradually add sugar, scraping the sides of the bowl as necessary. Add almond milk and beat until fluffy. If desired, add food colouring.FullSizeRender 26.jpg
Makes 24 cupcakes. These freeze well unfrosted in a ziploc style bag. As well, the batter can be made in a 9 x 13 sheet pan (bake for 35-45 mins) or 9-inch circular pans (bake 25-35 mins) to make a cake.

Science Fact of the Week:

Similar to our friends the blueberries, Pure Vanilla Extract is rich in anti-oxidants such as vanillin. Using imitation vanilla decreases the anti-oxidant quantity, and therefore decreases potential health benefits. Vanilla has been shown to be anti-oxidant, anti-inflammatory,and anti-bacterial. As a result, it may reduce one’s risk of certain cancers.