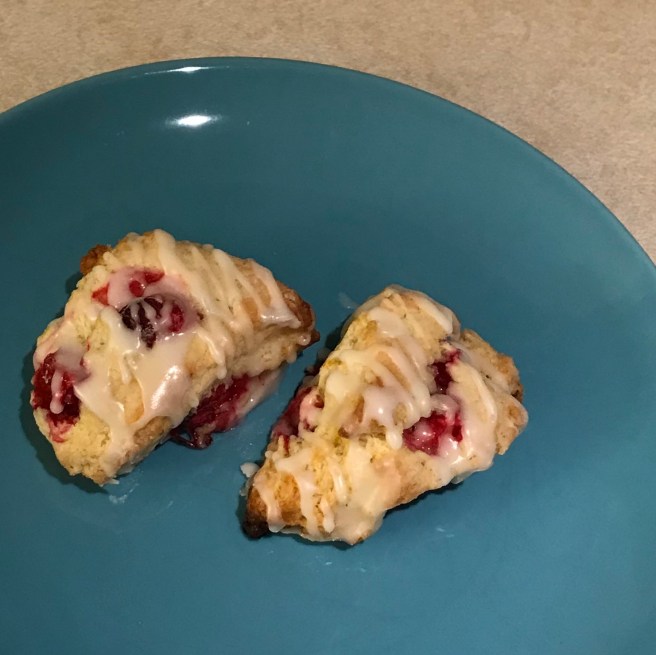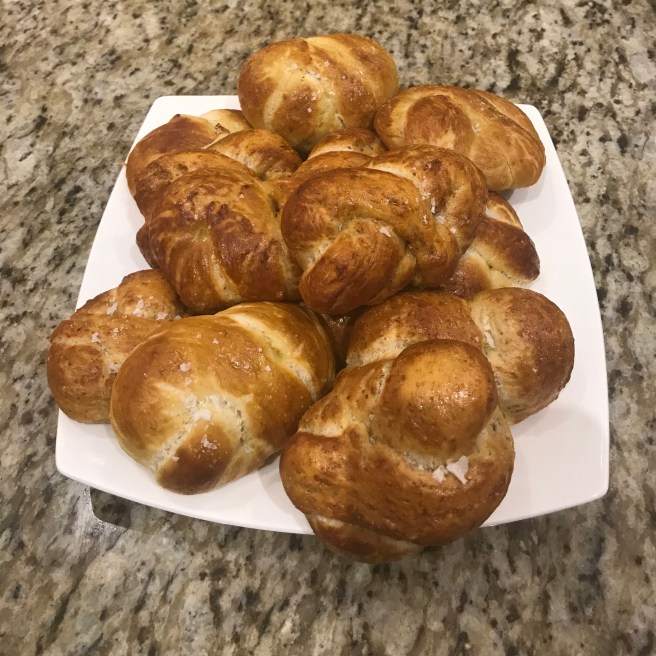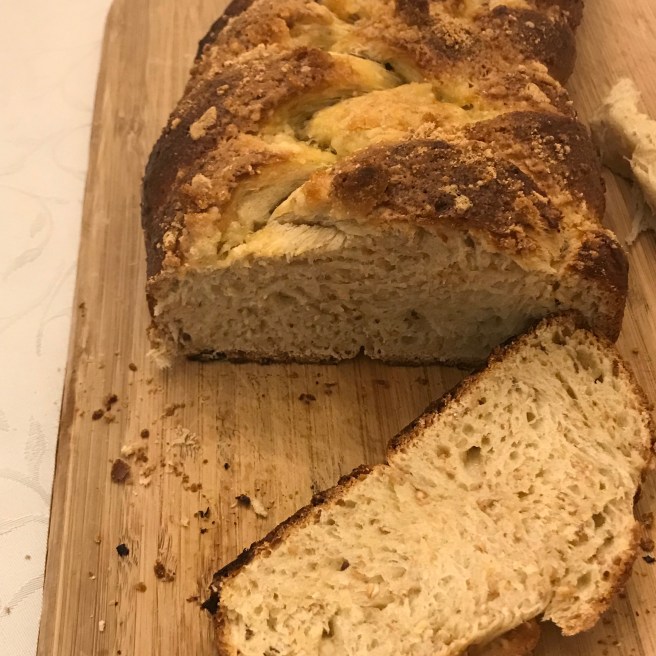
Now it’s my turn to have my hand at the Challah game. This one is adapted from Norene’s Prize Winning Challah. I started making this challah in my second year of university, and it has been a hit! It is super forgiving and doesn’t require any fancy machinery.
As for the flour, this can be done with regular best for bread flour however I prefer multi-grain to give it some extra nutrients. I originally found this multi-grain flour (Best for Bread Multigrain by Robin Hood) at Walmart. However, my local Walmart did not have it in stock. After getting a tooth implant the day prior, I spent 2.5 hours hunting around grocery stores and eventually (after calling) found it at Real Canadian Superstore.
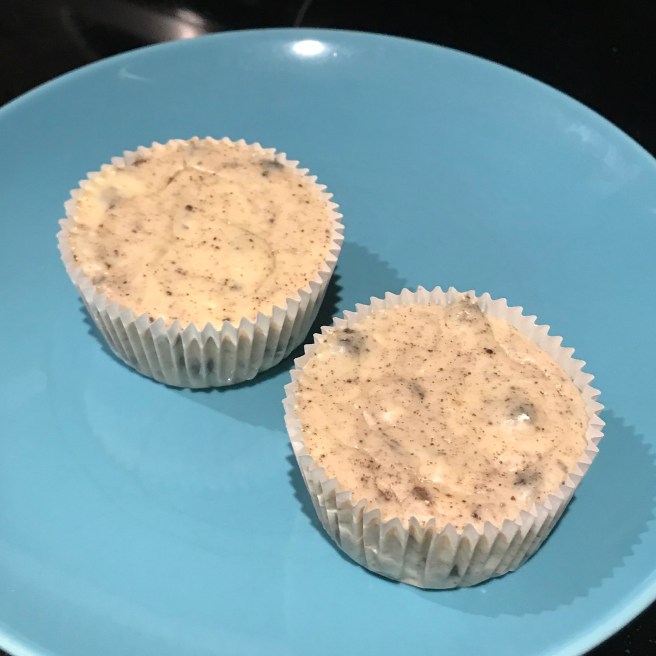
I reset my phone after making this recipe and lost some of the progress pictures. I apologize for the trouble! Now, for the recipe!
Ingredients:
1 tsp sugar
1 tsp honey
1/2 cup warm water (105 to 115°F)
1 package quick rise yeast (1 Tbsp)
1/2 cup canola/vegetable oil
1/2 cup warm water
1/4 cup sugar
2 tsp salt
2 eggs
2 cups of multigrain best for bread flour
2.5 cups of white best for bread flour
For the egg wash:
1 egg yolk, beaten
1 tsp water
1 tsp honey
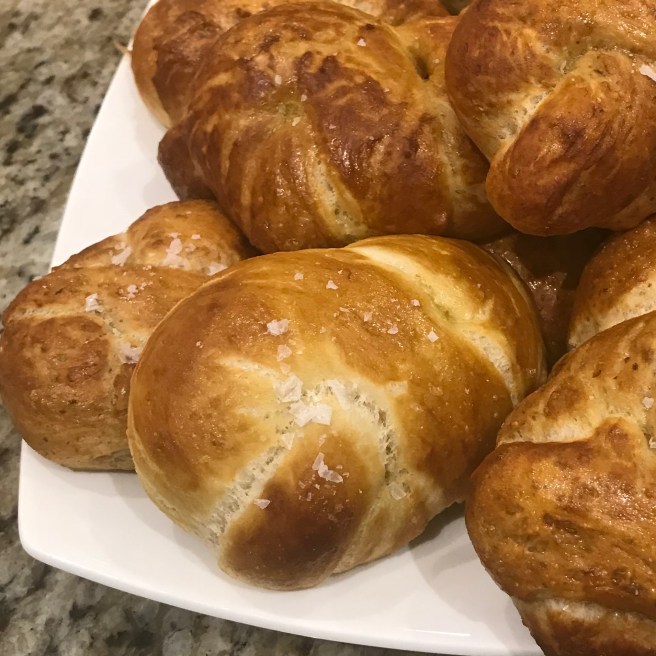
For the Topping:
Option A: Sugar Crumb Coating:
4 tbsp. margarine, semi-melted
3/4 cup flour
2/3 cup sugar
Option B: Old-Fashioned Rolled Oats
Option C: Sesame Seeds
Directions:
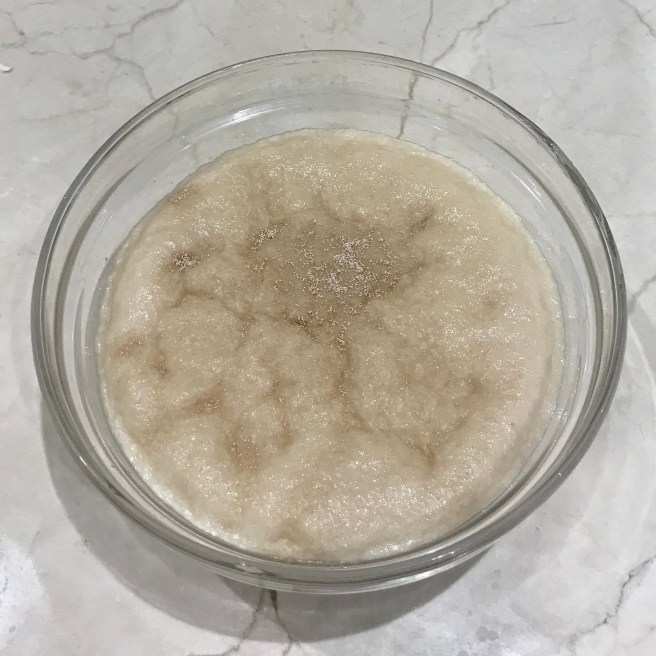
Dissolve sugar and honey in warm water in a large bowl. Sprinkle the yeast on top and leave for 10 minutes before mixing.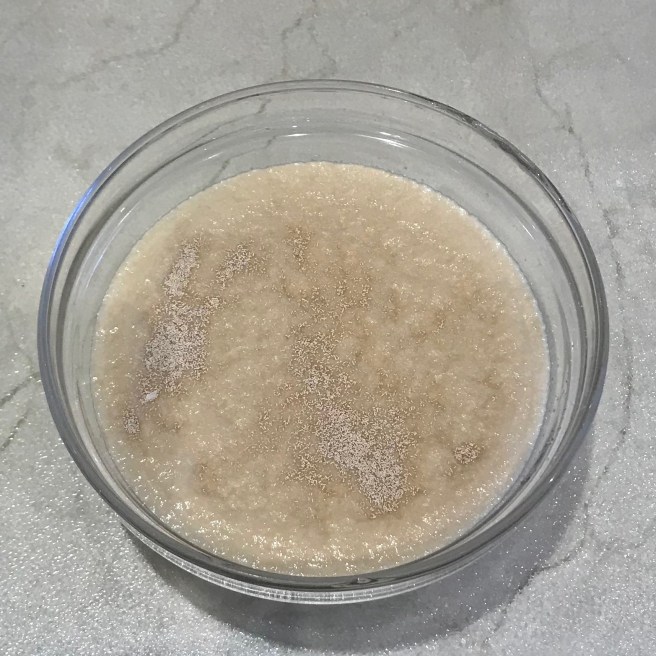
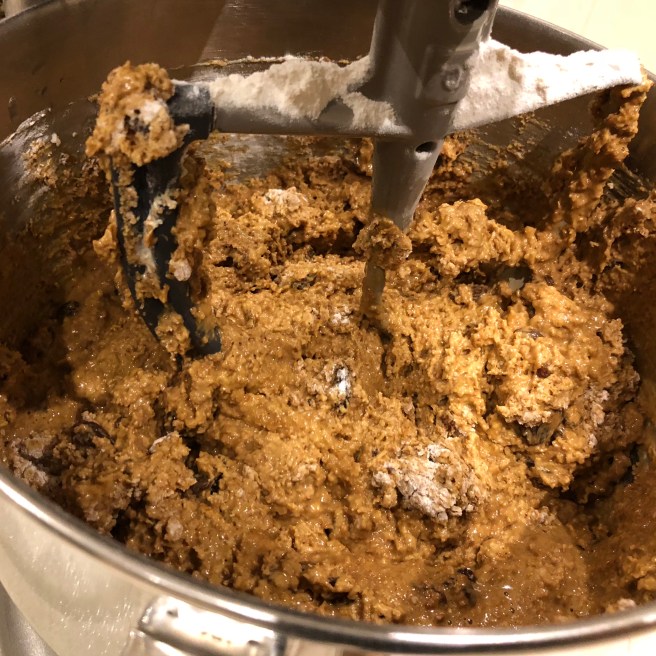
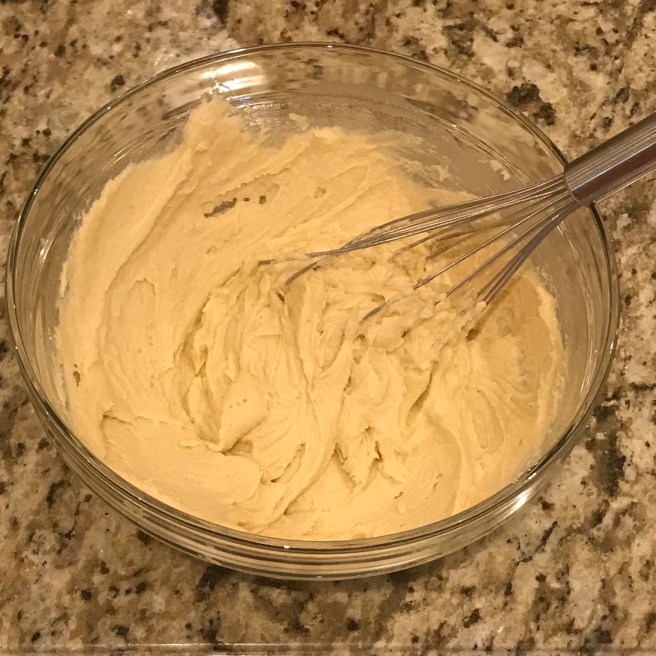
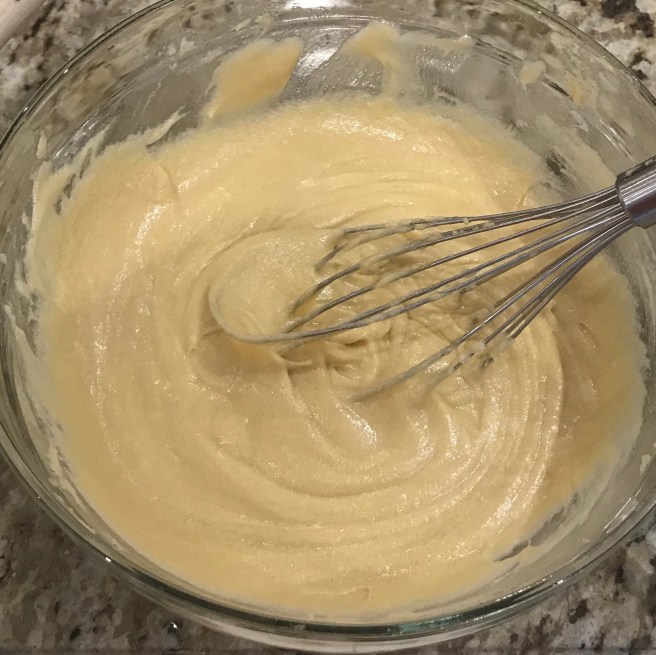
Add oil, warm water, sugar, salt, eggs, and the multi-grain flour. Beat well. Gradually add the remaining flour. The dough should be slightly sticky to the touch.
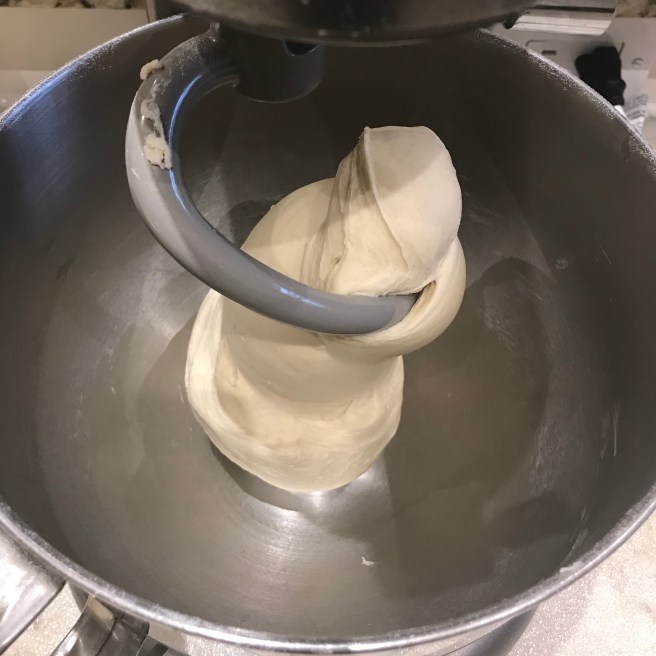
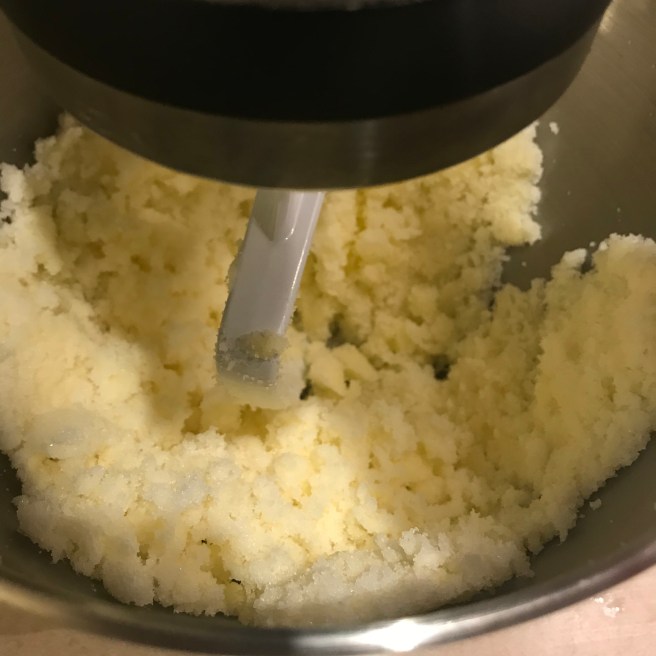
Knead the dough for 10 minutes (or mix all ingredients in the electric mixer with a dough hook) until smooth and elastic. I find I have to add quite a bit of flour to prevent the dough from sticking.
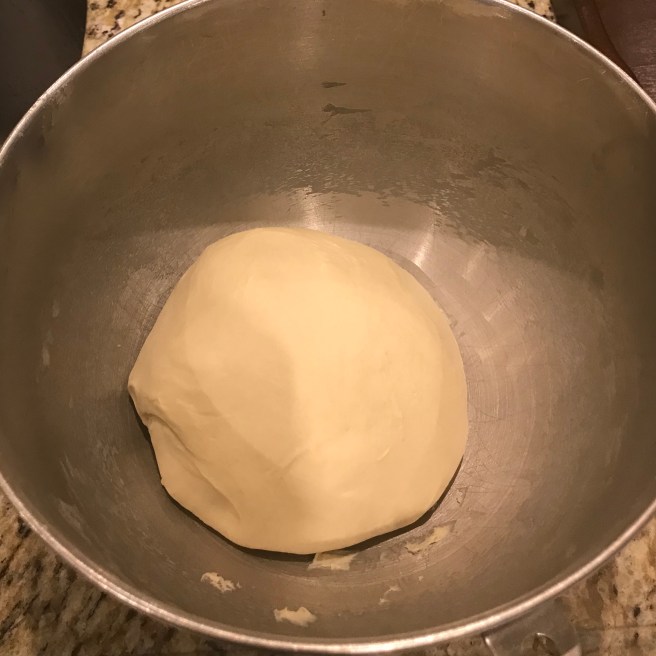
Grease a large bowl with canola oil and turn over the dough so all sides are lightly greased. Cover with a cloth and leave in a warm dark place for 1.5-2 hours (I like to use an oven that has been off for at least a couple hours).

(Dough may also rise in the fridge; and will last 3 days before shaping and baking).
Punch down and let rise again until doubled (45 minutes)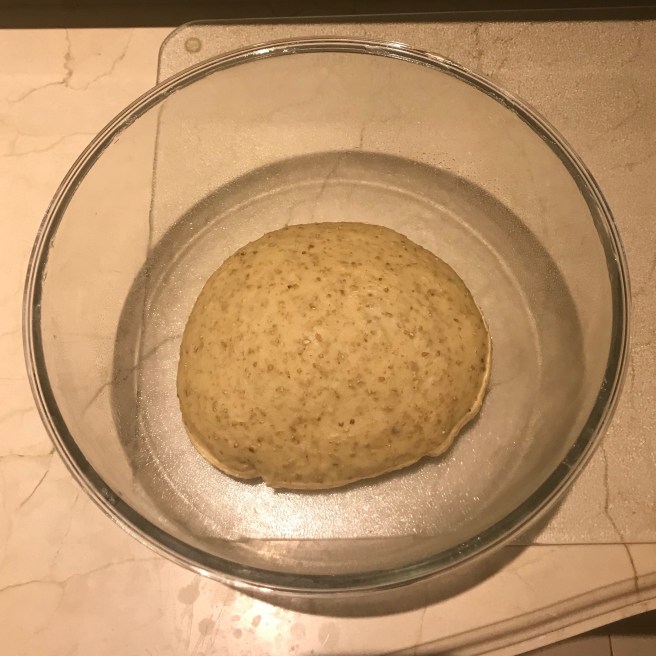
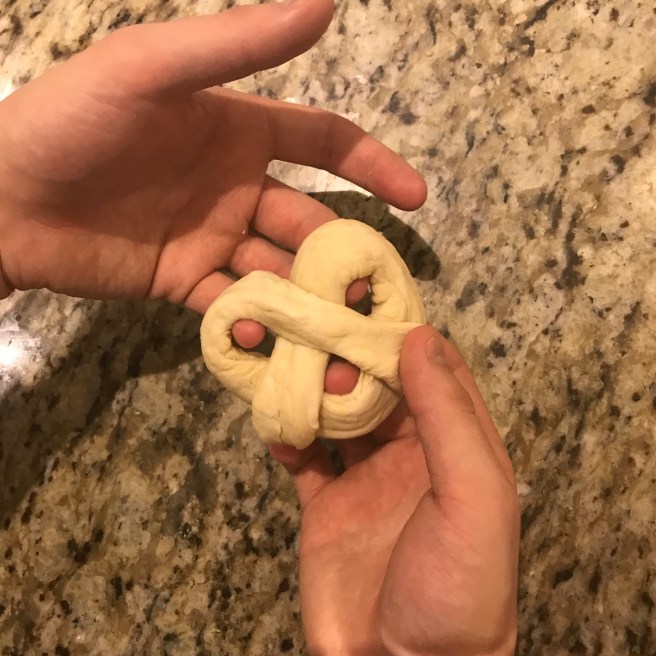
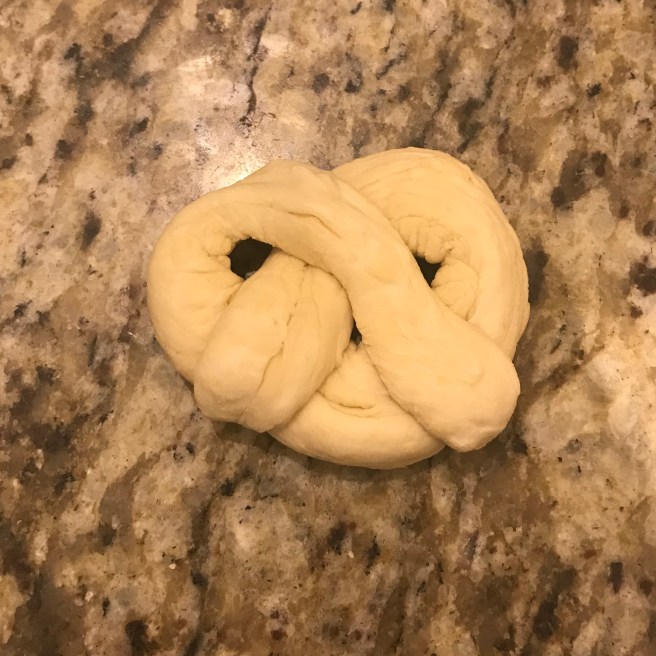
The dough can be divided in half to make two challahs (3-piece braid), or one large challah (6-piece braid)
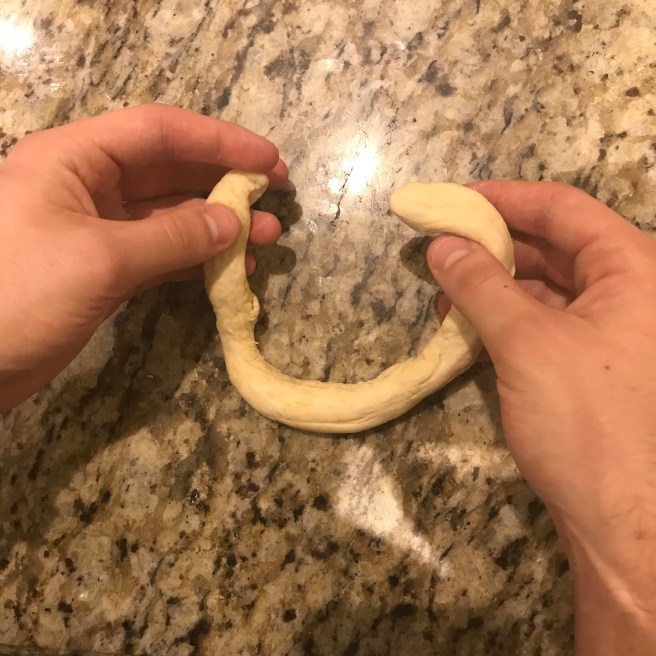
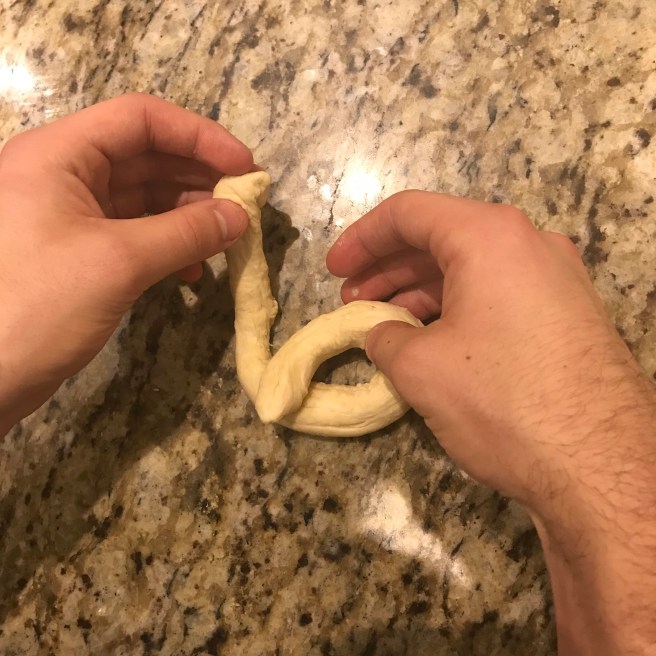
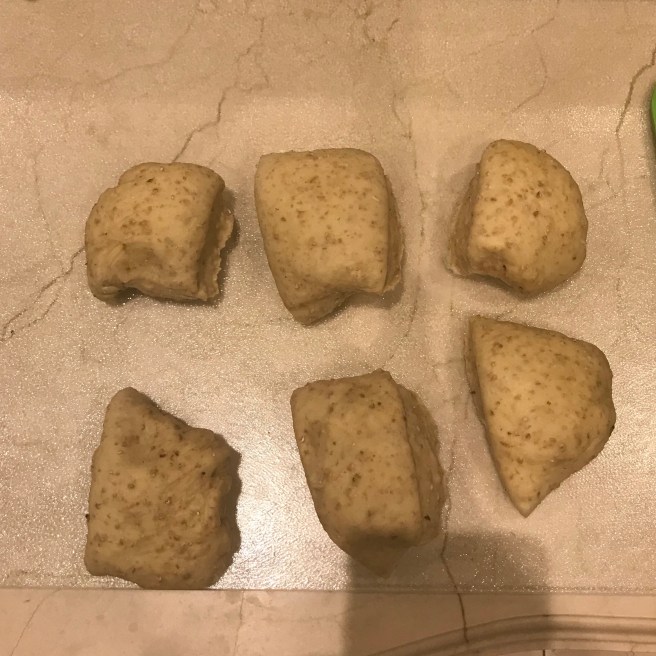
To shape (6 piece bread): Divide dough in half, then divide each half into thirds. 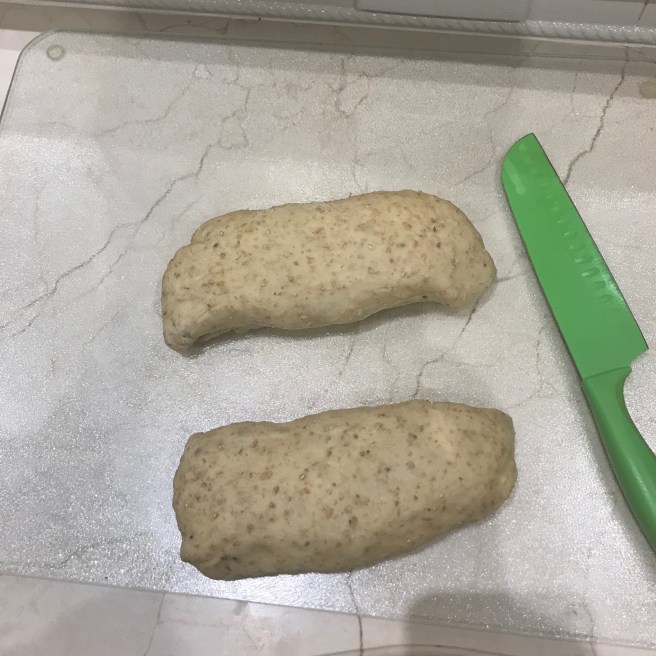
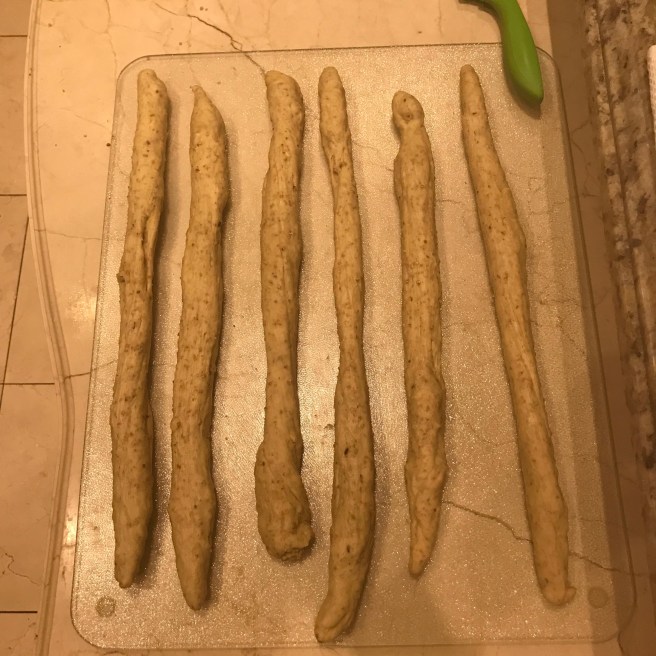
Roll out each dough ball into a long strand.
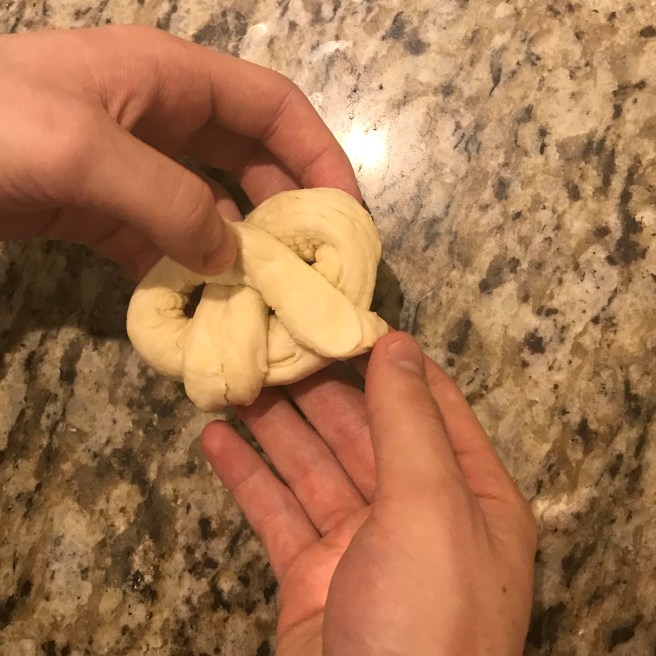
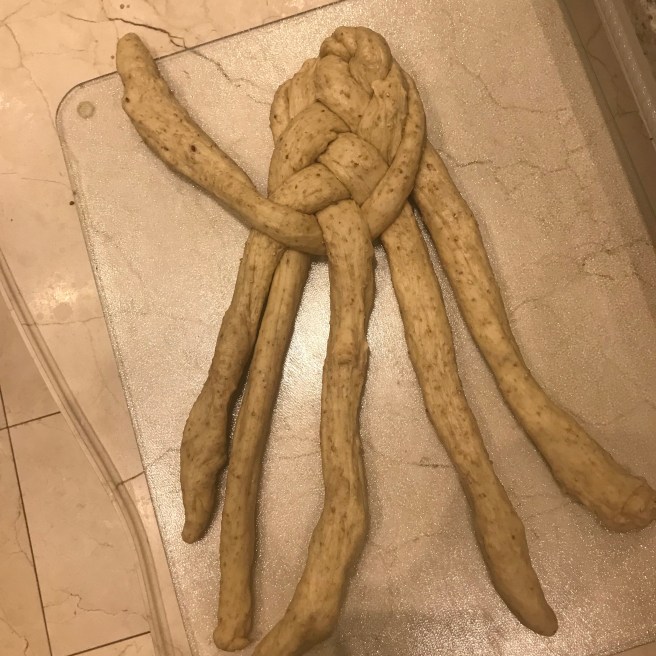
Join all strands together at the top and weave the far right strand over the next two strands, under the third and over the last two.

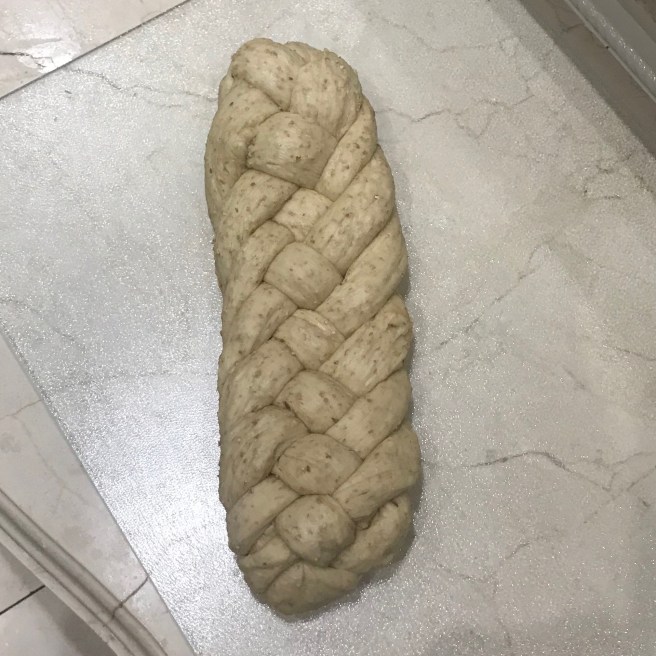
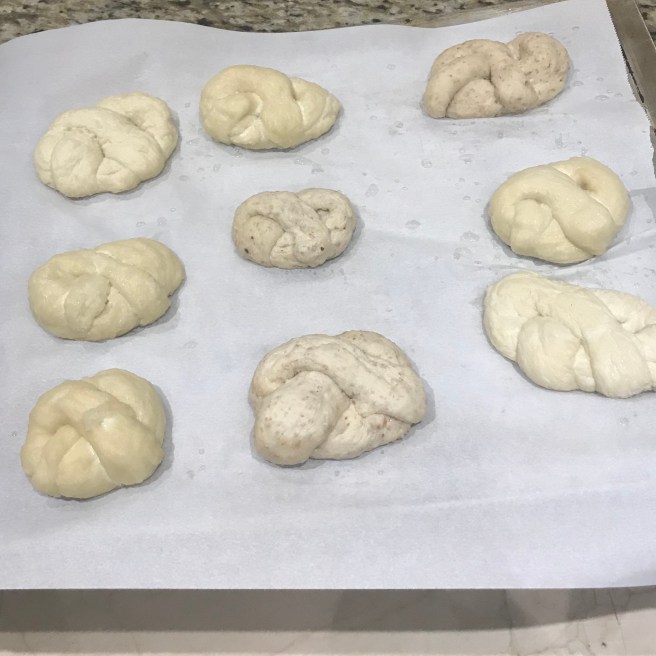
Once shaped it can be placed in the fridge overnight. If you chose to do this, take the dough out of the fridge and let rise for 3 hours before baking. Or if you are baking the same day:
Preheat oven to 400˚F
Transfer to parchment paper and cover with a towel. Allow to rise for 1 hour.

Prepare topping (for streusel mix all ingredients in a bowl). Brush challah with egg wash and then sprinkle with topping.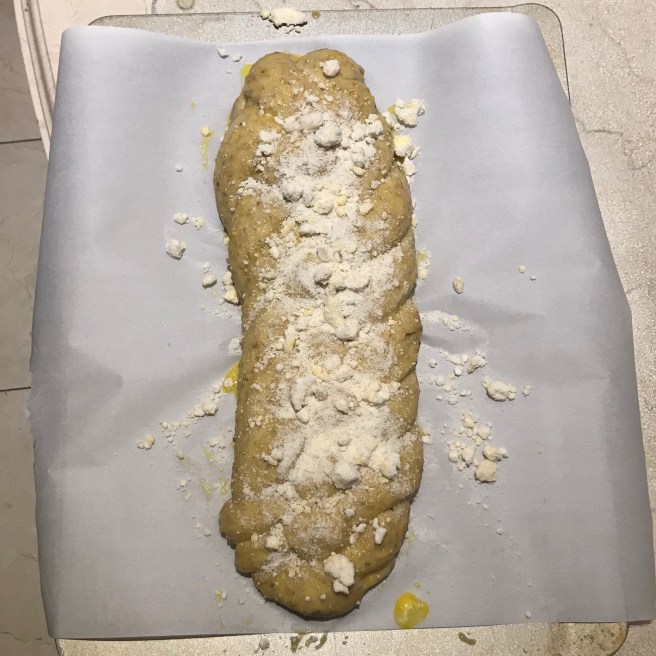
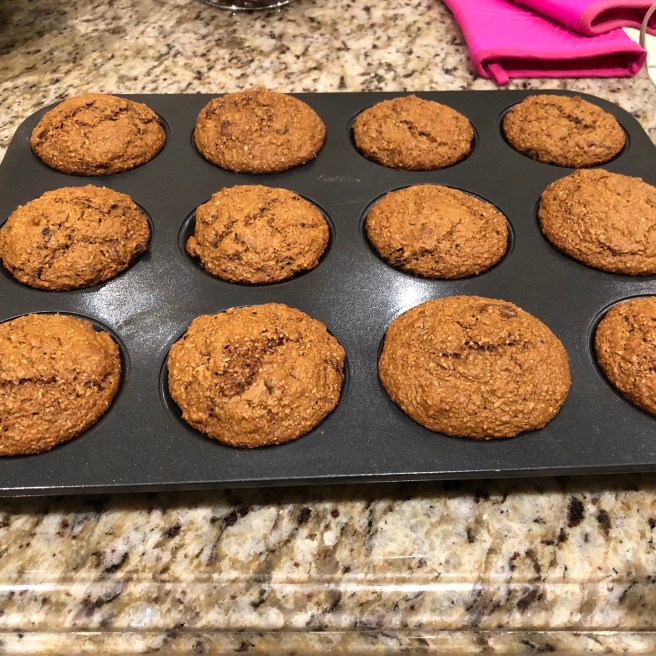
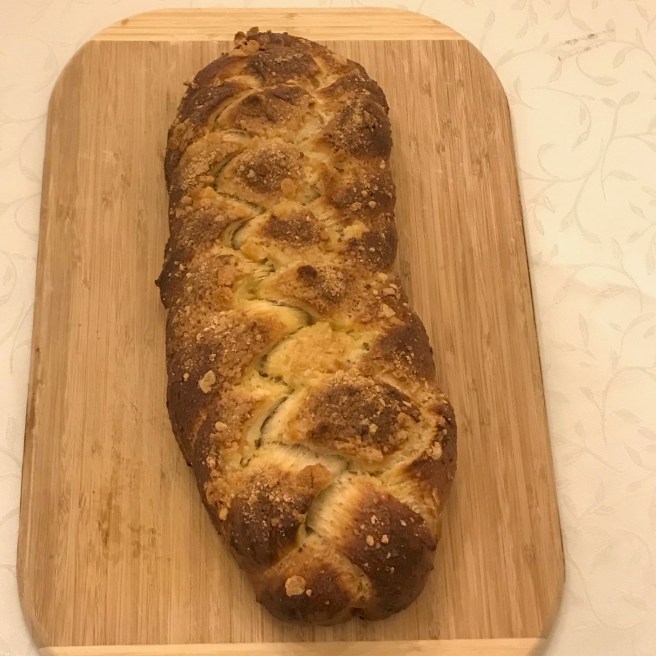
Bake for 30 minutes, until golden brown. Cover with foil for the last 5-10 minutes if it is browning too quickly. (If two smaller challahs, 25 minutes.) Dough will sound hollow when tapped with your fingers
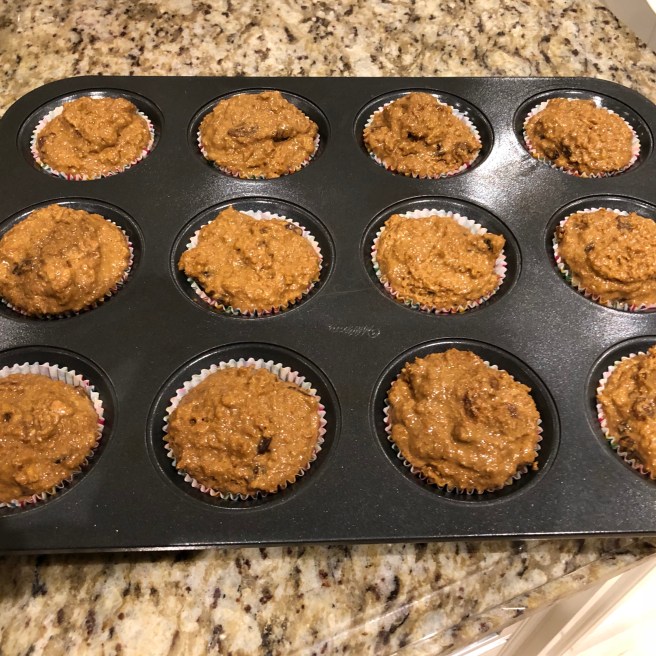
This recipe is easily doubled and and is great for a shabbat dinner or regular Wednesday night (as I had made this challah for).
Science Fact of the Week:
Multigrain bread is made from more than one grain. This flour contains whole grains which is important to consider for their added health benefits. Whole grains are a source of dietary fibre. This extra fibre (compared to white bread) can help lower blood sugars and aid digestion. Whole grains also contain many added minerals and nutrients.


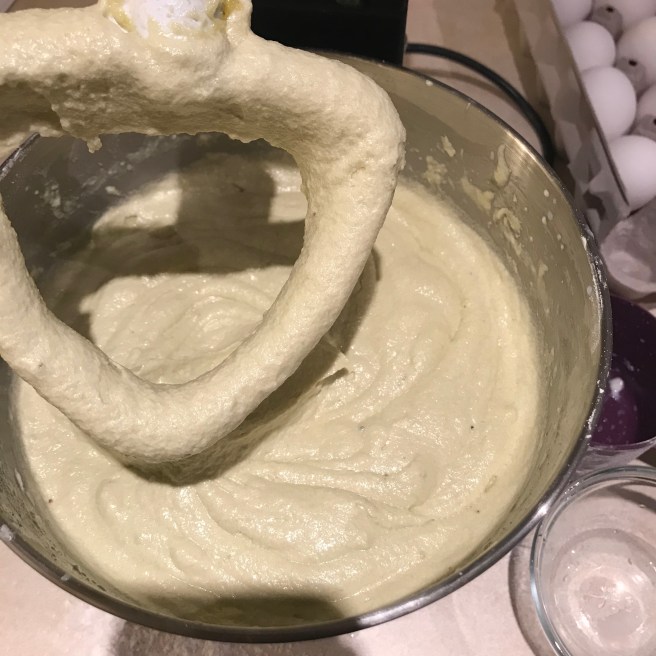


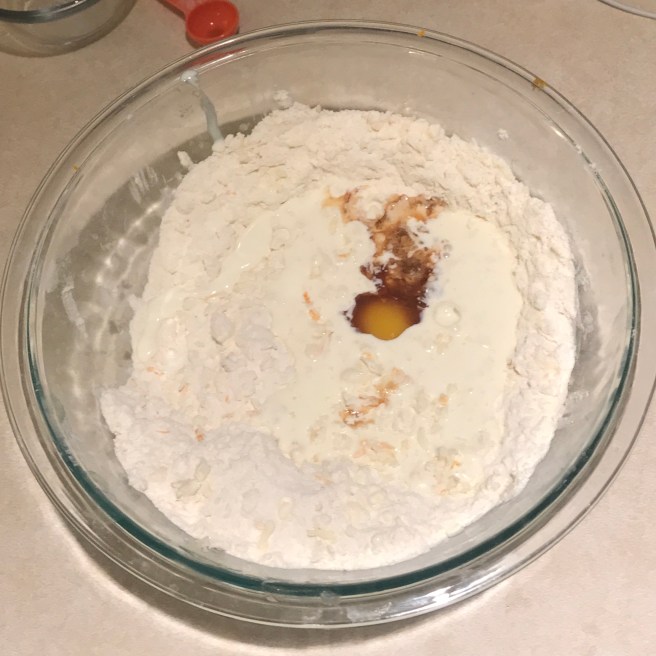
 Crack two eggs into a separate bowl and beat together.
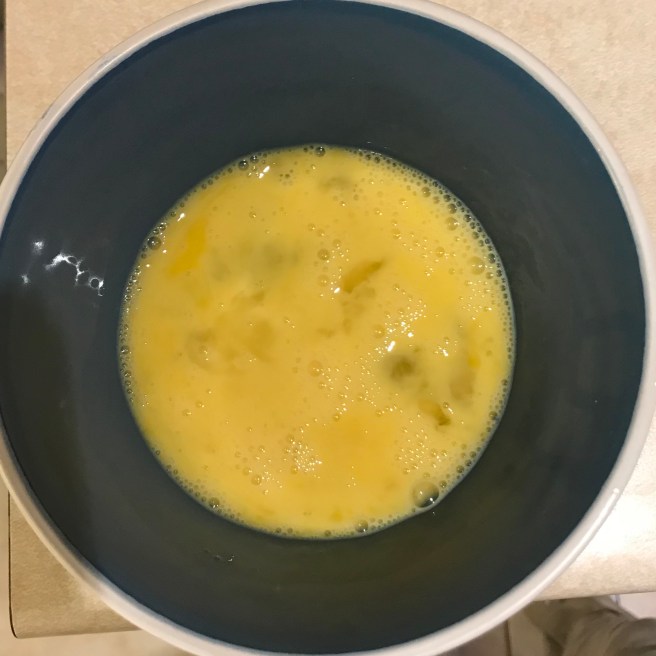


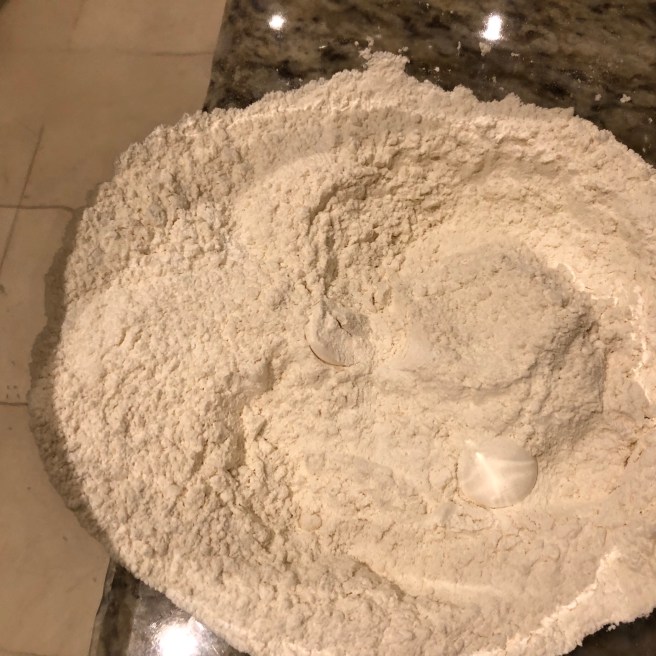
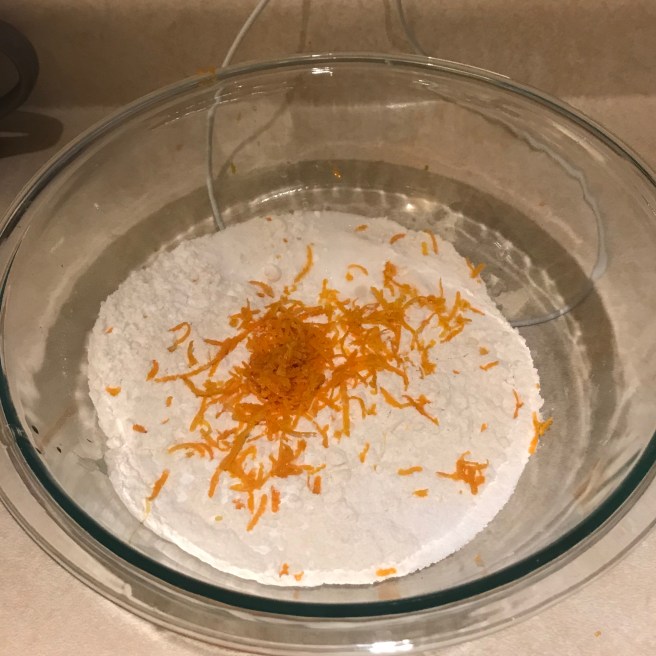
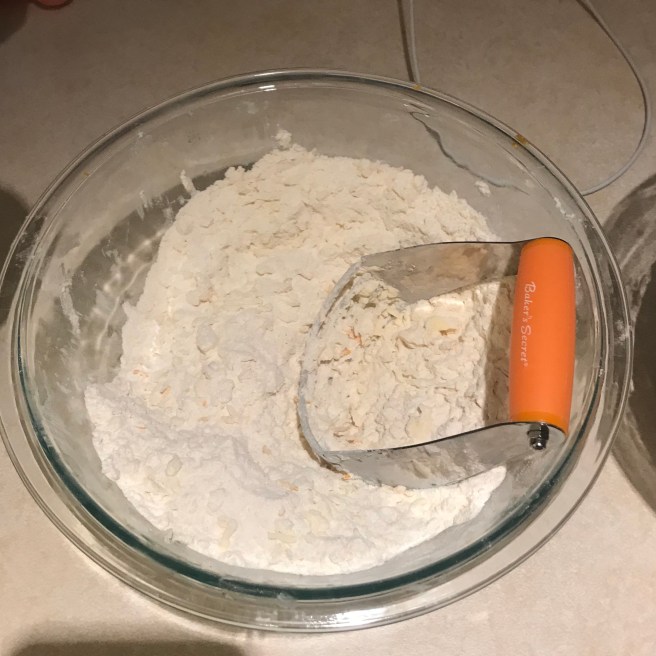
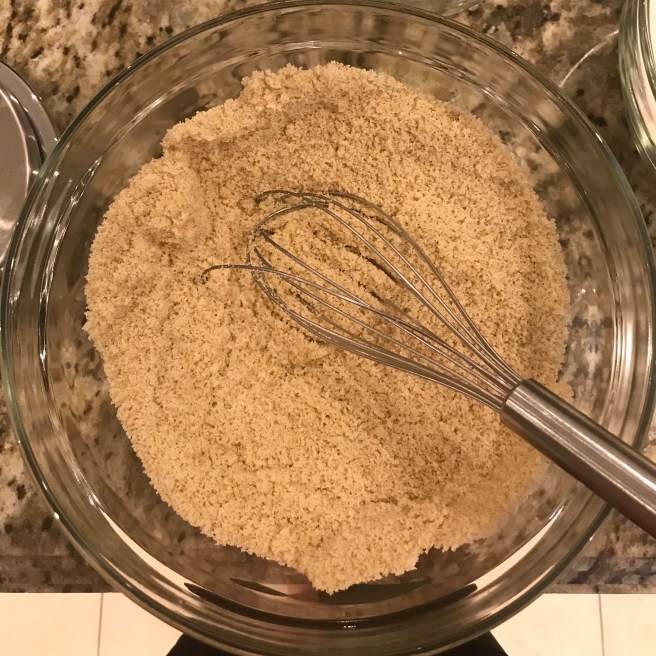
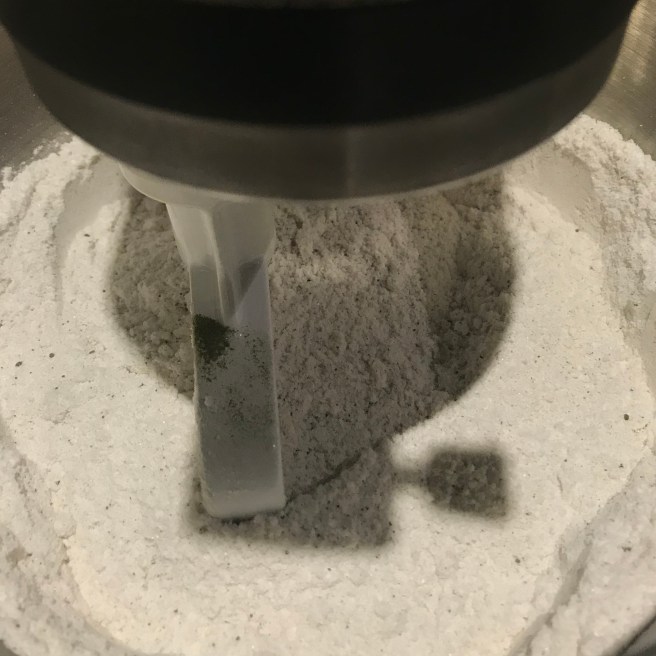
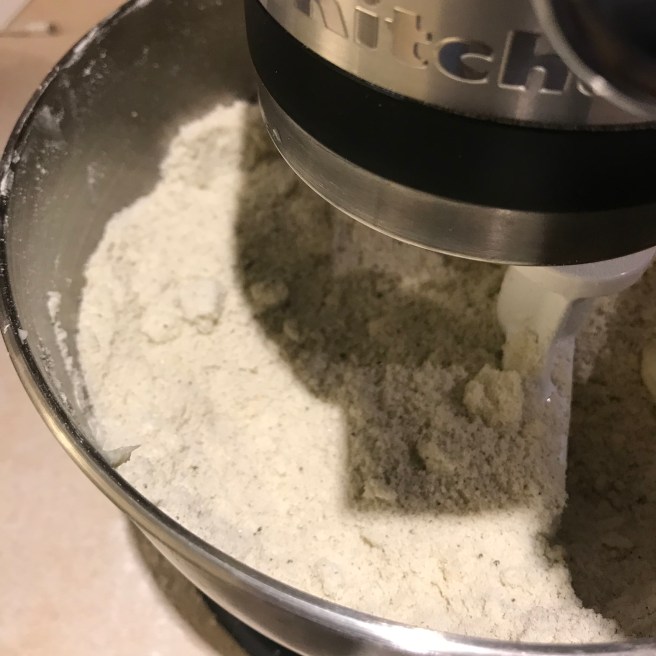
 Whisk together flours, baking powder, baking soda, and salt in a separate bowl.