Now it’s my turn to give this a shot.
This summer I developed a bit of a scone addiction. It began when a colleague of mine suggested I try the scones at the coffee shop around the corner from work. Within a week I had tried nearly every flavour. Favourites included Wild Blueberry, Chocolate Espresso and Maple Oat. My colleagues even teased me because the scone would disappear before I even walked into the building door.
Naturally, as the curious person I am, I started looking up recipes. After trying a few others, I settled on The Blueberry Lemon Scone from Sally’s Baking Addiction. Based on some helpful suggestions from friends and a couple of my own ideas, I tweaked this recipe slightly, but I’ll save those hints for a future post.
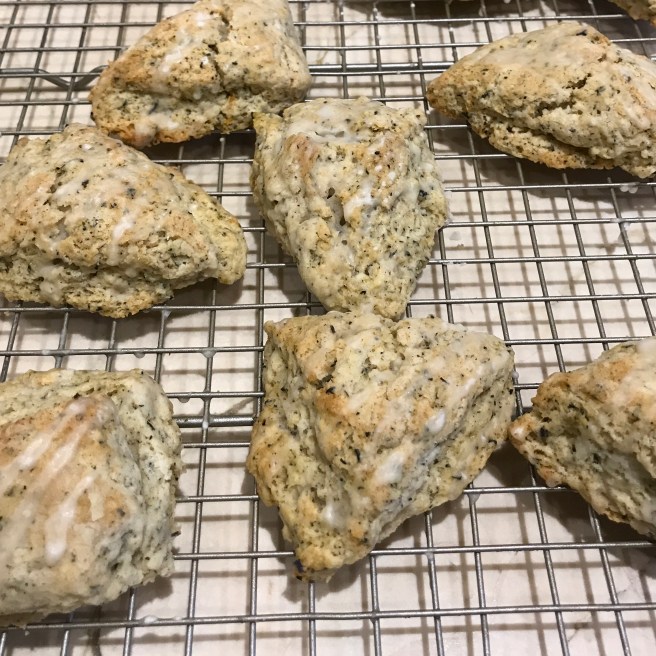
Outside of The Science of Baking Laboratory, I’ve spent my summer working in an actual research facility. Once a week we have a team lab meeting, and I or my father has baked for every single meeting. I’ve used my lab as test subjects for each of my scone recipes (I don’t think they are complaining). The original blueberry lemon recipe inspired me to create different flavour combinations, and I now prepare a bowl of each flavour following the base of the initial recipe. Today’s post is a delicious Earl Grey Scone that pairs nicely with a cup of coffee.
As noted in the original recipe, working with frozen butter is what makes these scones what they are. I use a food processor to grate the butter, and a pastry cutter to incorporate it. If you don’t happen to have these tools, the butter can be grated by hand, and a fork is a great substitute for a pastry cutter. I also choose to weigh the ingredients to ensure precise amounts, but again, if you don’t have a scale, standard measuring tools will be sufficient. My scone addiction has prompted me to expand my university kitchen (I now own my own food processor – Thanks Mom!). Next up, an electric mixer!
Ingredients:
For the Scones:
2 + 2 tbsp. Earl Grey Tea (I use David’s Tea Cream of Earl Grey)
3 tbsp. boiling water
2 cups (240 g) all-purpose flour (plus extra for counters)
6 tbsp. (75g) granulated sugar
2 and 1/2 tsp. baking powder
1/2 tsp. salt
1/2 cup (115 g) unsalted butter, frozen (I throw it in the freezer ice drawer about 20 mins before I start making the scones, and take it out only when I’m ready to use it)
scant 1/2 cup heavy cream (I use 35% Cooking Cream)
1 tsp. pure vanilla extract
1 large egg
For the Glaze:
1 cup (120 g) confectioners’ sugar
2-3 tbsp. milk
1/2 tsp. pure vanilla extract (or 1/2 of a vanilla bean, seeded)
Directions:
Preheat the oven to 400˚F.
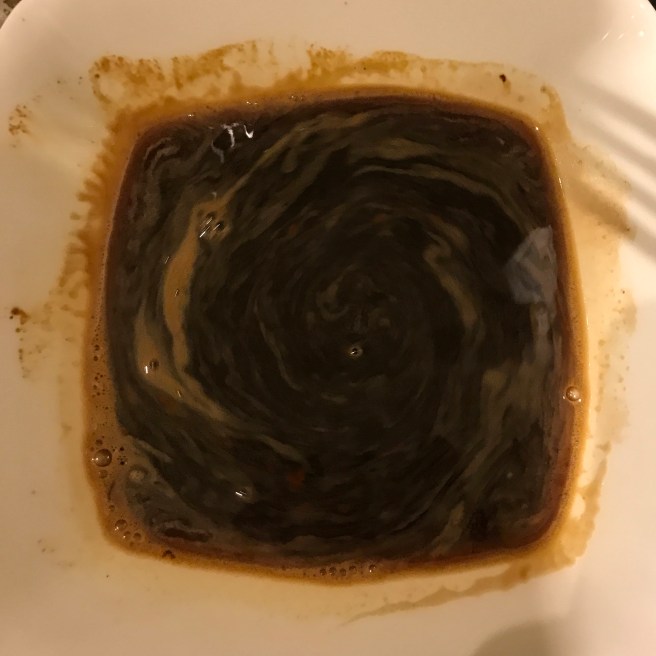
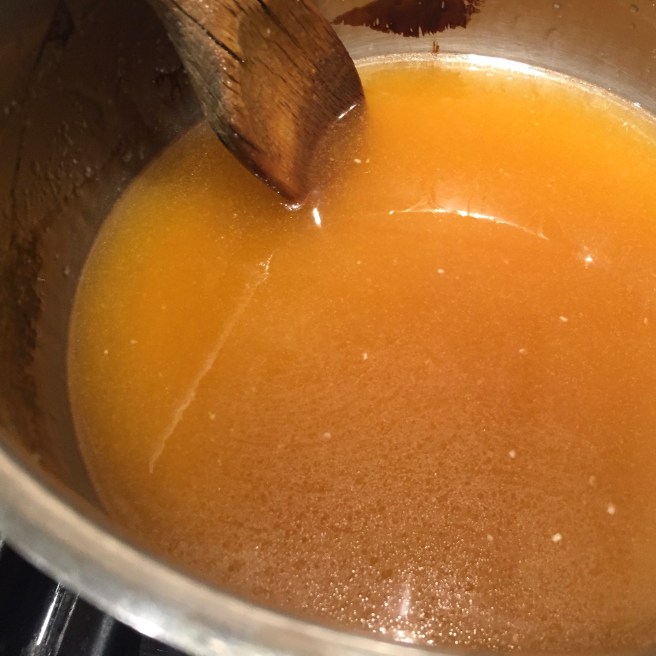
First, mix the boiling water with 2 Tbsp. of earl grey tea leaves. Alternatively, you can use two earl grey tea bags. Let it sit on the counter to cool down. This is the earl grey concentrate that gives the scones a strong earl grey flavour.
Next, take the other two tbsp. of tea leaves and grind them to a fine texture (I use a single-serve blender similar to the magic bullet). I grind them until they about the size of a sugar granule. If you are using tea bags, this isn’t necessary.
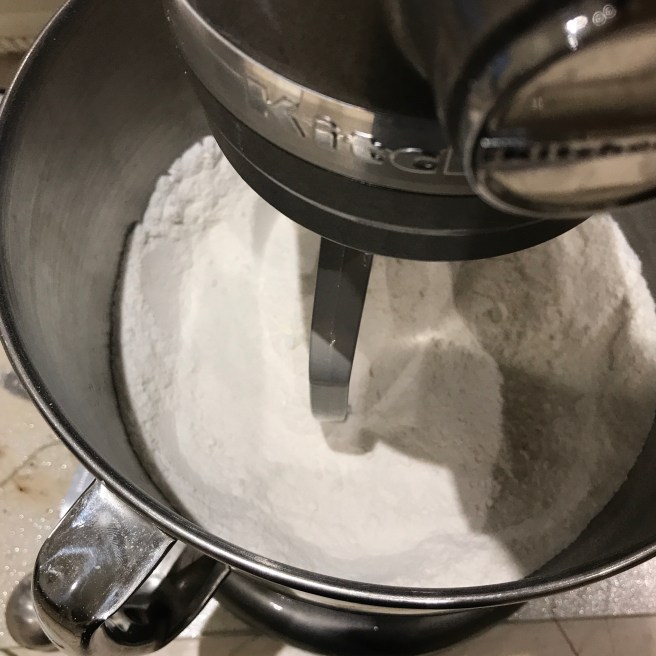
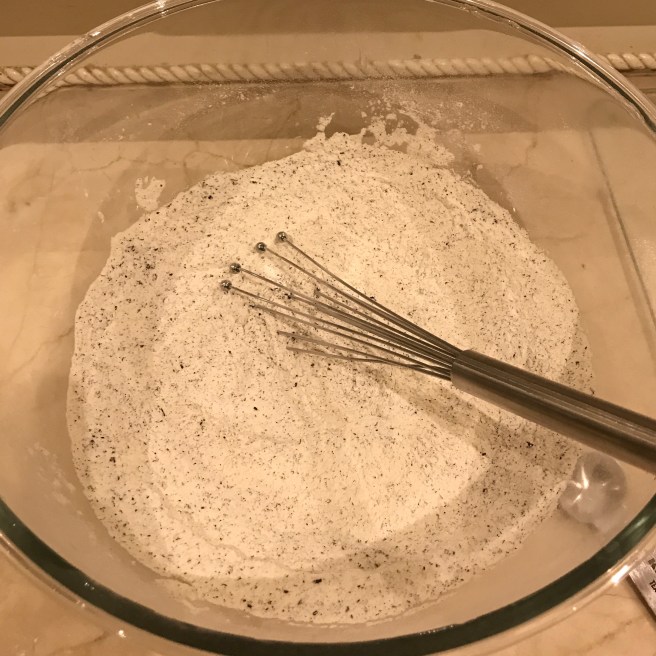
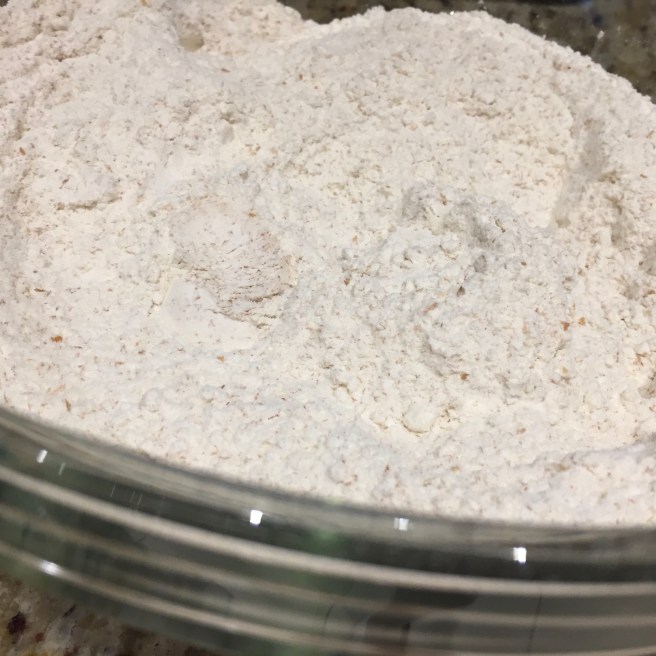
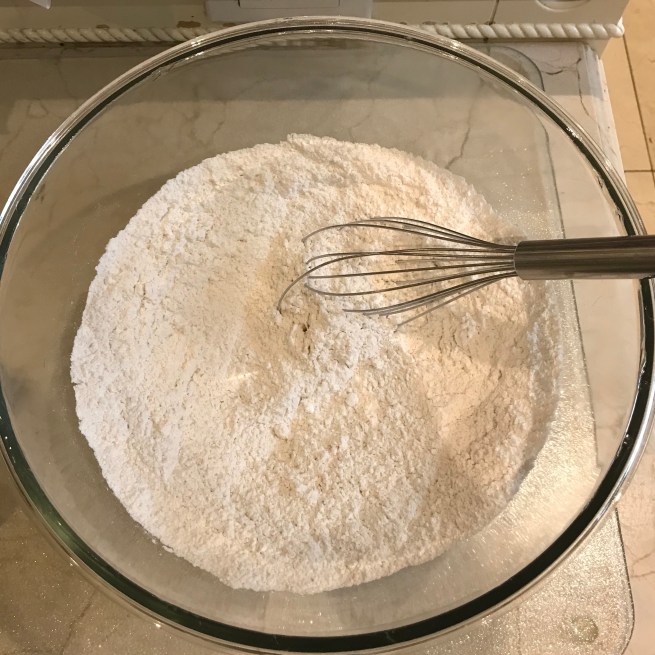
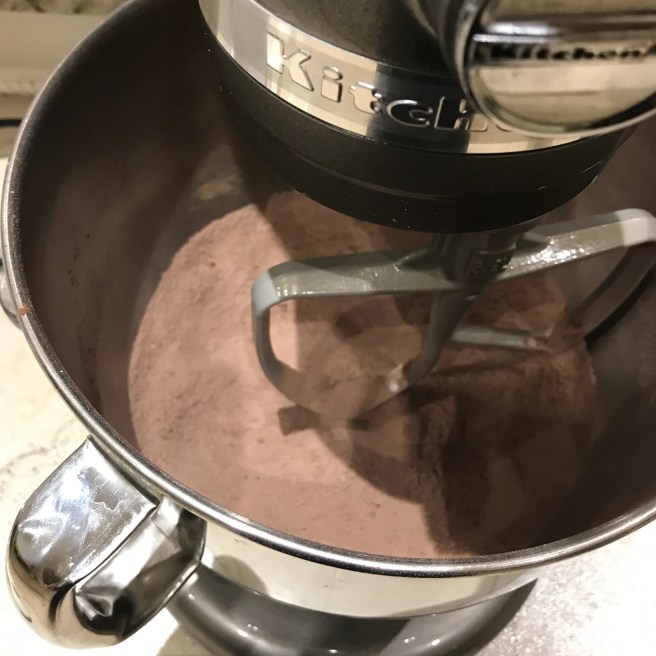
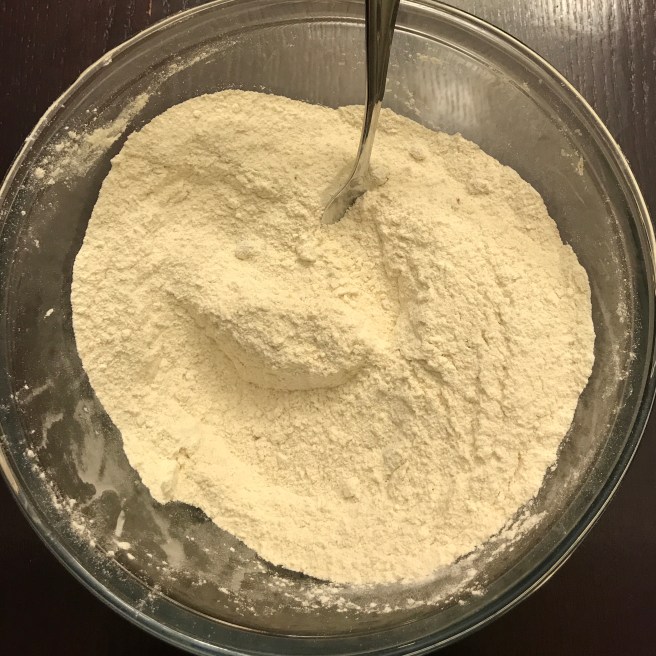
Mix the tea with the next 4 ingredients (flour, sugar, baking powder and salt) in a large bowl.
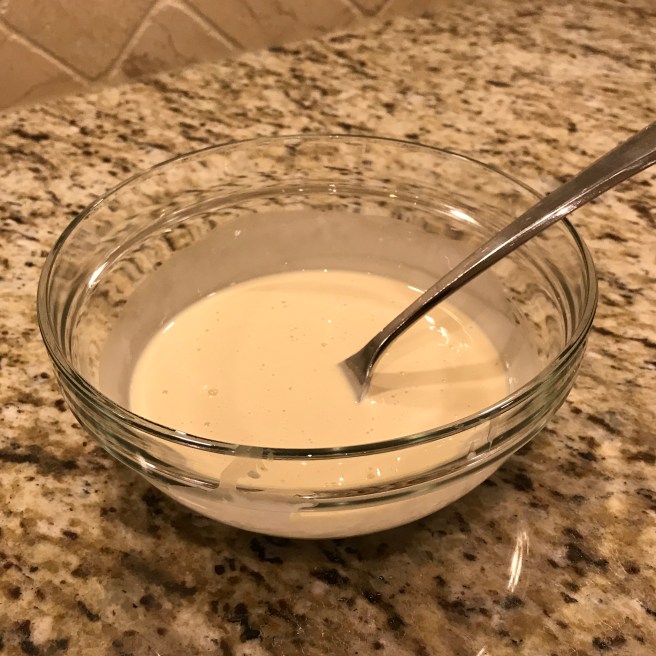
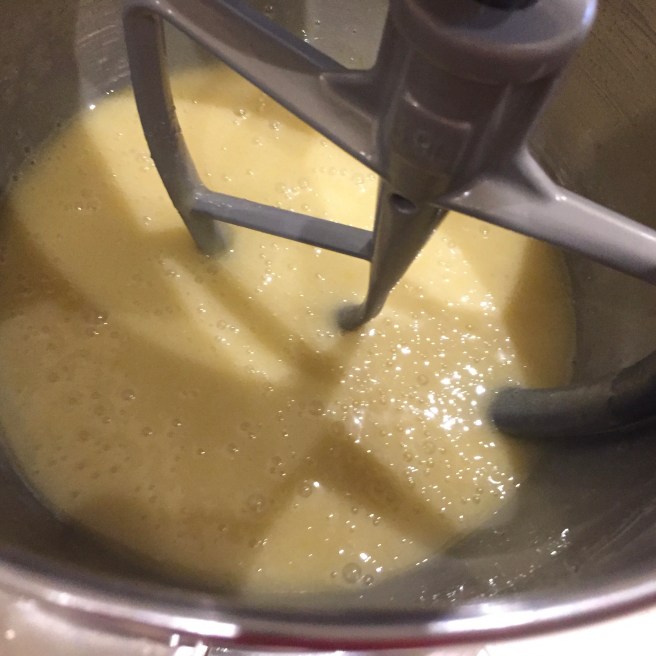
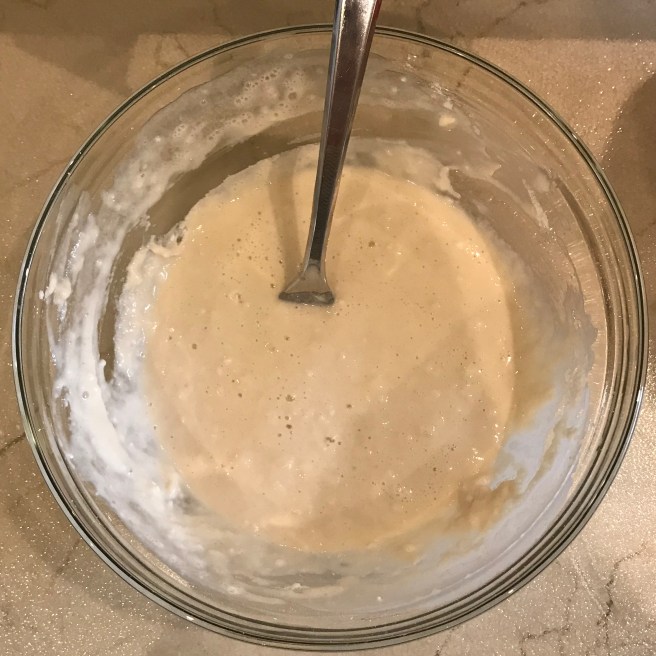
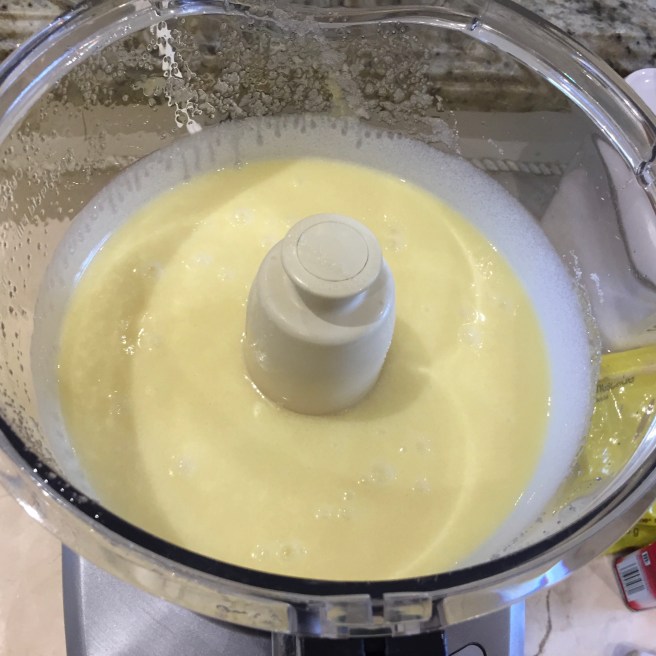
In a small bowl, whisk the scant 1/2 cup of heavy cream, vanilla, earl grey concentrate and egg.
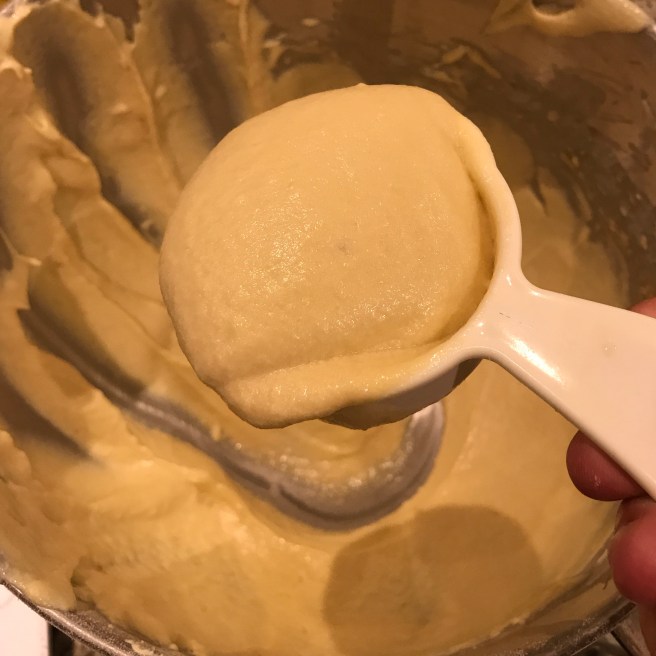
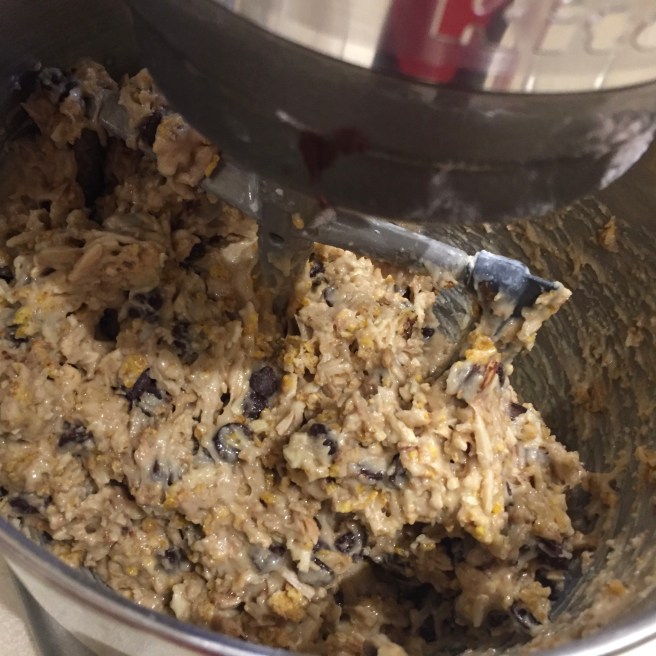
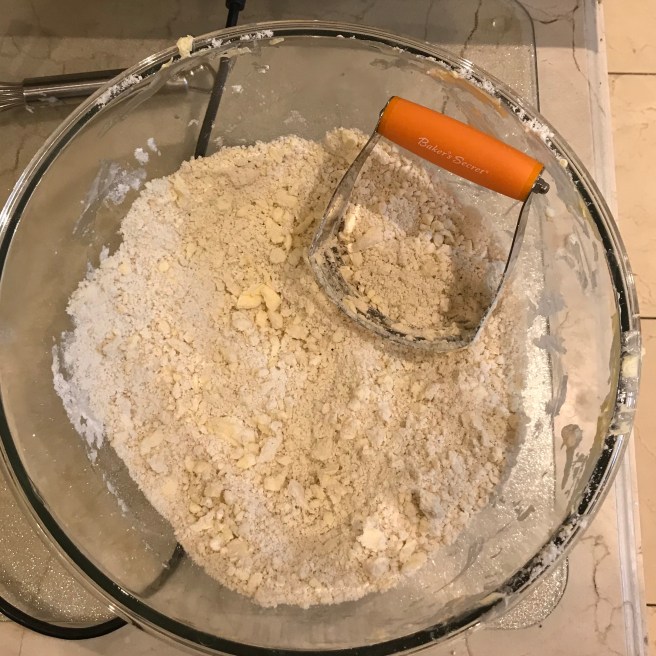
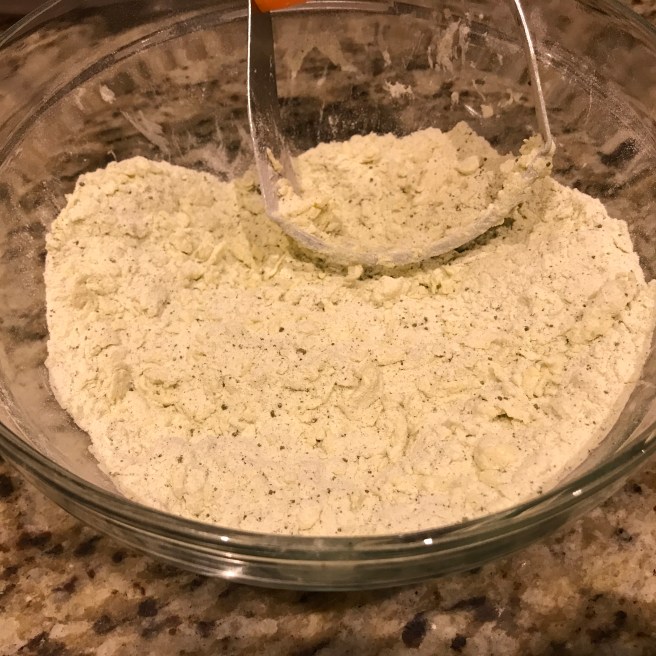
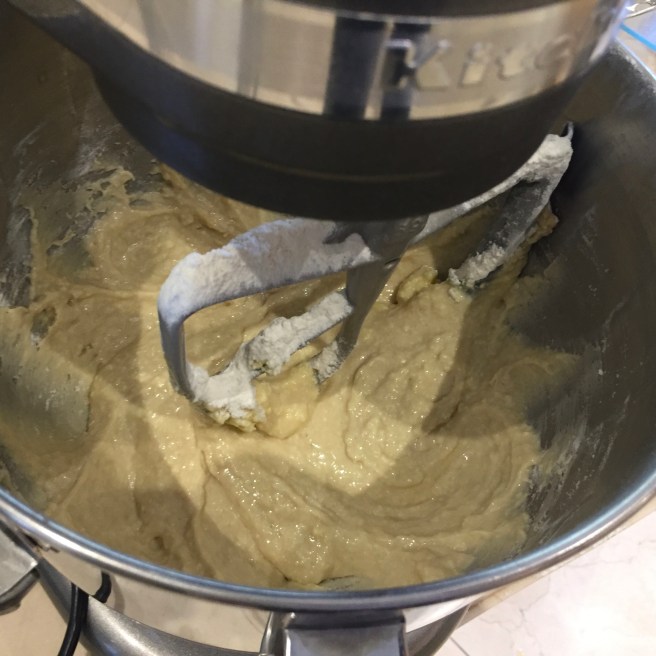
 Grate the butter (by hand or in the food processor) and add to dry ingredients. Use a pastry cutter (or fork) to incorporate. (Please note: this picture is from the blueberry scone recipe – normally you would be able to see the small tea granules similar to the photo above)
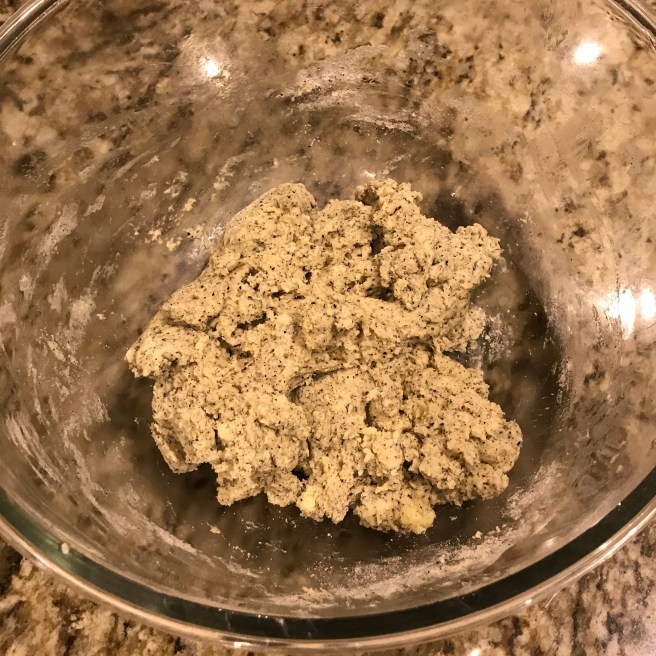
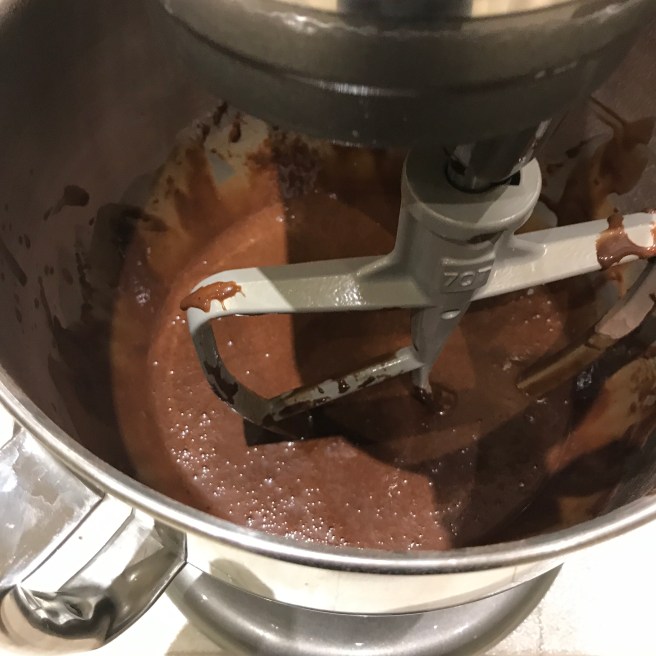
 Pour wet ingredients over the butter mixture and incorporate with a rubber spatula. Make sure not to over-work the dough.
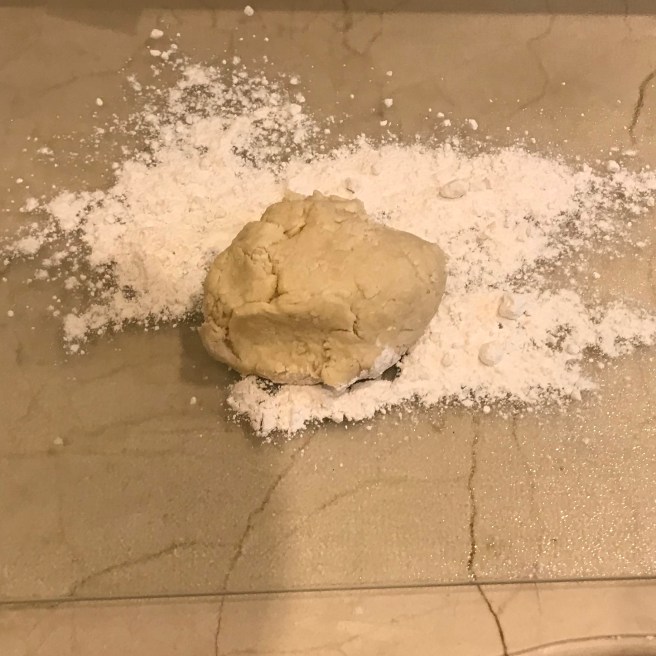
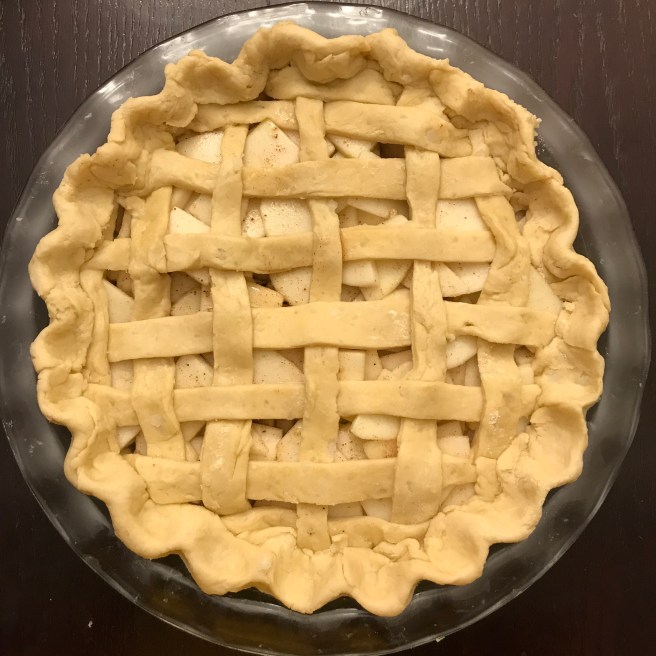
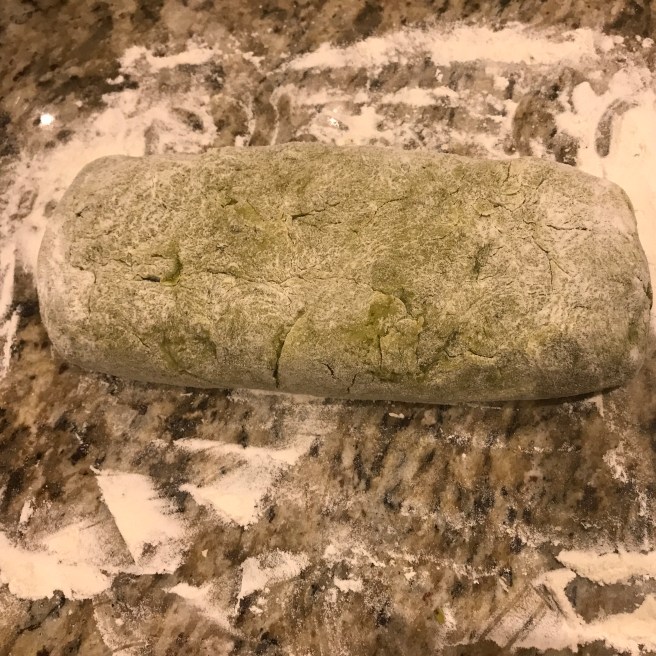
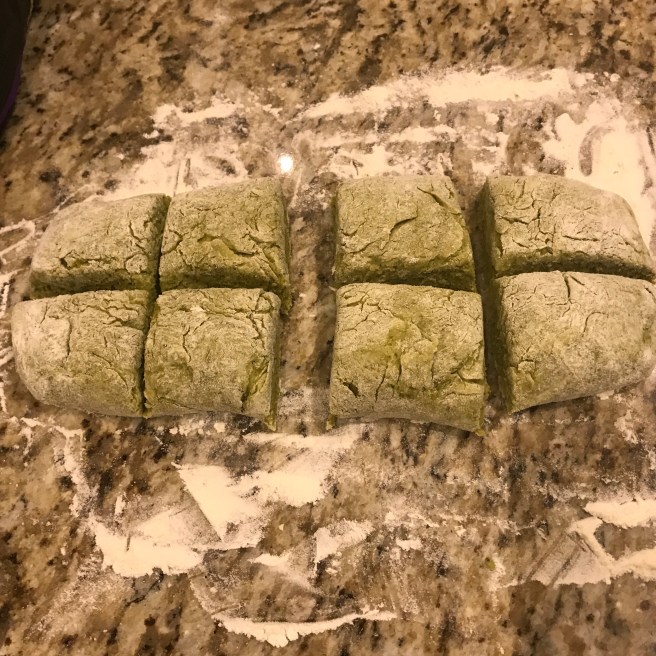
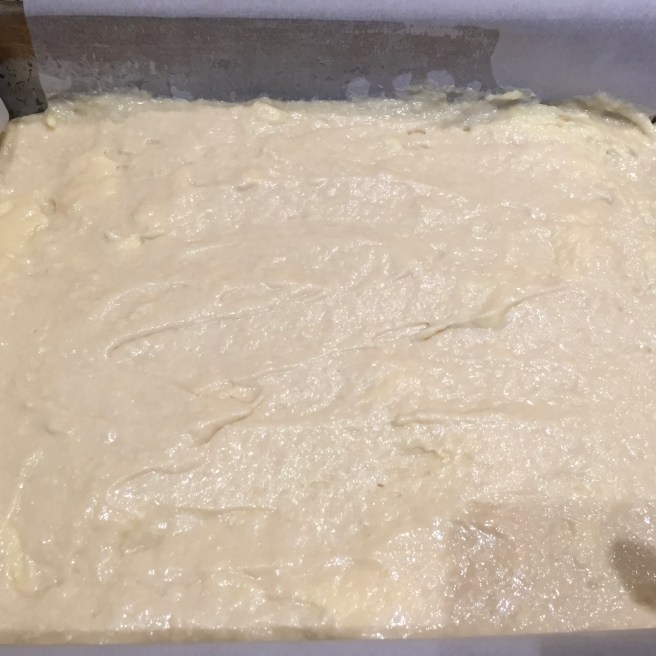
Flour a work surface to place your dough on. Shape the dough into a long rectangle (as pictured here).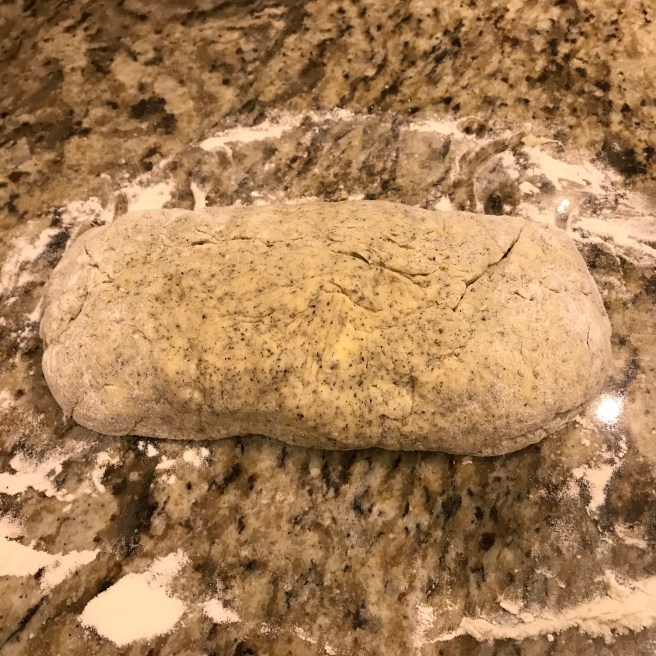
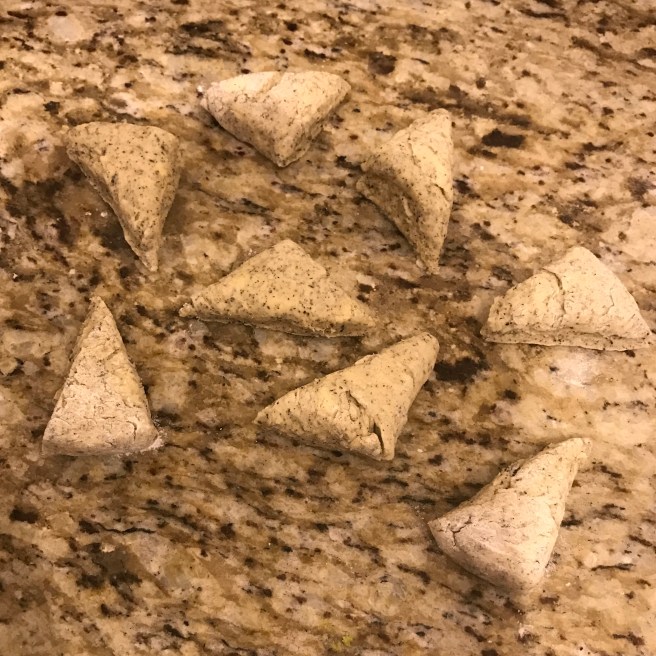
To cut the scones:
- Cut vertically down the middle (creates two pieces)
- Cut each half in the middle vertically as well (creates four pieces)
- Cut horizontally down the middle (creates 8 pieces)
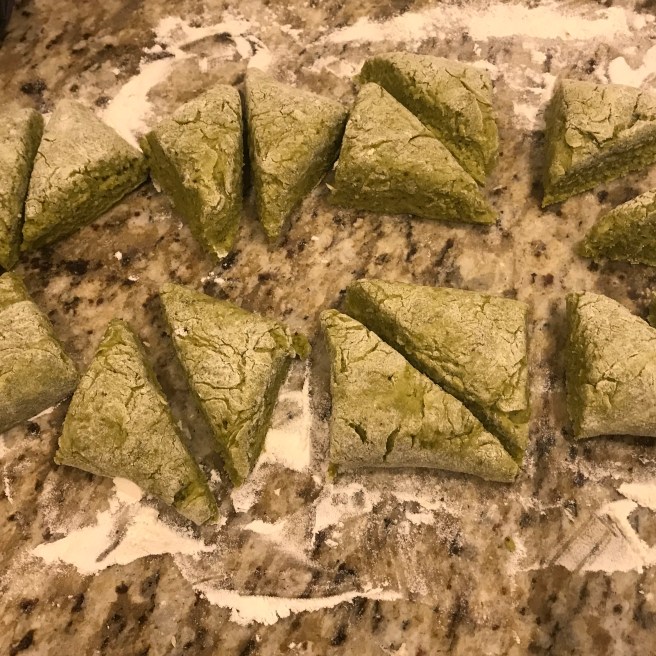
- Cut each of these pieces diagonally (creates a total of 16 scones)
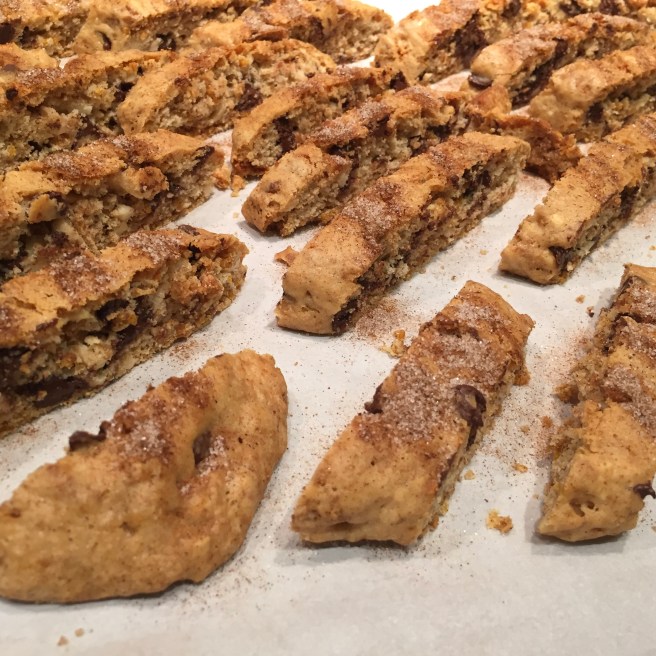
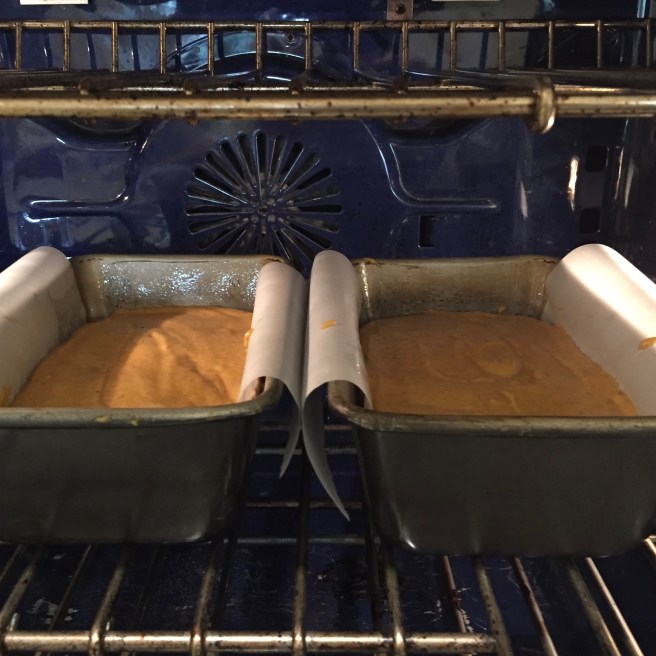
Bake scones for 12-17 minutes. 15 minutes usually works perfectly for me.
If you want scones on demand, these freeze well (pre-cut) in an air-tight container. Ensure that scones are not touching each other (divide with parchment). They can be stored in freezer for a few weeks before baking. Add two minutes to baking time when baking from frozen.
I’ve now prepared extras to keep in the freezer, and just take a single scone out to bake in the toaster oven when I’m craving it. In the toaster oven I’ve found they need about 13 minutes from frozen (but I’m skeptical that we have an aggressive toaster oven).
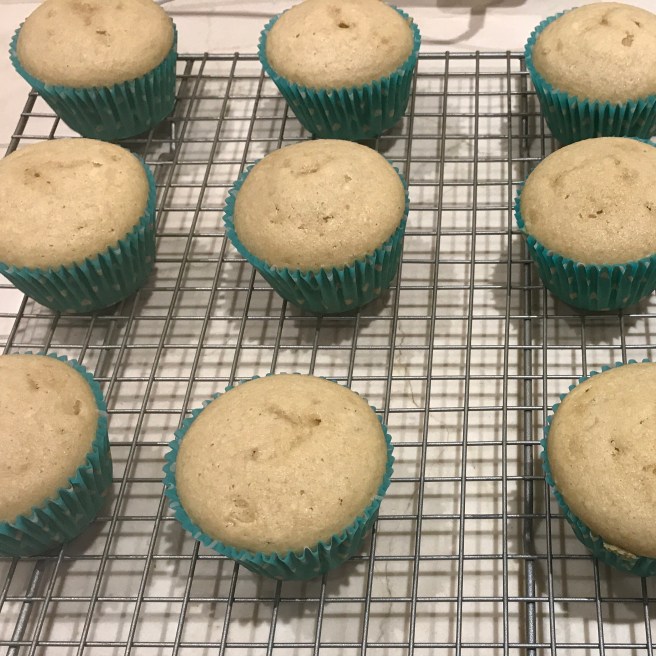
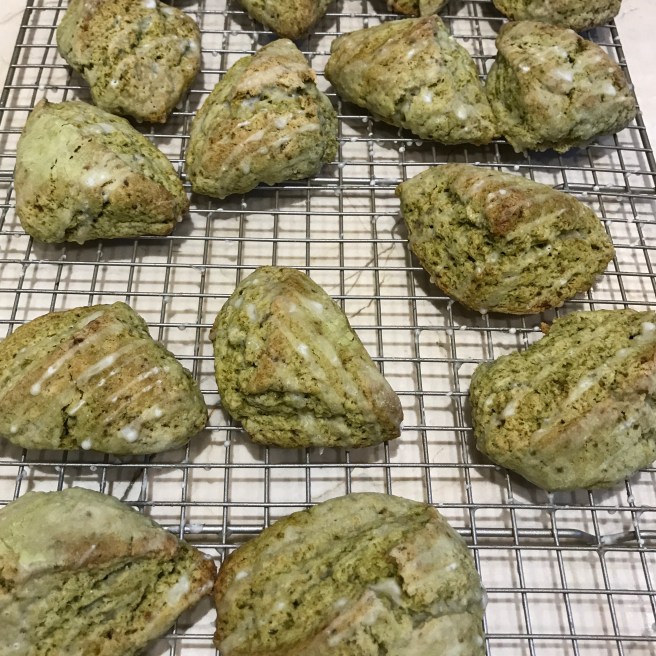
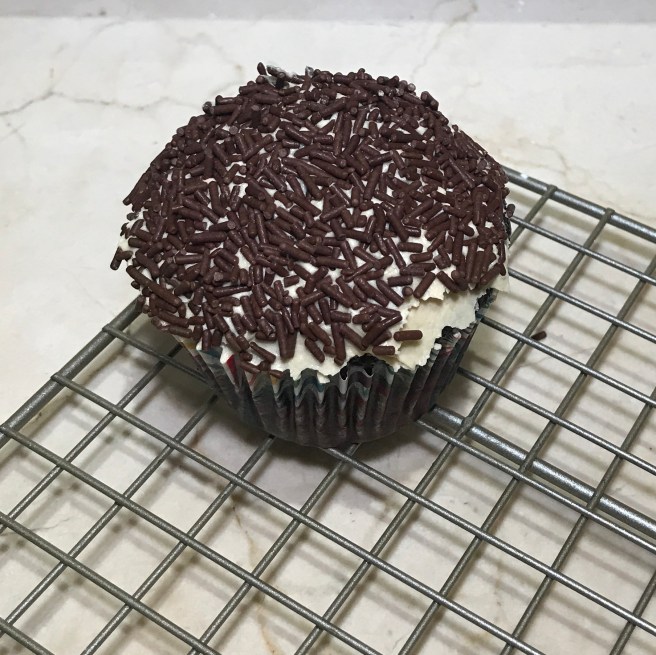
Allow the scones to cool on wire rack.
Mix ingredients for glaze in separate bowl. Top cooled scones with glaze.

Matcha green tea scones (on the right) coming soon!
Science Fact of the Week:
Earl grey is a black tea synthesized from Camellia sinesis. Black tea contains polyphenolic compounds. These compounds have been associated with prevention of cancer and cardiovascular diseases (atherosclerosis and coronary heart disease). Although this isn’t the usual delivery vehicle for tea, you can easily pair these scones with a warm cup of earl grey tea to enhance the health benefits.

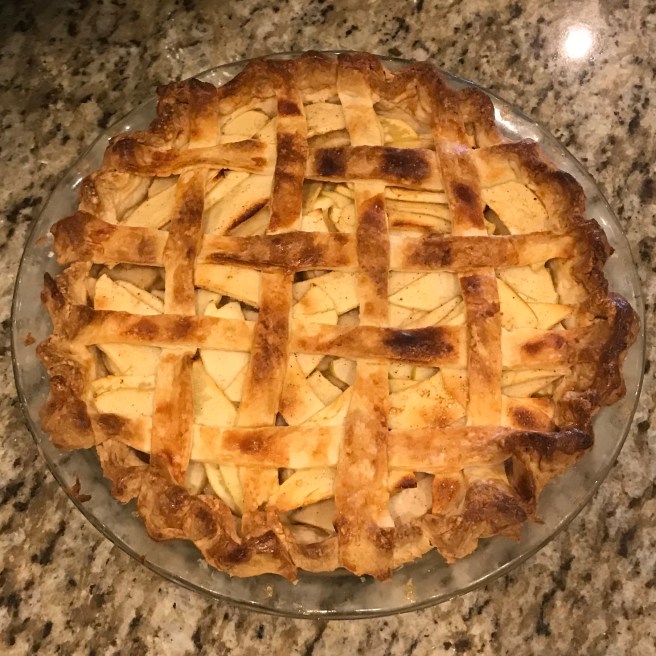
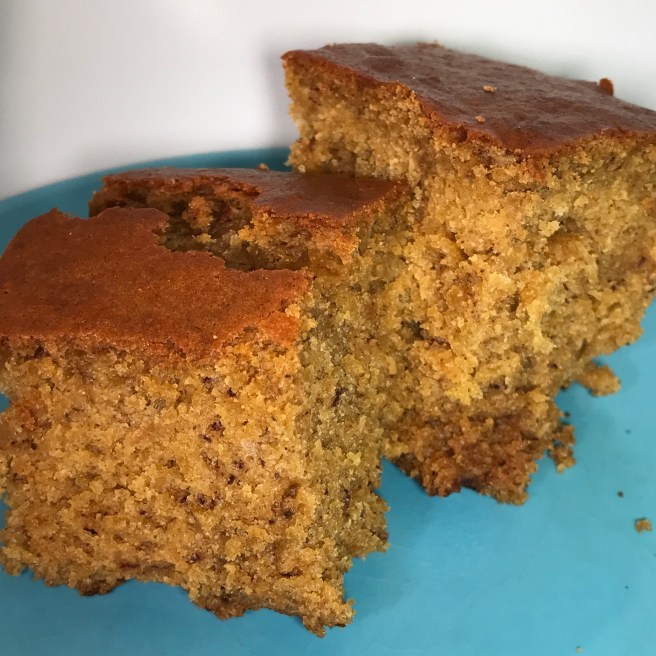
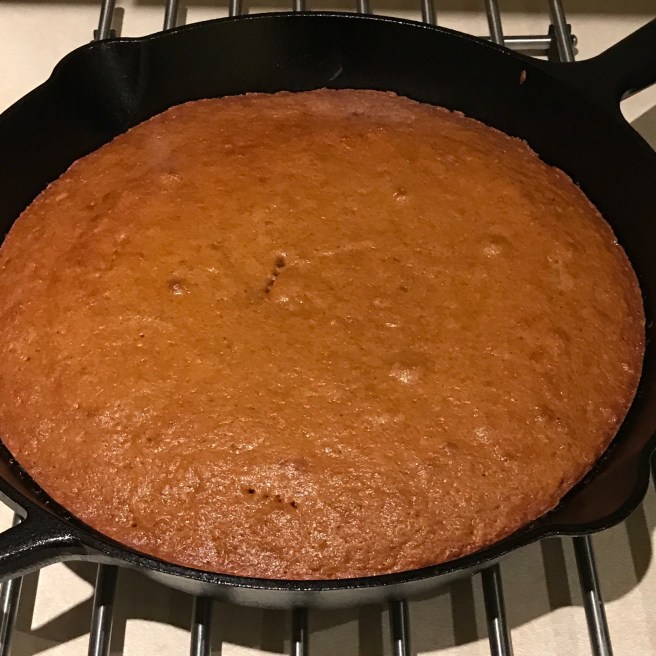
 Bake at 350F for 35 minutes.
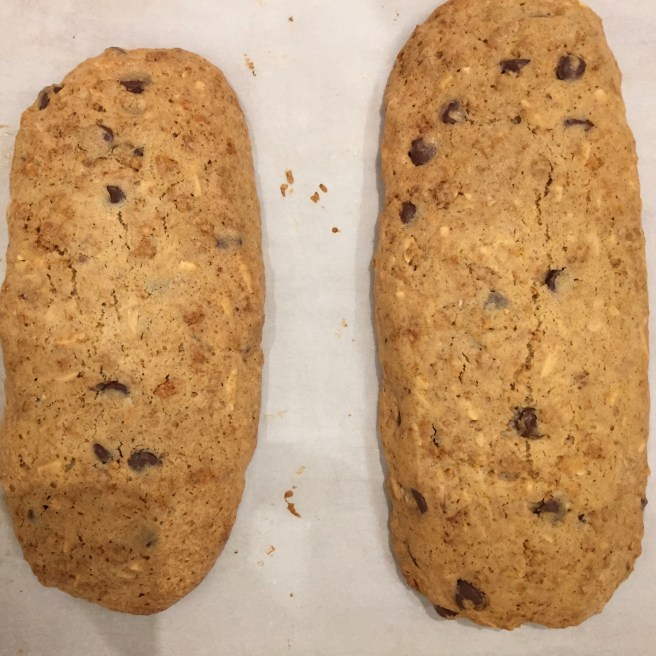
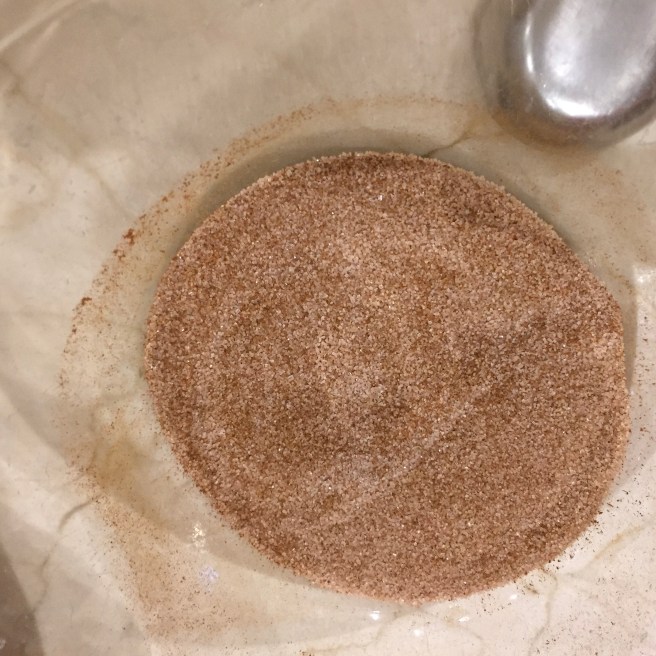


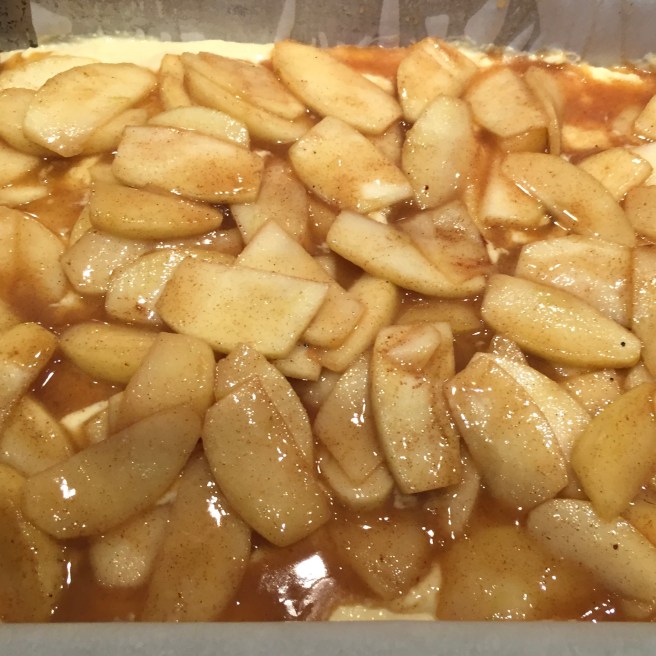
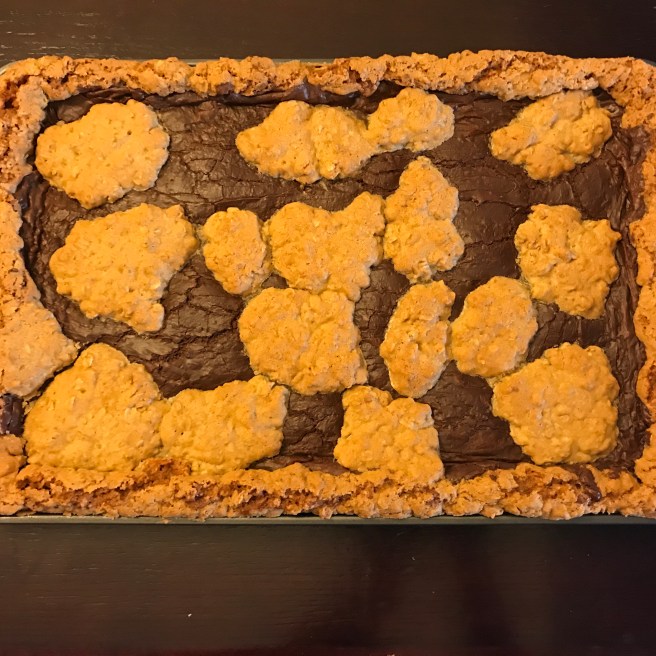
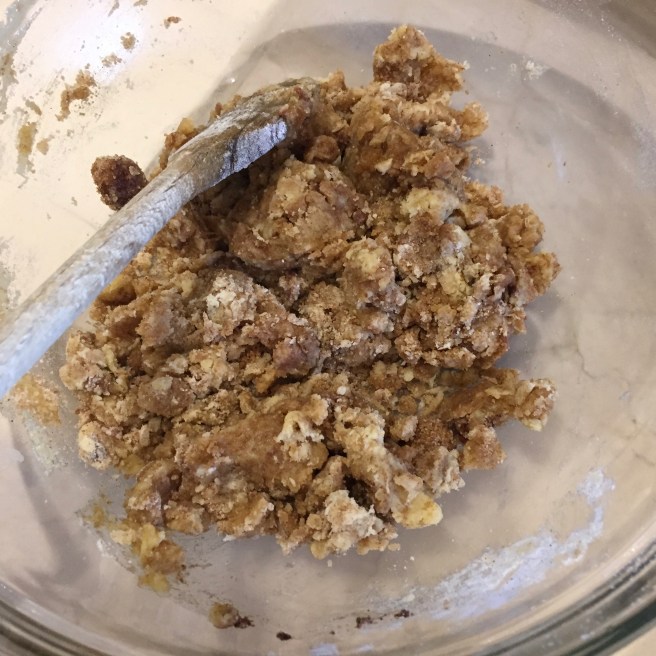 Sprinkle evenly over apple layer in pan.
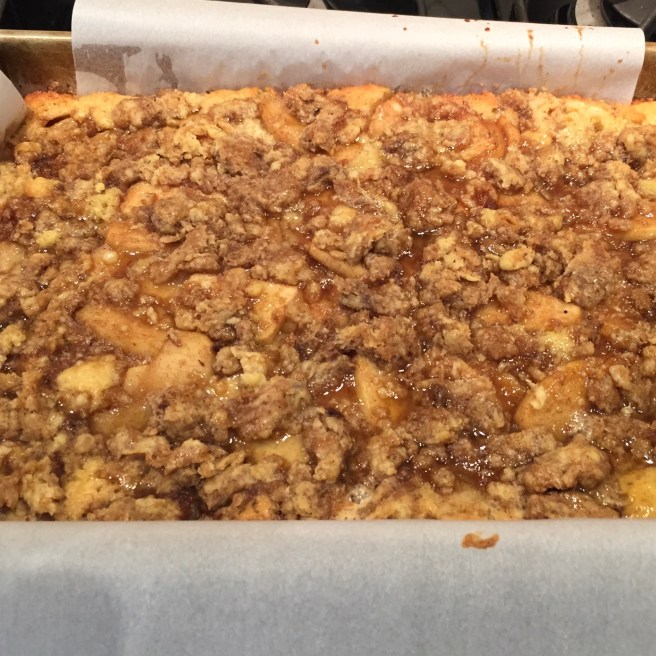


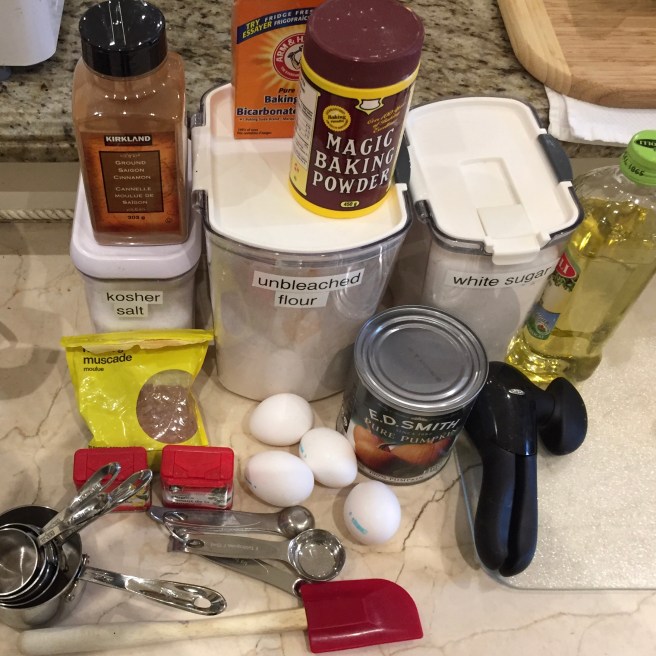
 4) In a separate bowl, mix pumpkin and banana well. Add eggs and egg whites, oil, greek yogurt, milk and vanilla extract.